Sticker Puzzles
I was looking to make something fun for my children (for my class!) and wanted something different from the usual things available, so I decided to make a puzzle…….but not just any puzzle -a fun sticker puzzle.
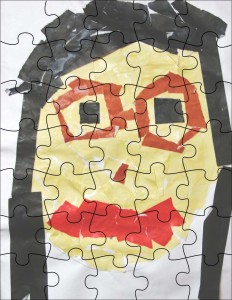
Here’s one made out of a lovely mosaic picture from my students last year (I love how they put the glasses in too):
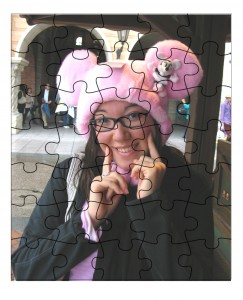
Here’s another example of a photo from when I was playing around at Tokyo Disney Sea:
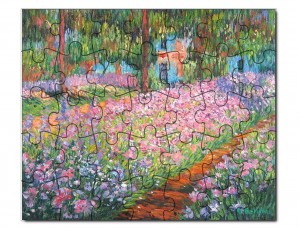
and another example where you can find your favorite art work online and convert it to a puzzle:
This can be a great gift as well. All you have to do is print it on some sticker paper, cut out the puzzle shapes and give them to someone as a fun gift.
Not only will they be surprised from getting a custom made puzzle from you, but they’ll love the fact that they’re stickers as well!
Use them for scrapbooks, cards, gift decorations, embellishments and more!
Mini Book with Chiyogami Spine
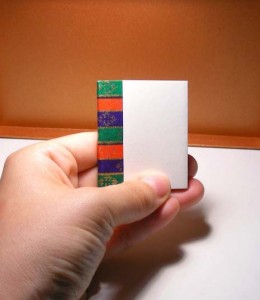
I was feeling pretty stressed the other day, so I decided to leave my work and make something fun.
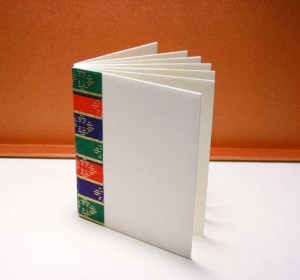
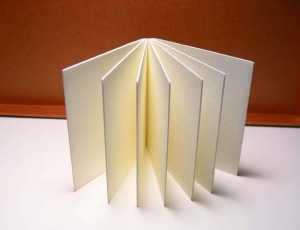
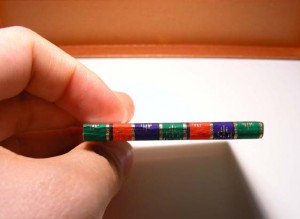
The end result is this cute little book make from blank note cards and a tiny scrap of chiyogami.
Let me know what you think about this project -write your comments below!
Simple Envelope Decorations with Fun Tape
I love fun tape because it’s……well….. just so fun to use.
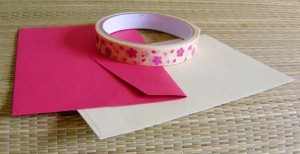
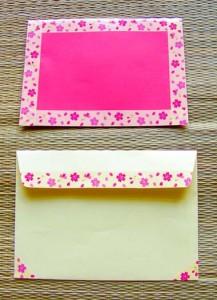
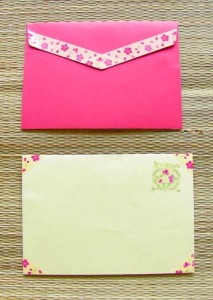
The easiest thing I use it for is creating borders on pretty much anything I want to decorate. Here’s one example of using fun decorative tape to dress up plain envelopes:
In my box filled with plain envelopes, I managed to find two that matched the sakura fun tape that I chose.
All I did was outline parts of the envelope that I wanted and cut off the excess from the sides.
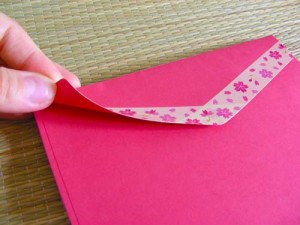
To make it interesting on both sides, I just added a strip to the envelope flap.
You can fold the tape over to create a border both inside and out, but I just taped to the edge and trimmed the ends.
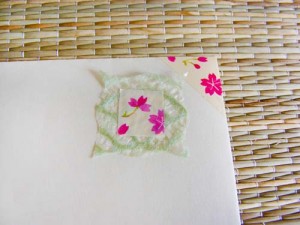
I also made a cute faux stamp with a bit of tape on Japanese weaved tissue paper.
Very simple! Try it next time you have a letter or card for someone.
Simple Chiyogami Butterflies
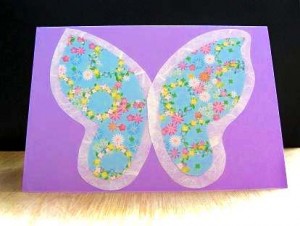
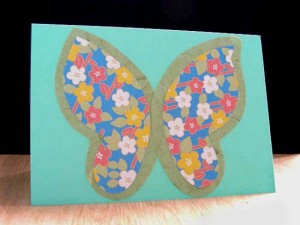
Here is a simple tutorial to make butterflies.
I’ve used chiyogami and washi tissue, but any paper will do, as long as you have complimentary colours or a very nice contrast.
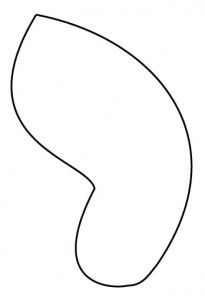
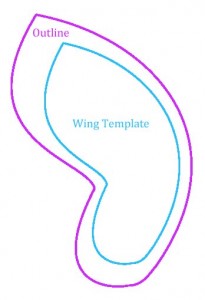
Here is the basic outline of the butterfly wings:
First, draw this shape on stiff cardboard to make your own template.
Then, outline the template on the back of any decorative paper you chose and cut it out.
***Make sure not to cut out two of the same side! Flip the template so they are opposing shapes.***
Finally, take the cut out wings and stick them on a fine tissue or any lighter material then cut around the wing shape, but larger than the originals to create an outline.
When you’re done, hang them in the window, stick them to cards or book covers, create puppets by sticking them to popcicle sticks, or even try to do the same thing with fabric!
Upcycle plastic packaging boxes:
Ever purchase or receive items packed in a plastic box or case?
I had a few of them from electronic devices and even holiday light decorations. While some of the packages can be used to store items, some aren’t practical for it, and it’s just becomes more trash.
I always feel bad for throwing them out, so I decided to try and make something new.
One idea I had, that was also fun for kids, is to transform some of the plastic packages into paper mache moulds. All you have to do is grease the inside with cooking oil (or lubricating spray) and paper
mâché the inside, making sure to get all the corners and edges.
Leave it to dry, gently pop it out, and paint it to create buildings, creatures, face masks and more. The same mould can be used over again for other materials like putty, modelling clay, and especially rubber
or clay moulding materials.
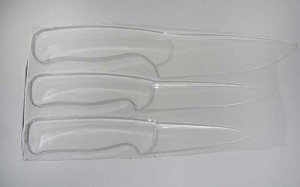
Here’s a package from a set of simple knives that can be used as a mould, or a use it to start seedlings off before transfering them to bigger planters.
If you would like to use the plastic package itself, paint or collage over it to create a trinket box/tray.
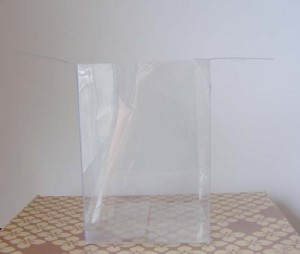
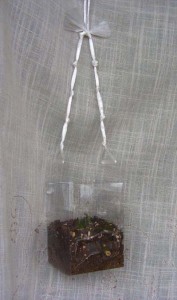
One of the things that I made was a simple planter. All you have to do is poke a few drainage holes and you’re done. There’s also the option to hang them by threadding a cord or string through holes on
the side.
This option would be great for those of you who use plastic cups and don’t want to throw them away! String a few together, either hanging at different lengths, or strung on some dowels/branches to create a
potted plant mobile.
Next time you come across plastic packages, give one of these projects a try -and show me how it turned out!


