Kirigami Winter Decorations
I know it’s almost summer, but I just realized that I forgot to show you another kirigami project for winter.
As I was shopping with my other half, we came across these cute winter window stencils, but were shocked at the price for simple cardboard cut outs. We decided to make our own kirigami stencils and this is what we came up with:
All we did was find cute pictures online, sketch them on a plain piece of paper and cut out the outlines to leave a fairly detailed stencil.
He made this one:
and I made this one:
closer penguin:
Naturally, these kirigami cut outs don’t have to be for winter. All you have to do is choose any image you would like draw or print it out on decorative paper and attach them to your window!
How to Turn a Paper Shopping Bag Into a Gift Bag
Sometimes when I’m out, I forget my fabric shopping bag and I get a paper bag with a company logo on it. I rarely used these bags for anything and they just ended up piling up in a storage area.
Instead of letting them pile up, I decided to use them as gift bags.
Naturally, using the bags as they are to carry a gift is possible, but I feel it’s impersonal and doesn’t give the impression of “special gift for you”.
There are different ways to alter and decorate paper bags -my favorites, of course, are kirigami, origami, and the use of Japanese washi and chiyogami. Mainly because it’s my favorite paper of all time.
Over the next few weeks, I’ll show a few examples of paper shopping bags converted into personalized, or just decorated gift bags.
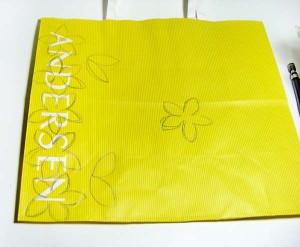
The first one I chose was a paper bag from a popular bakery chain in Tokyo. Pretty much anyone who lives in the city will know the name, so the name and original look had to change.
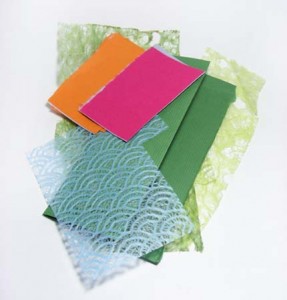
First, I found some scrap washi to compliment the main colour of the bag (this will be used later). If you don’t want scrap paper, feel free to use anything you like for this. Some examples are fabric, scrap plastic wrap, tulle or even netting (used to wrap glass bottles in shops so they don’t break).
Next, I drew a little design for my kirigami cut out.
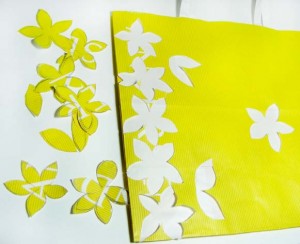
Once the drawing is done, you have two options, either cut it out as is, through both sides of the bag (so you will have a mirror image of your design), or place a cutting mat inside the bag so that it only cuts that one side.
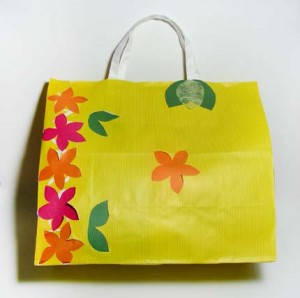
Once the cutting is complete, take the scrap paper (or other material) and place it behind the cut out shapes, secure it to the inside of the bag. If you use a patterned paper, make sure to place the pattern you want facing out so that it shows through the cut outs you’ve made.
If you would like to dress up the handle, wrap a ribbon or colourful tape around it to add another special touch. I’ve just added a few leaves near the handle to match the rest of the design.
There you have it, a cute floral gift bag from a bakery shopping bag!
Dinosaur Game for Children
I teach and play with preschool children part-time and try to make fun and interactive games for every class. Keeping two year olds focused can be tough at times, especially when they don’t understand english at all!
Here’s a game I made up to help the children develop their gross motor skills using a ball and large dinosaur head. Basically, I would hold the head in front me while standing with my legs apart. The children will then “feed” the dinosaur by rolling the ball into the mouth.
Here’s the dinosaur:
Another game that I tried last year for Halloween (and was a great success) was “feed the monster”, where the children would throw balls or small balloons into the mouth.
Monster Box:
As you might be able to see, the picture was taken after the children played with it……hence the torn and bent edges…missing ears and so on. It was a lot of fun for the kids, so I hope the dinosaur will be a big hit as well. Will let you know the outcome later!
Kamishibai – Japanese Story Boards
Kamishibai are fantastic story boards used mostly for children. Unlike regular story books, these are large boards with full colour images on the front, and the writing on the back.
Last year, I taught at a number of daycares throughout Tokyo and other areas. The children loved kamishibai stories, and asked me if I had any english ones to show them. Naturally, I didn’t have any and finding english version ones in Tokyo would be very difficult and expensive, so I decided to make my own.
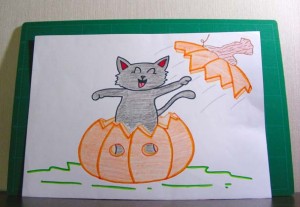
Here’s an example of my Halloween Story of a kitten’s halloween adventure:
I find kamishibai very fun and practical to read to children, since you can clearly show the images while comfortably sitting back and reading from the back – no more trying to angle your head to read the story and blocking the view of some children!
Kirigami Pop-Up – Strings of Sakura
While my excitement of the upcoming sakura season continues, I’ve decided to try a new kirigami pop-up project.
I think it turned out pretty good and it gave me a lot of ideas for different uses.
If you would like to make you own kirigami “curtain”, simply follow the steps (if you would like to see close-ups, just click on the picture!).
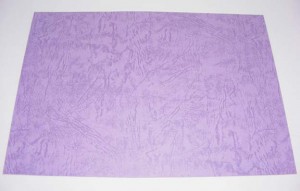
First, get a pretty piece of paper. I chose a slightly patterned and textured one of medium weight.
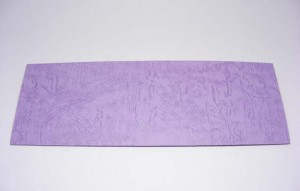
Next, fold it in half lengthwise.
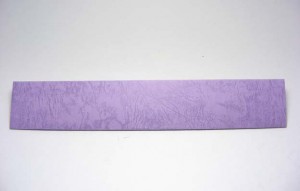
Then, fold it in half lengthwise again. (This will give you a quarter of the width from the original).
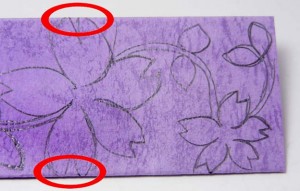
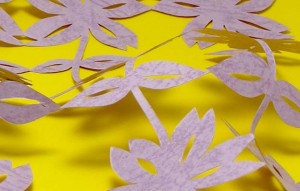
From this point, draw out any design you would like, but just make sure to have the image connected to the folded edge at least a couple of times to keep all sides connected. For a better look, please click the picture.
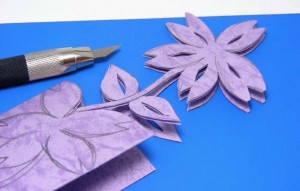
Once you’re happy with your drawing, begin cutting it out with a scalpel type knife and self healing mat.
Scissors and regular exacto knives are fine if you have large simple cuts to make, but if you would like more detail, I suggest getting a scalpel type for better control.
Take your time when cutting out your image, with small connecting sections, it’s easy to cut through them when rushing.
If you do happen to cut through the wrong line or the edge, see if you can alter the image a little or just keep working with it -sometimes mistakes end up great!
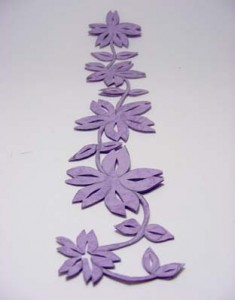
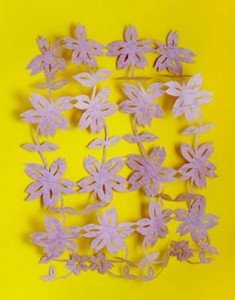
Now that it’s all cut out and cleared, open up your creation!
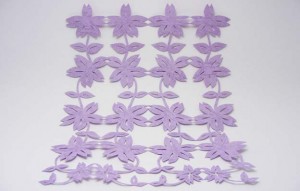
At this point, feel free to secure it to a dowel or bamboo pole and hang as a curtain, or use a ribbon to weave through the gaps like I did with my last kirigami post.
If you would like to create another pop-up creation like my pop-up butterflies, then follow the next steps:
Find a bright contrasting piece of paper, or card, book, box -or anything else you’d like to decorate.
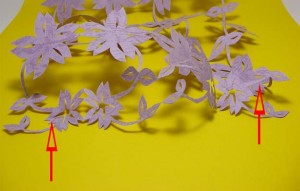
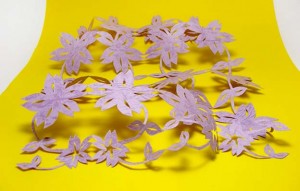
Arrange your kirigami anywhere you like and play around with it. I took two corners and started to slowly twist them in opposite directions to see how the flowers would pop up and arrange themselves.
Secure one corner then twist and secure a few other points in the way that makes you happy.
Now that your pop-up is done, you can frame it in a box frame, hang it as pop-up wall art, or up on a ceiling with some of the flowers hanging down.


