Kirigami Heart Mobile Made With Wrappers
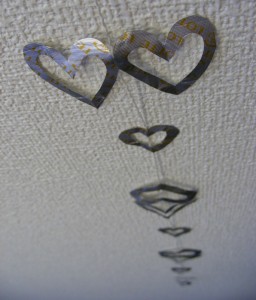
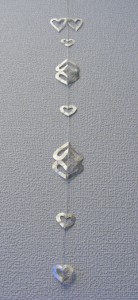
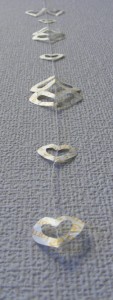
Going back to my chocolate and candy wrappers post, I decided to take a few of the silver ones and make a heart mobile.
It’s pretty simple to make and great as little decorations in the window, on a wall, in a tree or just hanging outside. I put this one out on the bamboo pole to decorate the area for the birds a bit more.
Here’s what I did to make the two large opposing hearts:
1 – Flatten the wrapper (I use a small ruler).
2 – Fold it in half widthwise.
3 – Fold it over again in a book fold.
4 – Make sure the top and left-hand edges are the folded ones.
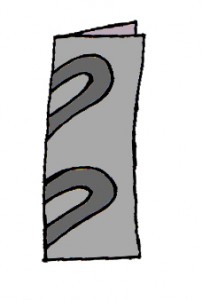
5 – Draw the heart outline as shown, making sure both folded edges are included.
6 – Cut out the heart shape (shown in dark grey) and carefully flatten with the ruler or heavy book.
The other two large hearts side-by-side:
A – Flatten the wrapper like the previous kirigami hearts.
B – Fold widthwise.
C – Now fold lengthwise to give you a narrow strip.
D – Now draw the heart as shown, making sure the curve of the heart includes the side fold as well as the open edges.
E – Cut along the lines, unfold and carefully flatten.
Finally, the small individual hearts:
All I did for these is simply fold the wrappers in half and cut out two smaller individual hearts.
Once they are all done, take a ribbon or string, secure them with a dab of glue and let them dry completely.
It’s done! I love how delicate and pretty it turned out, especially with the shimmer when the sunlight hits it.
One Good Thing A Day – Project Day 25 – English Class Quilt
I had a lesson to prepare for the letter “Q” and from what I found online, it’s a letter that many people have trouble with and choose just to hand the children printouts -I’m not a huge fan of giving little ones printouts, so I decided to plan something fun and creative for the kids.
I made a felt quilt *^_^*
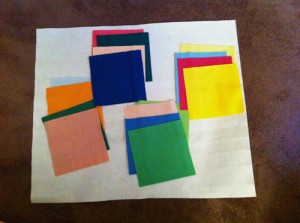
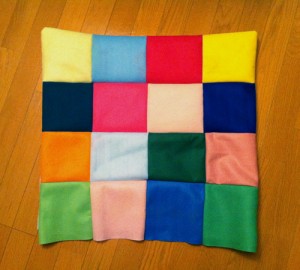
I purchased one large felt sheet with a few packs of pre-cut colourful squares.
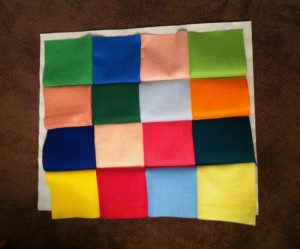
After arranging and sewing the squares, they looked like this.
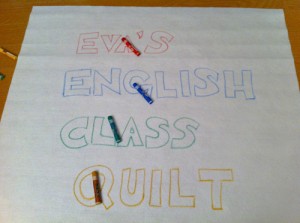
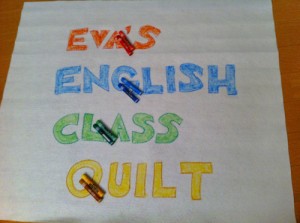
Then, using children’s pastel crayons, I decorated the white side. *The crayons will be given to the children so they can decorate one square by themselves*
As I always love to use two shades for words, I outlined with a darker shade and coloured the words in with a lighter one….
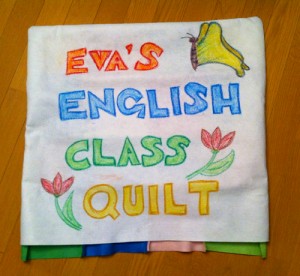
…decorated it a little more for fun….
…placed it outside in, sewed along the sides and flipped it back out.
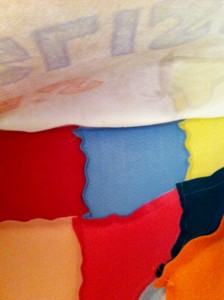
I purposely left the bottom edge open, so i can show the children the inside…
like this! My kids are always so curious about the materials I make for them that they have to hold and observe them.
I’ll see how it goes this Sunday!
One Good Thing A Day – Project Day 18 – Children’s Explorer Kit
Today we got together a fun little gift for my boyfriend’s nephew. His big 5th Birthday, so we wanted to get something creatively put together.
I’m always a fan of putting together packages of different items that work together, so here’s what we came up with:
An Explorer’s Kit!
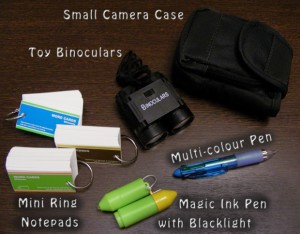
First, we found this cute pair of children’s binoculars and found a camera case with strap that it could fit into.
Next, we had to get something for him to write his “findings” in, so we managed to find a set of three mini ring notepads. To go with that, we found a multi-color pen to jot down different color-coded notes (or squiggly drawings…) and finally, for his top-secret findings, we found a Doraemon magic ink pen with blacklight!
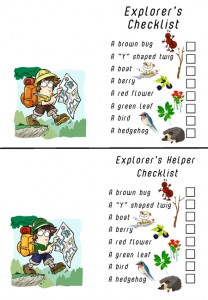
I also made an Explorer’s checklist (with a helper’s version for his brother) just by getting clipart online and changing the main explorer’s colours a bit so the boys don’t have matching ones.
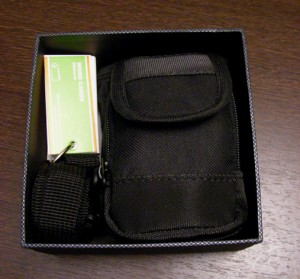
Then we packed it up in a cute box, and done! Total cost for the kit = ¥630 ($7.63 USD)
Before he gets it in the mail, we’re going to send a quick e-mail with a few riddles to get him to try and guess what his gift is. Hopefully he likes it!
One Good Thing A Day – Project Day 17 – Origami Birthday Card
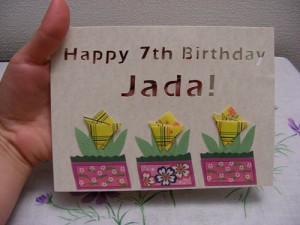
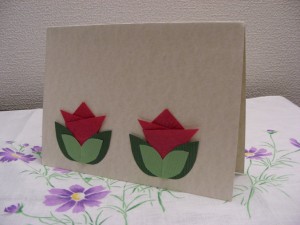
I got another order from Fiverr for a simple origami/kirigami Birthday card for a little girl.
It was actually quite fun, especially away from the boring writing work I have (>_<)
If you'd like to see some of my Fiverr gigs, please do so!
I made two samples for the customer to choose from and here’s the one that was chosen:
This was the other one that’s an extra for someone else:
Origami How To: Traditional Japanese Crane
I love origami and have been making different models since I was a kid. Even for a family member’s wedding, I managed to make the 1001 “good luck” cranes (with help of course).
Here’s a fairly quick step-by-step guide to make your own crane:
First, begin with a perfect square of any paper. *For beginners, try not to use tissue or cardboard paper, as it will make it difficult to fold properly if you are not used to it.
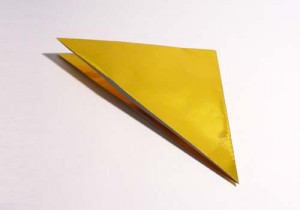
Fold in half diagonally to make a triangle (flatten the crease).
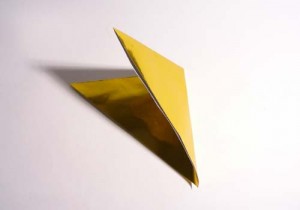
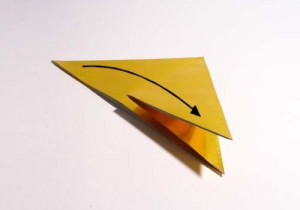
Take the right corner and fold it over to the opposite corner (flatten the crease).
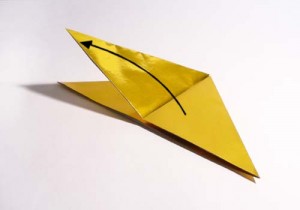
Taking that same corner, fold it back to the right corner (flatten the crease).
Fold it back (flatten the crease).
Open the newly creased section.
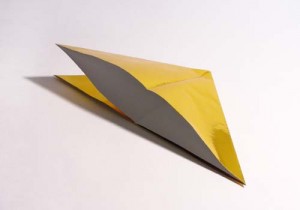
Fold down the corner (flatten the crease).
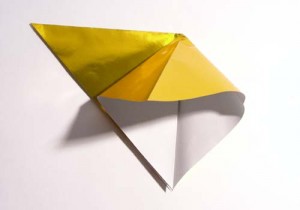
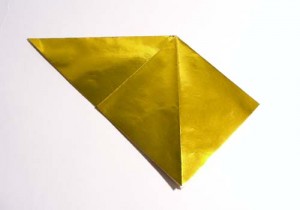
Flip to the other side.
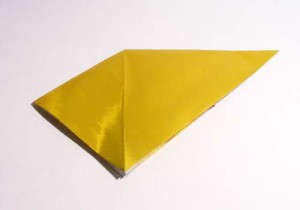
Fold down the right corner to the bottom corner (flatten the crease).
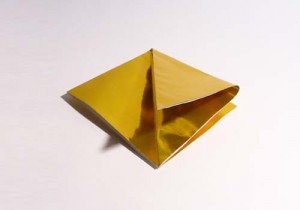
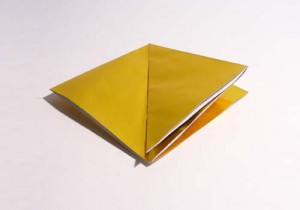
Open and fold down like the first side (flatten the crease).
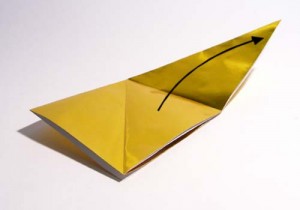
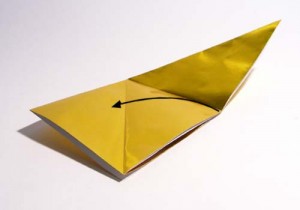
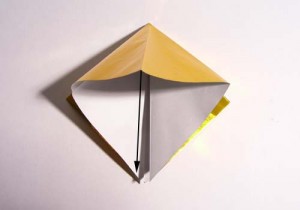
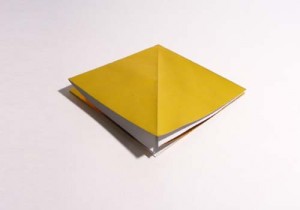
With the opening facing down, take the bottom right side and fold along the middle crease.
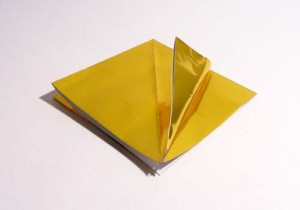
Repeat on the other side.
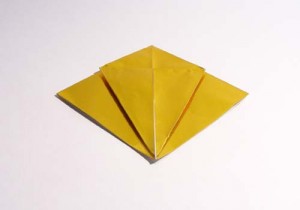
Flip over and repeat on the other side (flatten the crease).
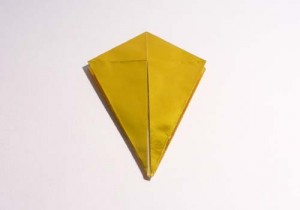
Unfold the two sides.
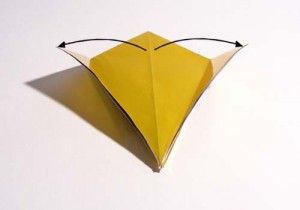
Open by pulling up the bottom (middle) corner.
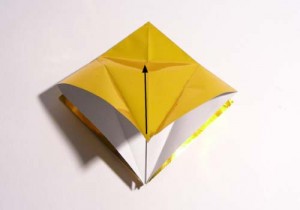
Along the side creases, fold the sides in.
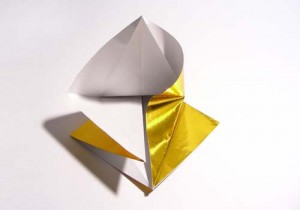
Repeat on all sides.
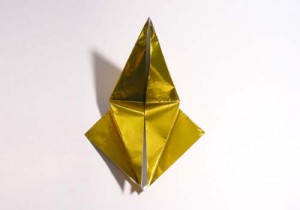
Fold back and flatten the top corner, making sure the corners are sharp.

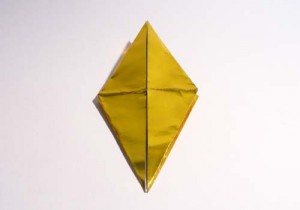
At this point, you should have two “legs”.
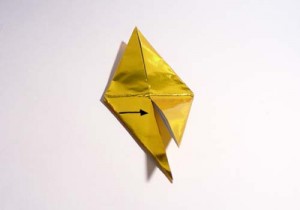
Fold the sides to the middle to make the “legs” thinner.
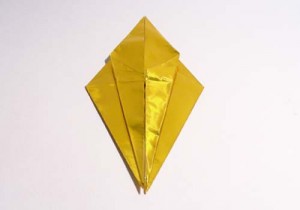
Repeat on the other side, making sure the creases are crisp.
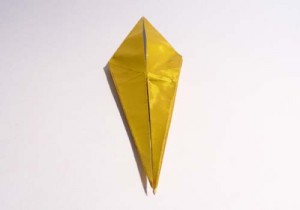
Try to keep the points as clean and crisp as possible.
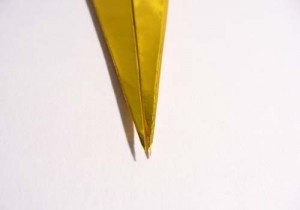
Now, take one flap and fold it to the left (there should be three flaps there now). Flip over and take a flap and fold it to the left to even it out (two flaps on each side).
This is meant to “hide” or secure the newly folded edges.
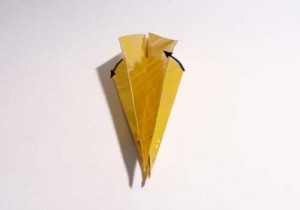
Take the bottom tip and fold it up as far as it can go. Crease and flip it over to repeat.
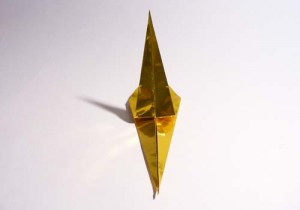
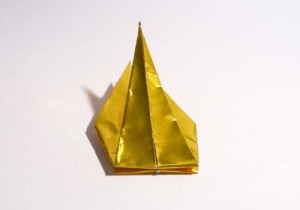
Just as before, take one flap and fold it to the left, flip over and fold the other flap to the left (to have two flaps on each side).
From here, take the two points between the flaps and pull them out a little, so they stick out. They will be the head and tail of the crane.
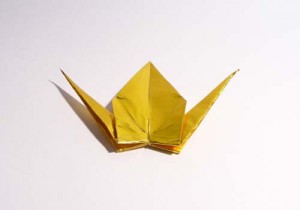
Now, between the two flaps on either side, fold one of the points down to make the head of the crane.
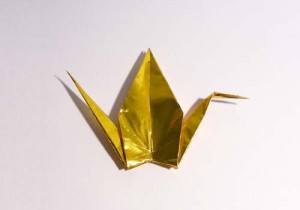
To open it up nicely, hold the wings and slowly pull them out and gently push the bottom portion in. If you would like to make the body a little rounder, blow into the hole in the bottom. This will puff up the body (top middle portion) of the crane.
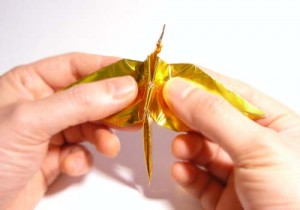
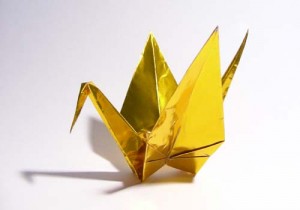
Completed crane:
