Guest Post How-to: Prepare and Paint on Canvas
Painting on canvas is not as simple as purchasing the first canvas you find and painting whatever you like on it. You must prepare your canvas before you paint. Before you paint, you must choose the appropriate product for painting based on the sort of paintings you want to produce.
Following some simple steps will help you to prepare the canvas properly and allow you to purchase the paints that will work best for you.
1. You must purchase a canvas that is the size you need. Only you can determine the perfectly-sized canvas for your current project. However, you have to take greater measures after purchasing the right canvas.
2. Any canvas that you purchase will likely have a coat or two of gesso already applied. Gesso allows for a good painting surface for just about any project. You will need to get a good acrylic gesso that you will apply to the canvas with a cake icing knife or similar spate. It will take a few coats to get a perfectly smooth surface to paint on.
3. When you are ready to paint, you should begin by drawing light sketches onto the canvas. You are not, by any means, painting by numbers but you are certainly giving yourself a template to work with.
4. Choose the paint that is going to work best for the painting you want to do. You have to decide whether you’re painting still-life like people and buildings or nature scenes like tress and waterfalls.
5. Still-life paintings that involve people and structures are best painted with acrylic paints. The paints go on pretty strong and they allow for strongly-defined lines for the buildings, furniture, and bodies in each picture.
6. Watercolors and oils work better for paintings that involve nature scenes involving water or trees and bushes.
7. The final step in painting on any canvas is patience. You have spent the time to gesso the canvas and assure that there is a smooth surface. You worked to draw on the picture as best you could so that you would have a template to paint over. Then, you must put as much time into actually painting the canvas as you can. Do not attempt to paint the entire picture all at once. The finest artists in the world spend as much as they need to produce quality work.
Take your time and allow the painting to grow organically. You may change your mind as you paint, and you don’t want all that you’ve invested in the canvas and paints to go to waste. With a little bit of patience, you can produce paintings that art galleries will want to show and people will want to buy.
Author Bio:
Rachel is an arts and crafts lover, creating many of her own pieces for sale at her local market each Sunday morning. One of her secrets for canvas painting is to use exterior paint that is used on houses as it provides a weather-proof and strong solution for large pieces that may come in contact with naughty children or crazy pets!
Quick Decorations for Halloween Sweets – Great for any occasion!
I simply didn’t have the time to make an effort for Halloween this year -in Japan, people don’t trick or treat….and I suppose I temporarily forgot I’m back in Canada (oops).
I went down to the local convenience store to grab a few little sweets in case children do come along but wanted to make it look more fun and festive than sad little chocolates, so I went to one of my favourite sites for free printables: Disney’s Family Fun (familyfun.go.com)
and quickly printed out these cupcake toppers. Cut them out and stuck them on the candies. The total time to complete was 5 minutes max.
End result:
Since we live in a condo with just a few families, I also wasn’t sure if they would trick or treat here (I did when I was little and living in an apartment), so I quickly grabbed some pictures online and used my beloved photoshop to replace the “Tim Burton’s Nightmare Before Christmas” writing with “Trick or Treaters are Welcome!”
Now to finish up last-minute work and get those movies rolling!
Kirigami Story/Poem Mobile
Kirigami is a great way to create fun and inventive works of art. It’s the kind of craft that can recycle different materials like paper from many of the common items that are found around the home.
Here’s a great project for a kirigami mobile where you can hang special messages, poetry or even a child’s favorite story.
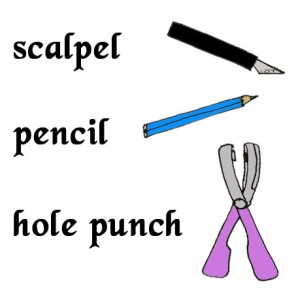
You will need:
First, choose a few passages from a poem or story or write your own. (I chose passages from Romeo and Juliet)
Next, draw or print the first word (or one of the first words) from each passage in your favourite font on paper you would like to cut out from, making sure there is enough room above and below it to write the rest of the passage. (I chose the words “Juliet” “Romeo” and “Heaven”)
*If you have paper that can’t go through a printer, simply print the words on a plain piece of paper and then layer it with the piece you would like to cut out.
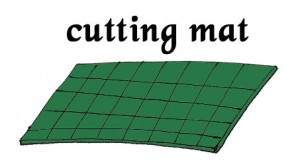
Next, cut the words out on a cutting mat with a scalpel knife. If you’ve layered the printed paper, make sure it’s on top of the paper you would like to use in the mobile so you can follow along those lines. Once you’re done, toss the cut out printed sheet or think of another craft project.
Next, you can punch a hole at the top of your passages or just thread the ribbon through the cut outs. If you would like to add some pop colours, just place colourful paper to the back of the kirigami cut out. (I used red behind my kirigami words to match the ribbon)
Finally, tie the ribbons to the dowel or bamboo and hang with a loop or a screw in hook at the top.
You can create home decor for yourself or give these as a gift for special occasions. Enjoy!
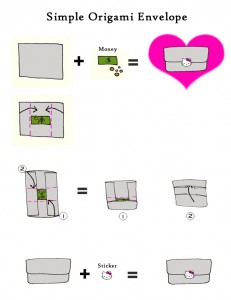
Simple Origami Envelopes Using Junk Mail
I don’t like throwing away junk mail or scrap paper but I also hate hording it…..I suppose the show “Hoarders” scared me….. so I decided to use the paper to make simple money envelopes when paying for deliveries like Mama Earth Organic Food Deliveries
To make your own:
Greeting Card Project: Chiyogami Puzzle Piece Embellishments
As you may know by now, I love Chiyogami.
I’ve made many different things with chiyogami and always keep little scaps in a box for later use. If you have scraps of decorative paper or just want to recycle some leftover paper, here’s a great greeting card project that anyone can do, for any occasion.
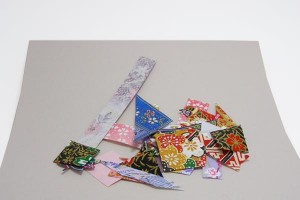
First, get a bunch of little scraps along with a large sheet of heavy cardboard paper.
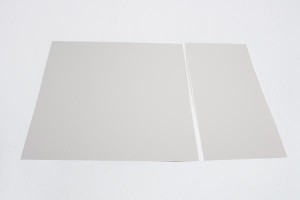
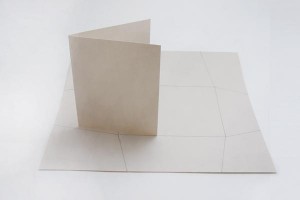
Next, cut a trip measuring one third of the sheet.
The wider portion will become the envelop and the narrow one will be the card.
Cut the narrow piece in half. Fold one piece in half for the card and set the other half aside for later use.
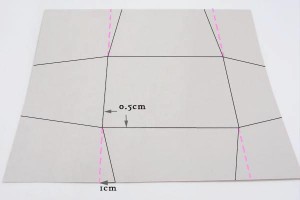
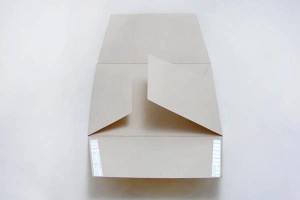
On the larger piece, draw out the envelope template. I usually trace the outline of the card and add about 0.5cm to the sides. For the flaps, it’s easy to extend lines to the edges of the paper, but also making sure to make it about 1cm narrower at the edges.
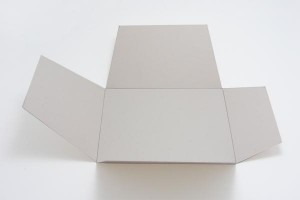
Cut out the envelope shape. Make sure you only cut the outside lines.
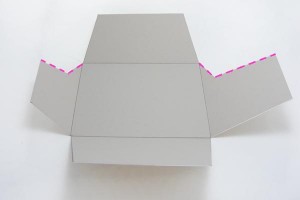
Add wedges (dotted line) to the side flaps to make it easier to extract the card.
Fold along the lines and make sharp creases, then add double-sided tape to the sides of the bottom flap and fold it up to secure it to the side flaps.
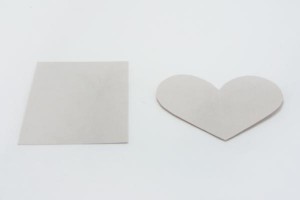
Set the envelope aside and grab the remaining piece of cardboard that you have. Cut out any shapes you like.
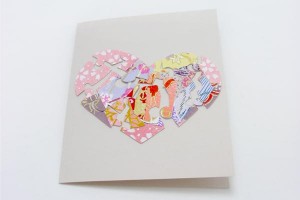
I decided to cut out a simple rectangle and heart.
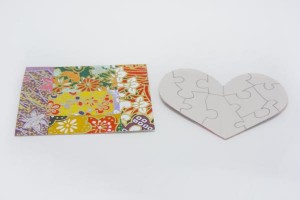
Cover the entire pieces with double-sided tape followed by scrap chiyogami paper.
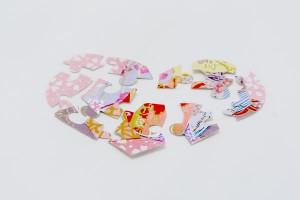
On the reverse, draw out simple puzzle pieces.
Cut out the puzzle pieces.
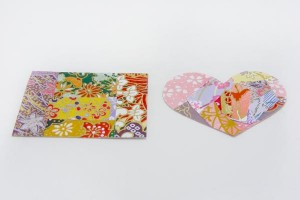
Secure them to the front of the card in the rough shape, or…
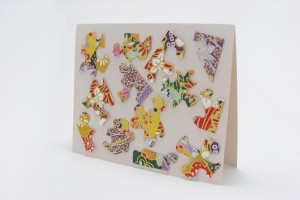
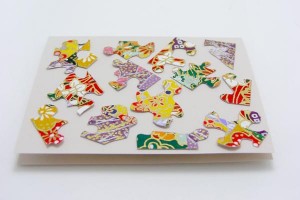
scattered all over the card.
I decided to scatter all of the pieces except one for this card, because I wanted that one piece for the envelope.
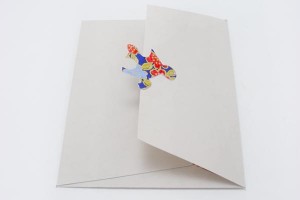
To tie in the envelope, secure one puzzle piece to the closing flap. This is a nice way to make a closing seal and to make the receiver excited about what the card looks like.


