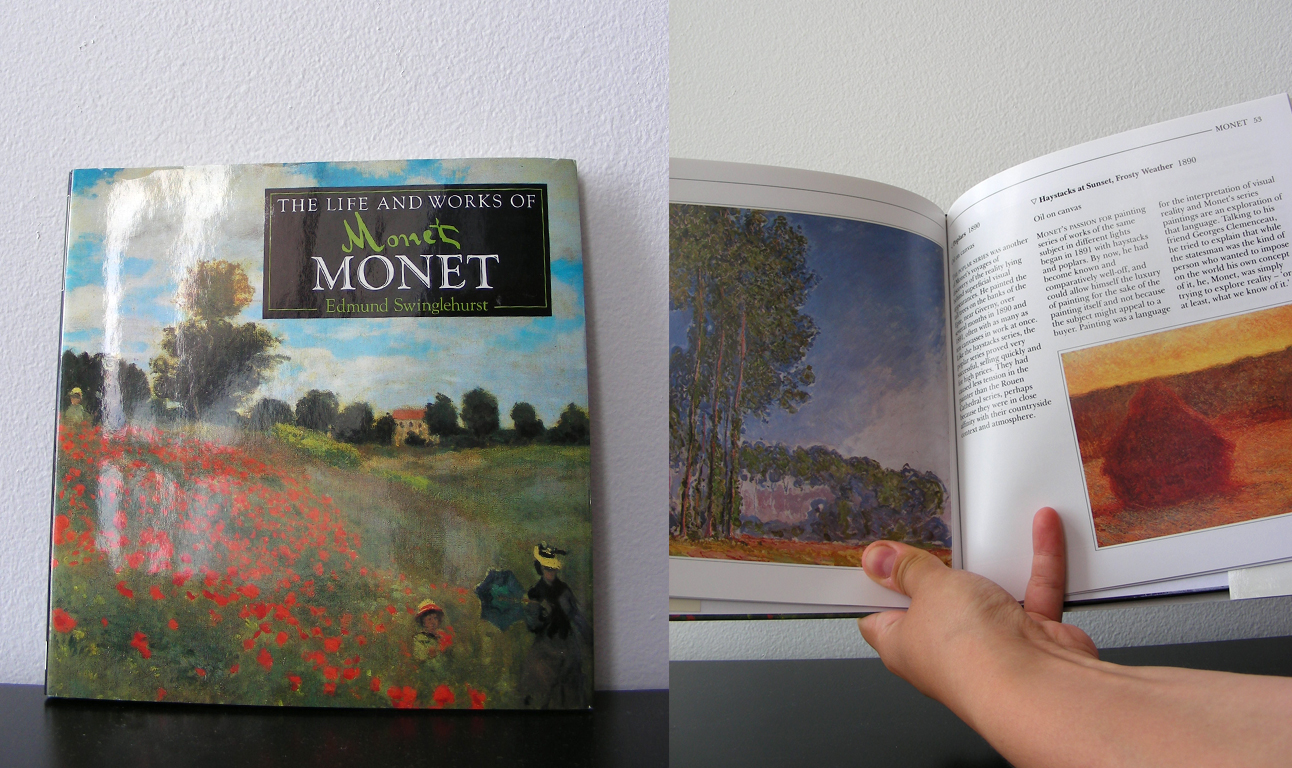
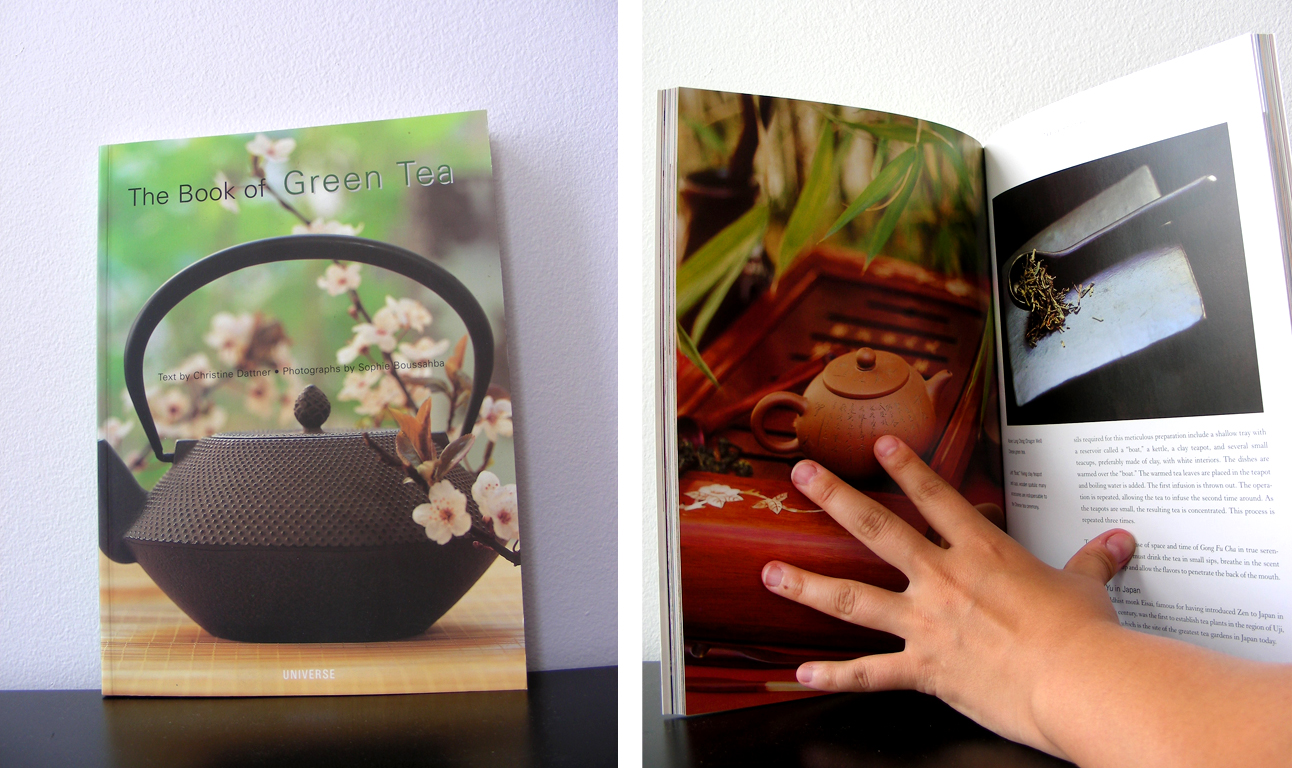
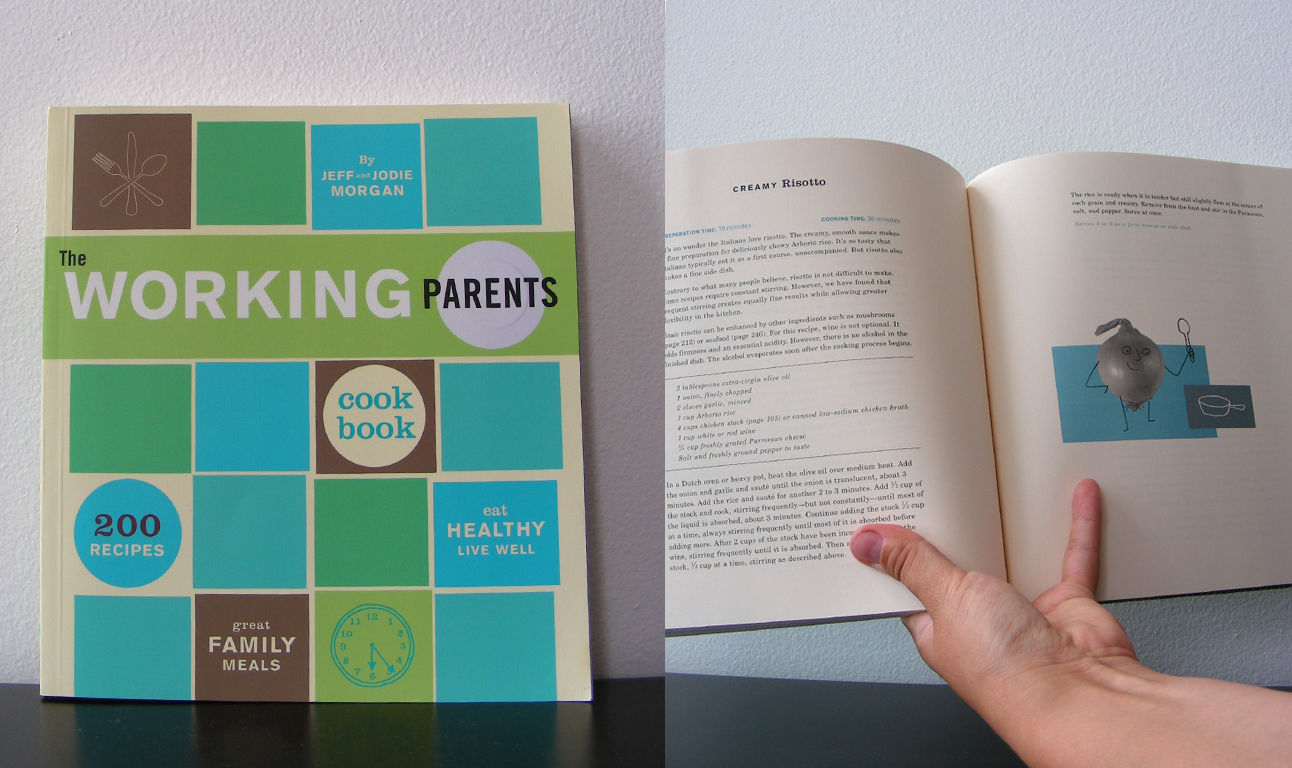
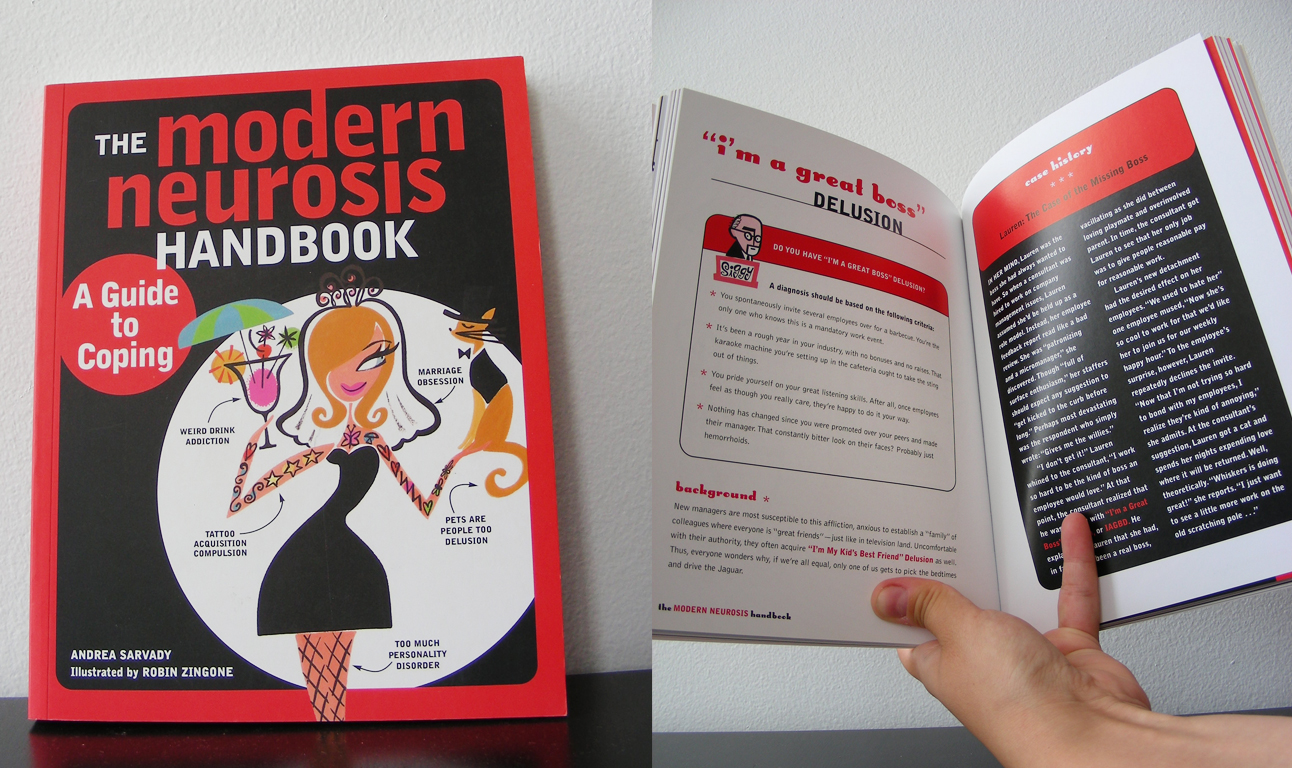
Book Sale!
Hi all *^_^*
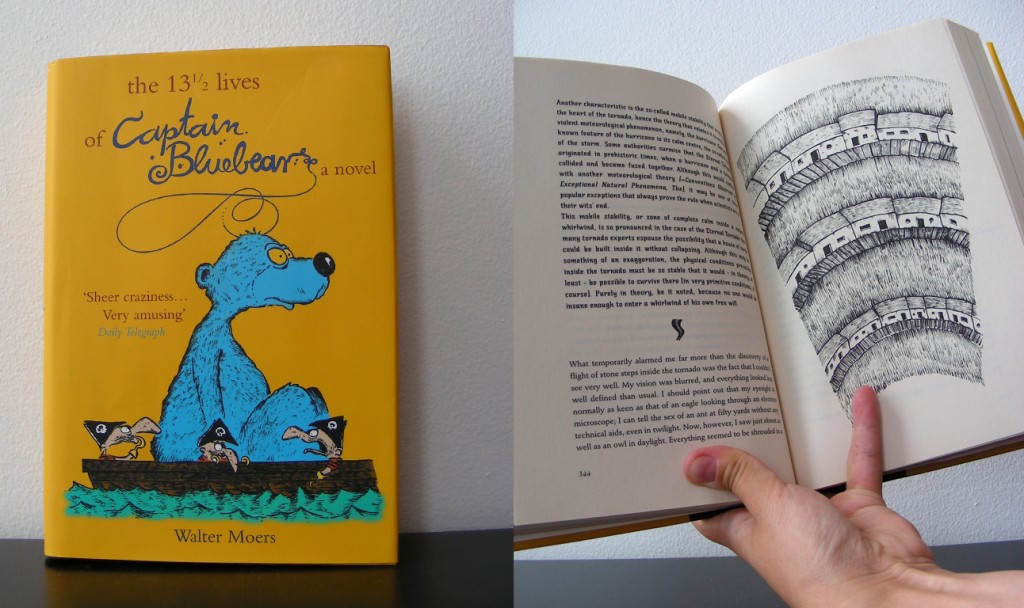
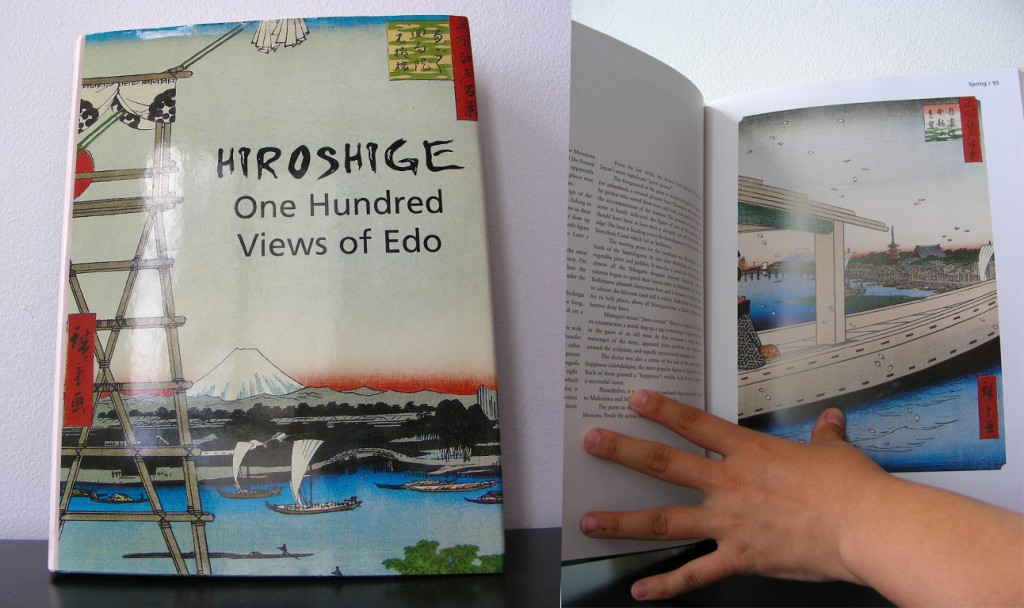
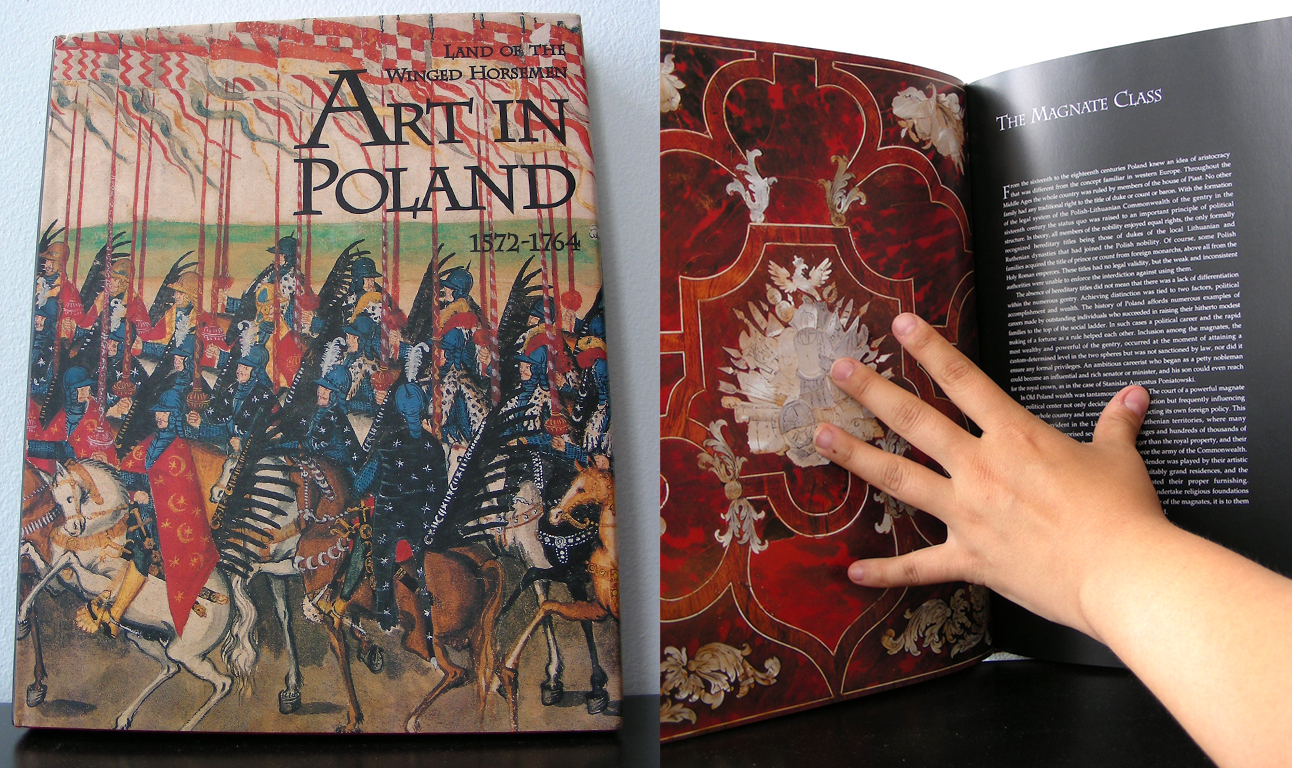
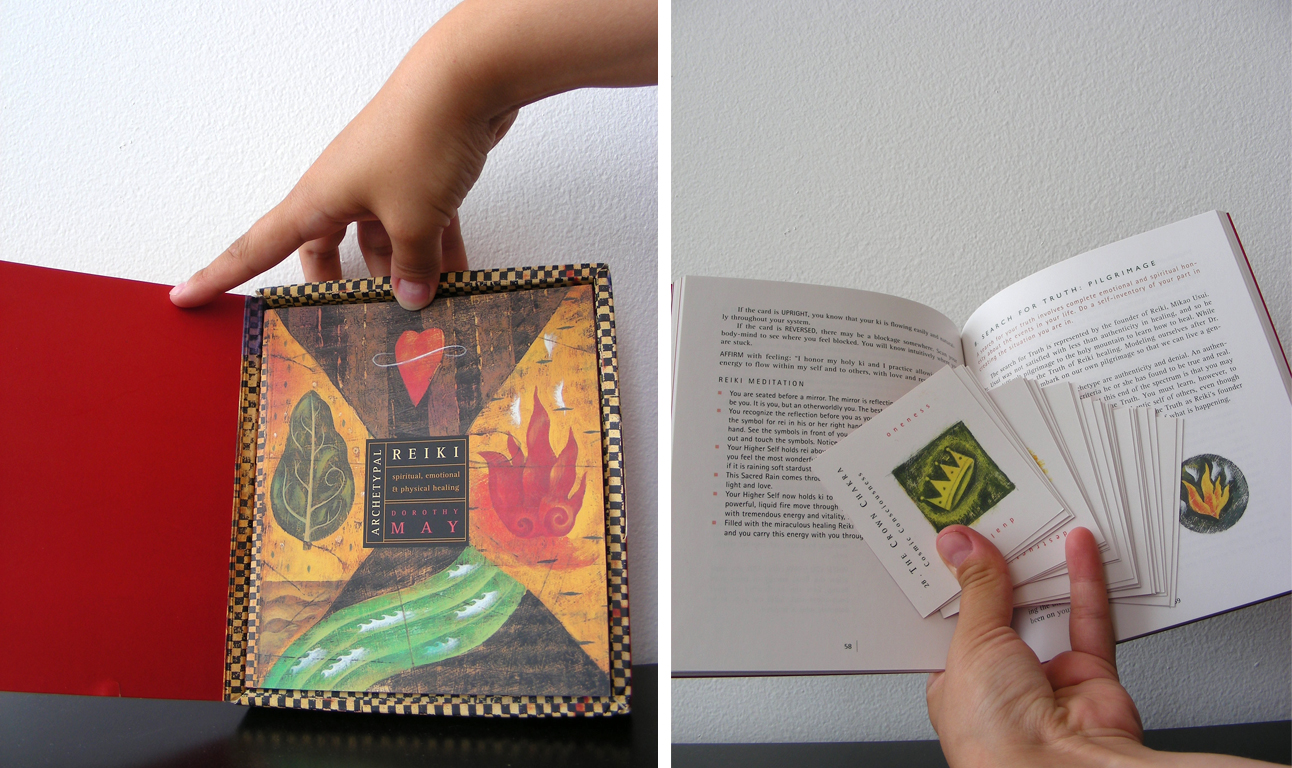
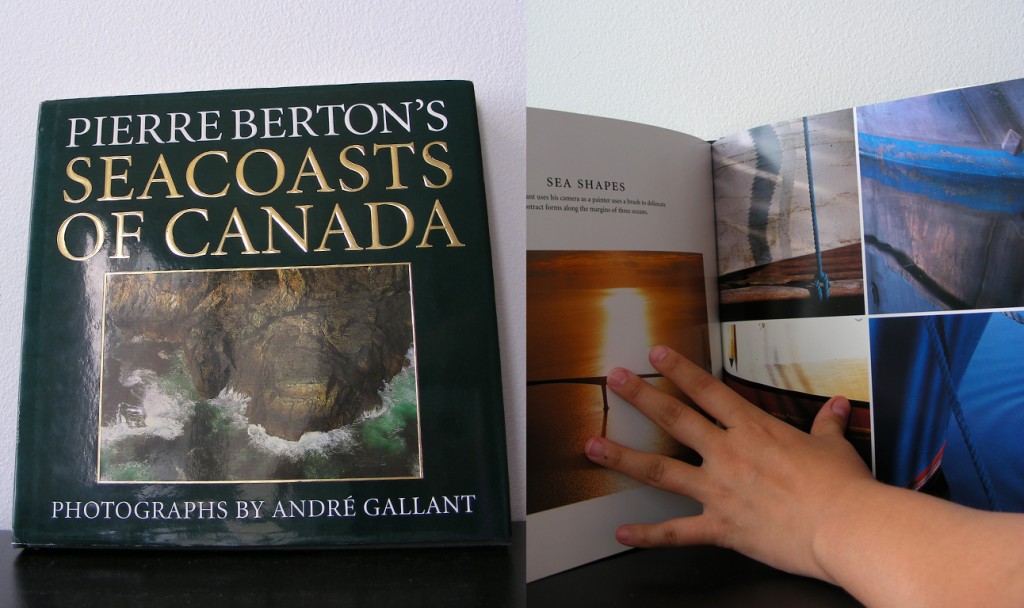
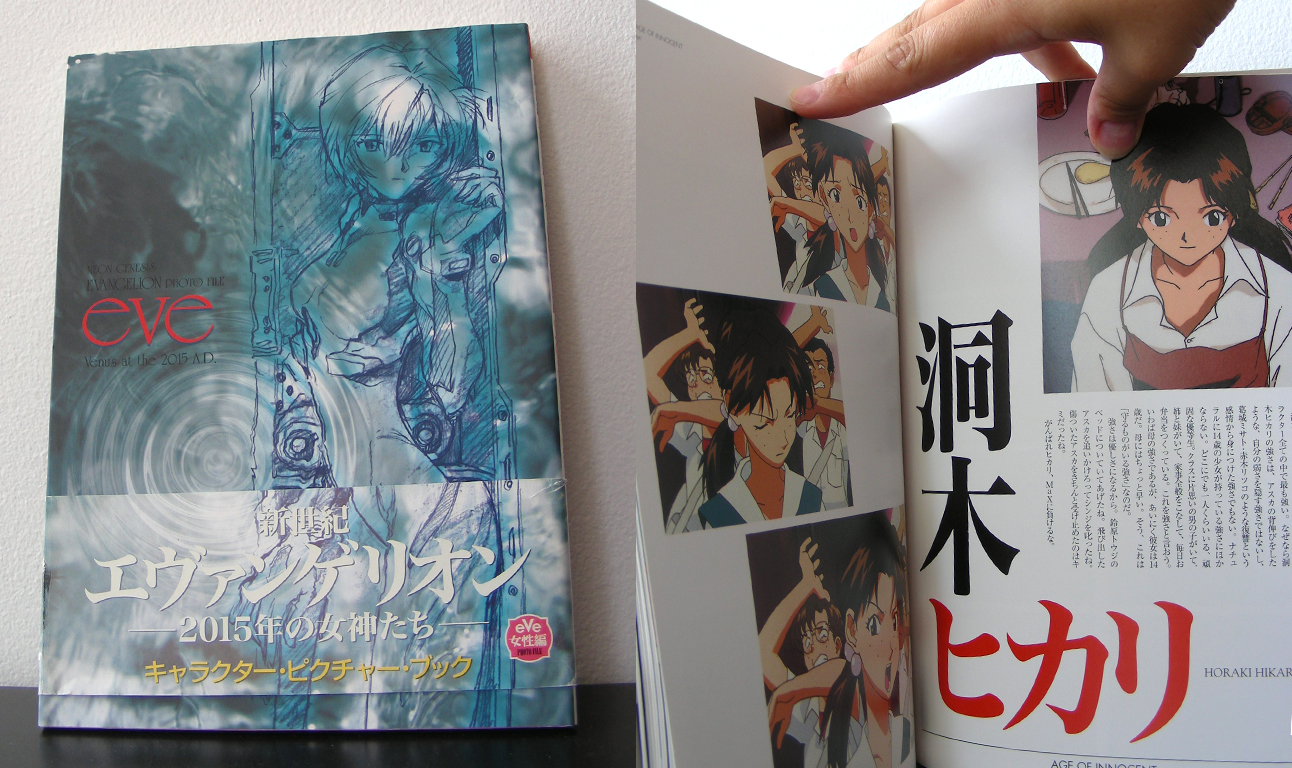
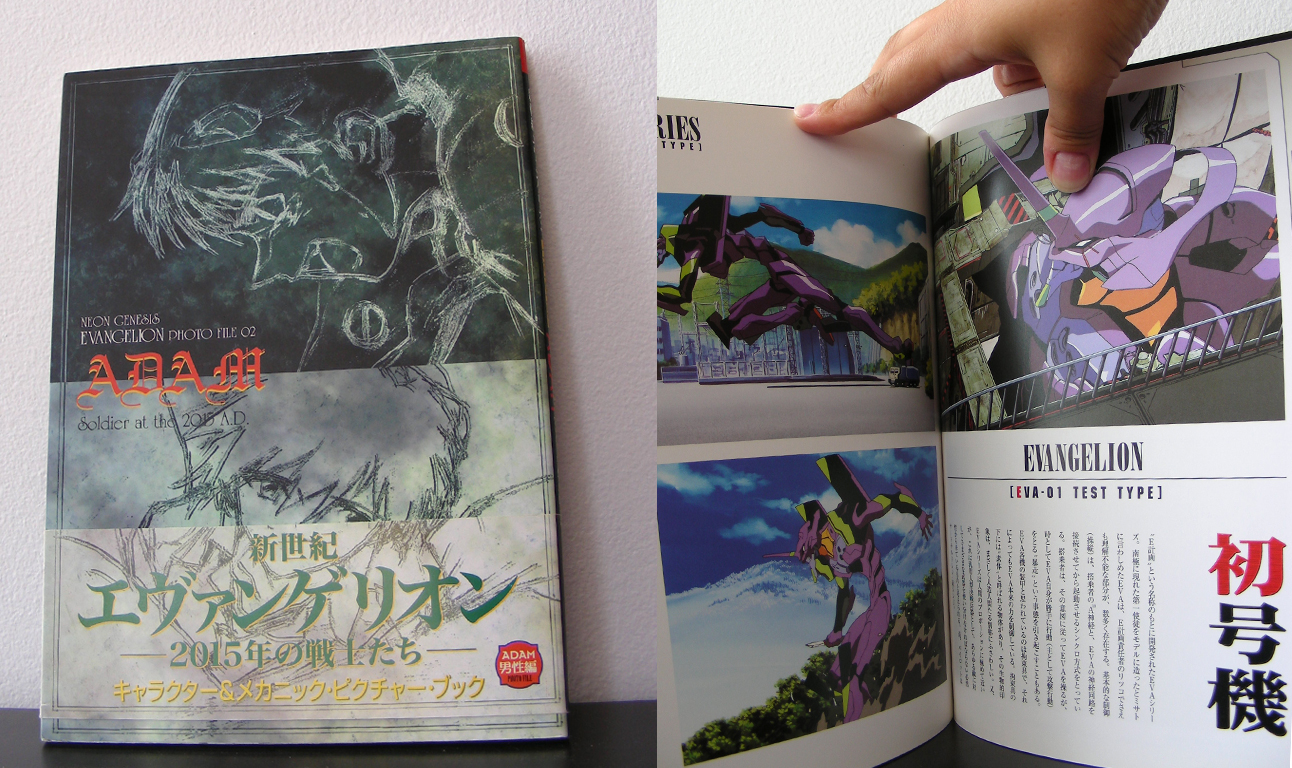
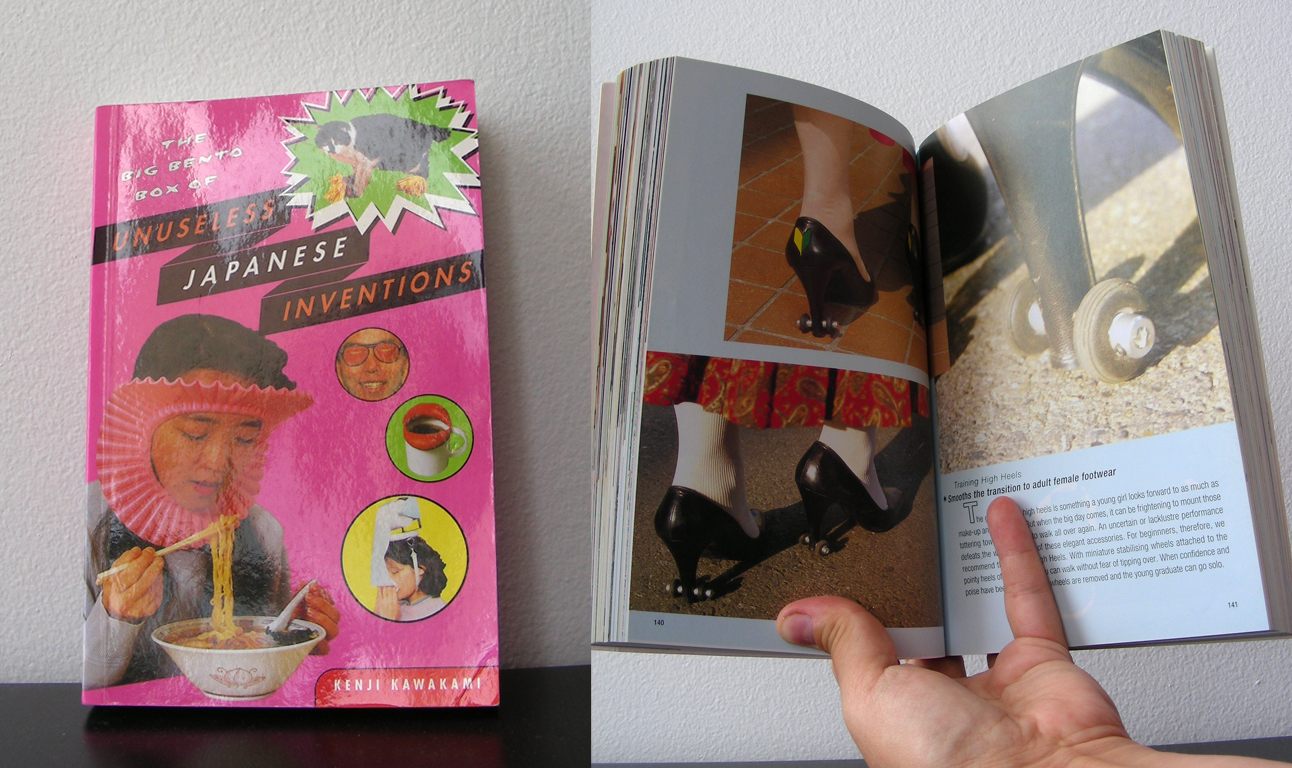
I’m selling some books so please have a look and message me if you are interested in any of them!
I love all of these books and have kept them in excellent condition. Although I would love to keep them, I’m sure they will find equally loving homes elsewhere 🙂
*Shipping will be determined according to delivery area.
How to: Adorable Bunting from Wallpaper Scraps
Here’s a very simple how to craft that pretty much anyone can do. Whether it’s for a party or for fun, this craft is a fun way to recycle scraps of decorative paper and doesn’t have to cost much -it can actually be free if you happen to have the following items just laying around the home:
- Paper scraps
- Thick cardboard
- Ribbons or string
- Sewing thread and needle OR double-sided tape
- Scissors
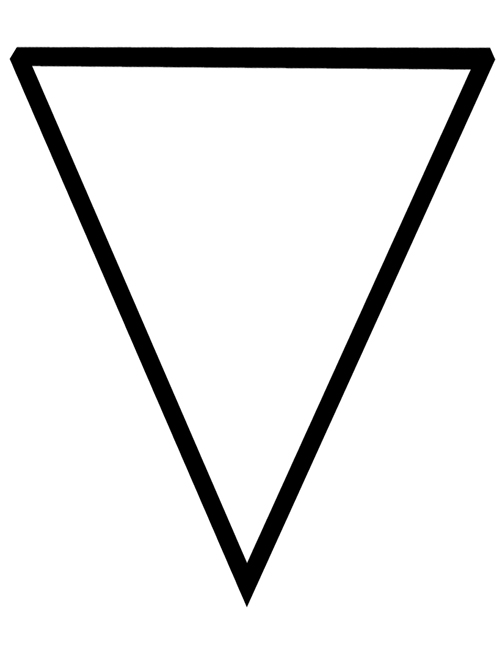
Start off by drawing and cutting out an acute triangle with the cardboard to make the main template.
*Print or Save this shape for your crafts: bunting
Next, sort through paper scraps and group colours and patterns that work nicely together.
Use the template to draw the bunting shape on the back of the paper and cut them out.
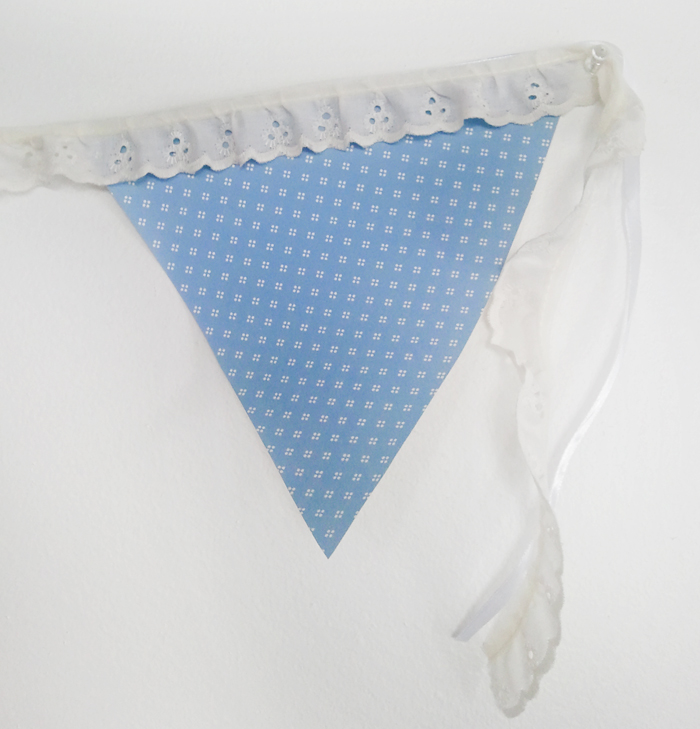
I managed to find some pretty lace for the top of the bunting, so I arranged and spaced the pieces until I was happy, then sewed the pieces onto the lace.
In the end, this is how it turned out:
Sadly, I was too busy at the party to even get a few photos to show you how they looked around the room 🙁
Perhaps I’ll have to make another event to get some good photos 😉
Engagement Party Fun!
My best friend has her engagement party today and I’m helping out as much as I can. I made a few decorations that she’ll hopefully like (I’ll post “how to’s” for them later) *^_^*
I also managed to get a fun gift add-on from a talented artists I found through Fiverr (here’s his link: http://fiverr.com/eadgery). He can draw virtually anything you like in a Disney style and I absolutely love it! He’s more than just the standard $5.00 when choosing add-ons for the work, but I think it’s totally worth it!
Here’s how it turned out:
I added a little Paris stamp in the top left corner with the date of their actual engagement in Paris (how romantic!). I figure this is a fun little keepsake for that special moment in their lives -I really hope they like it.
More photos and projects to come in the days ahead, so please stay tuned *^_^*
How to: Tissue Box “Mystery Holiday” Bank
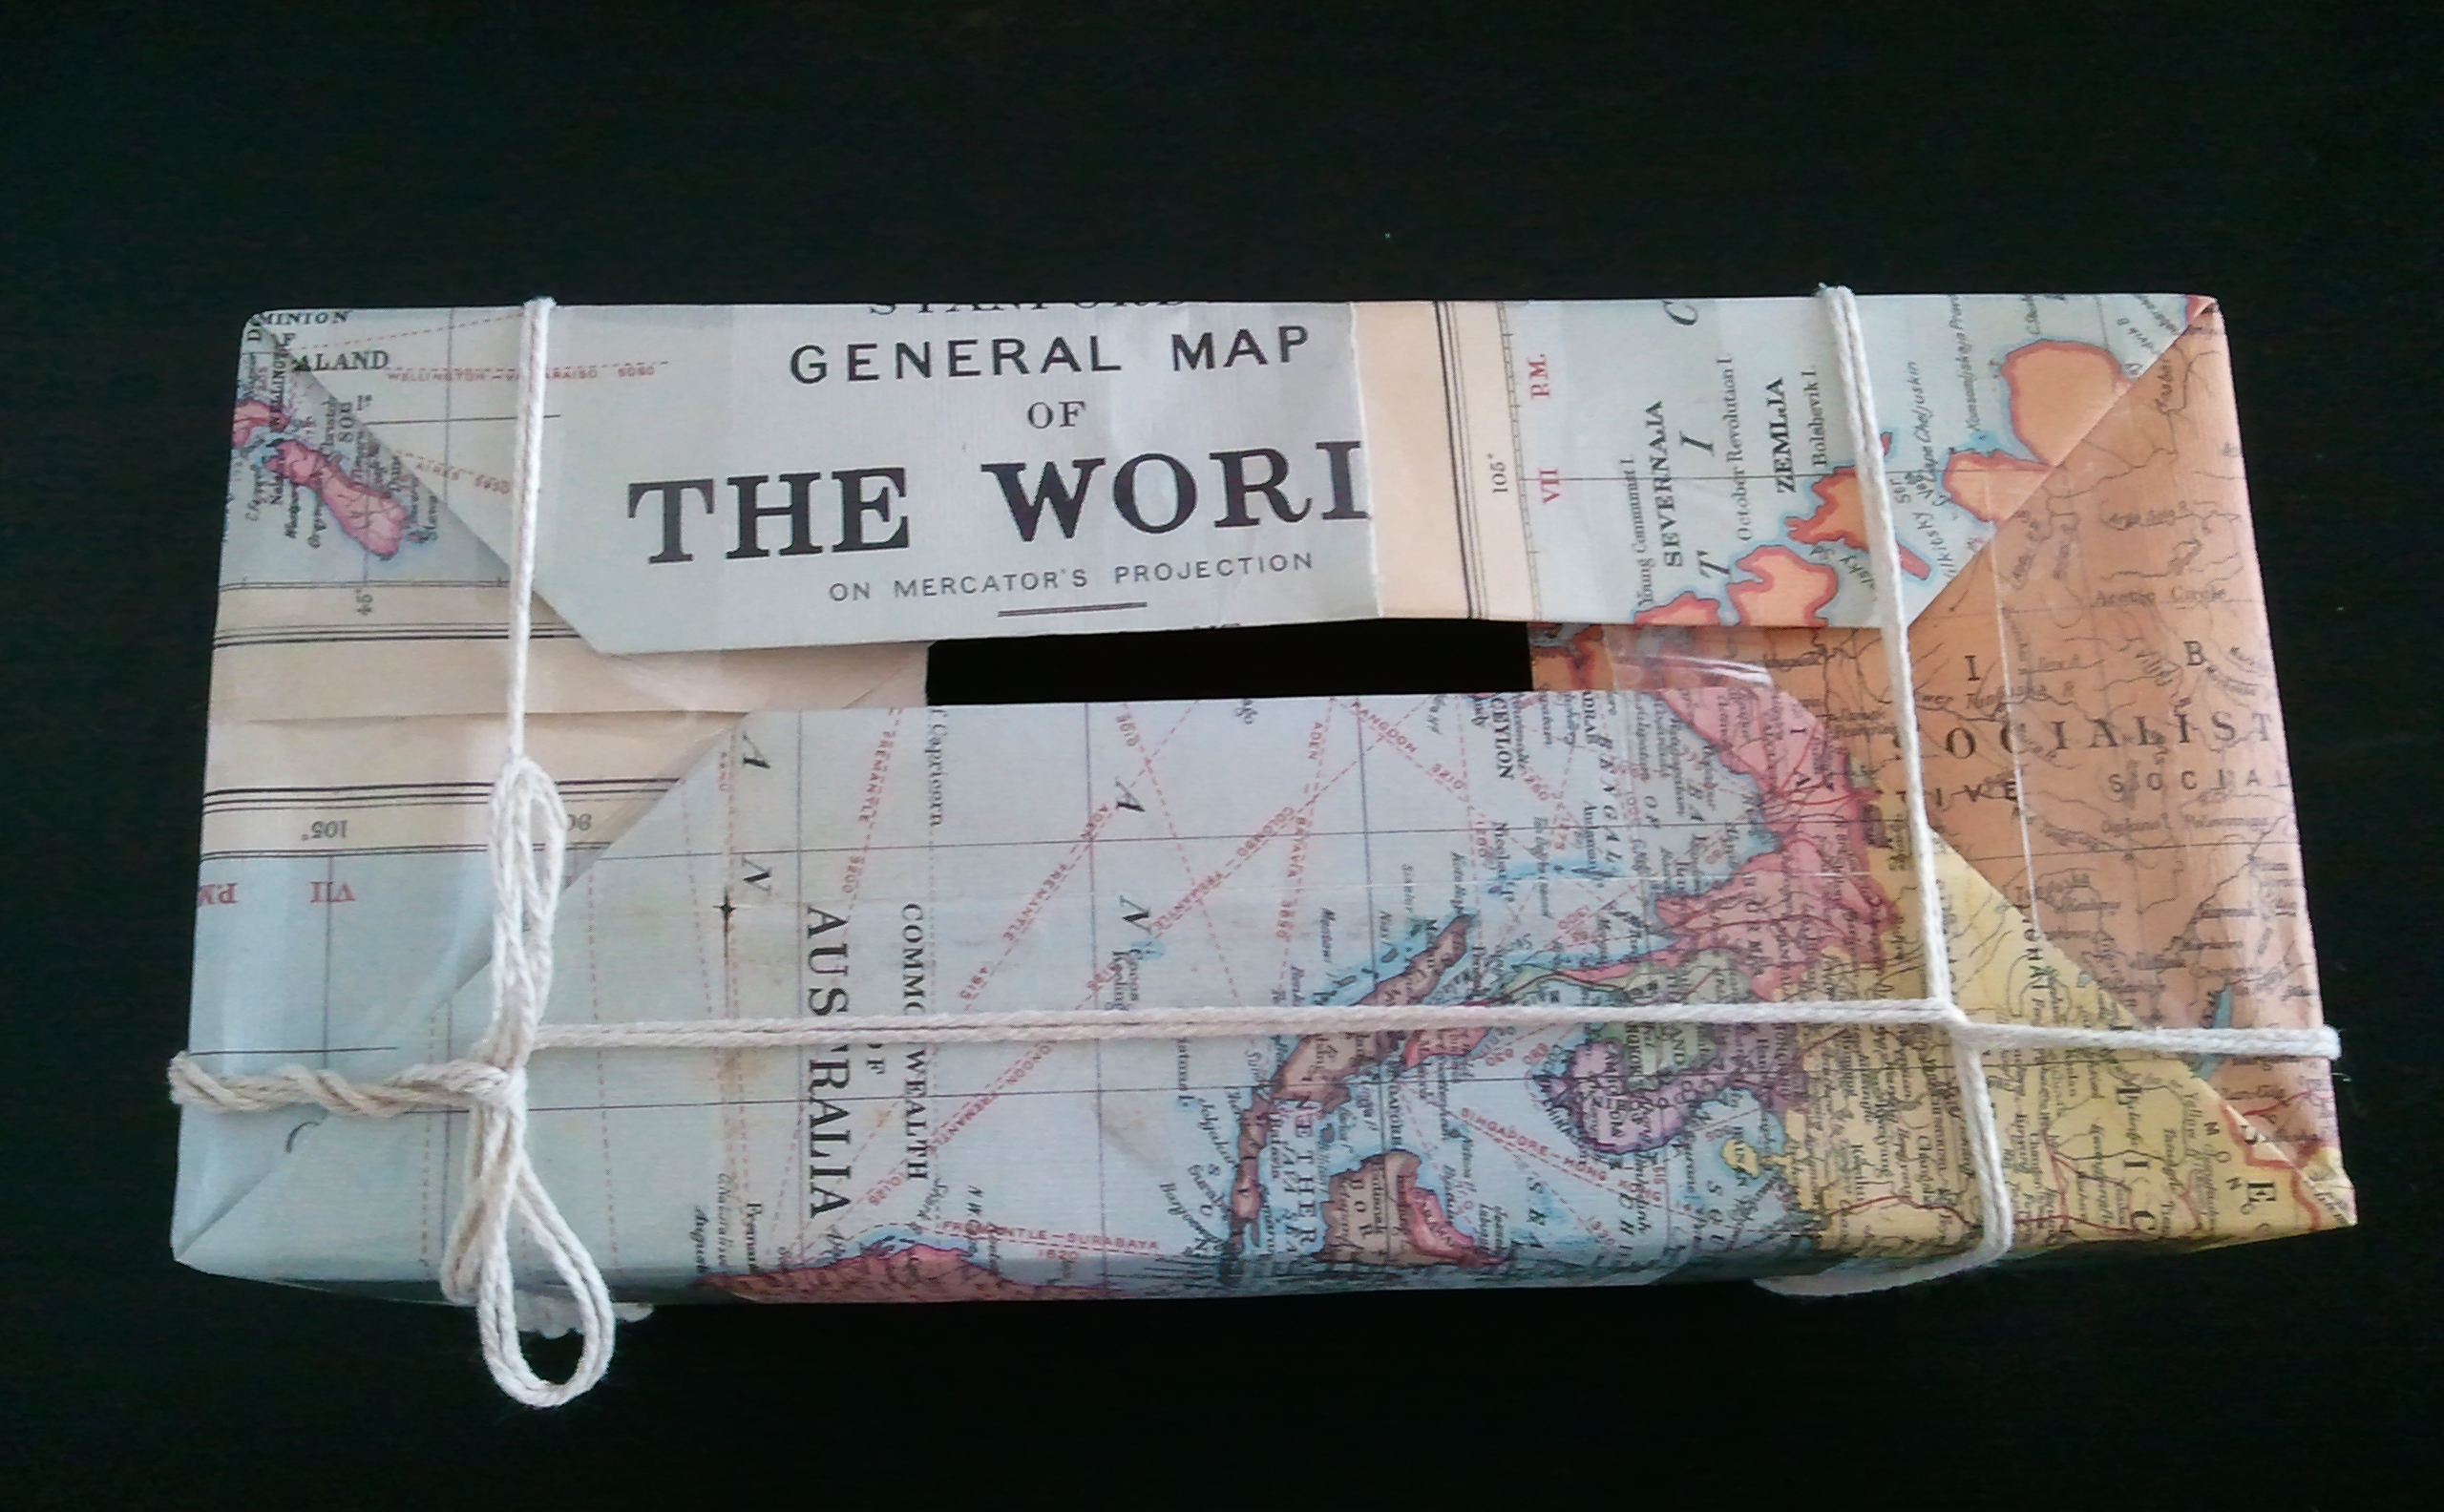
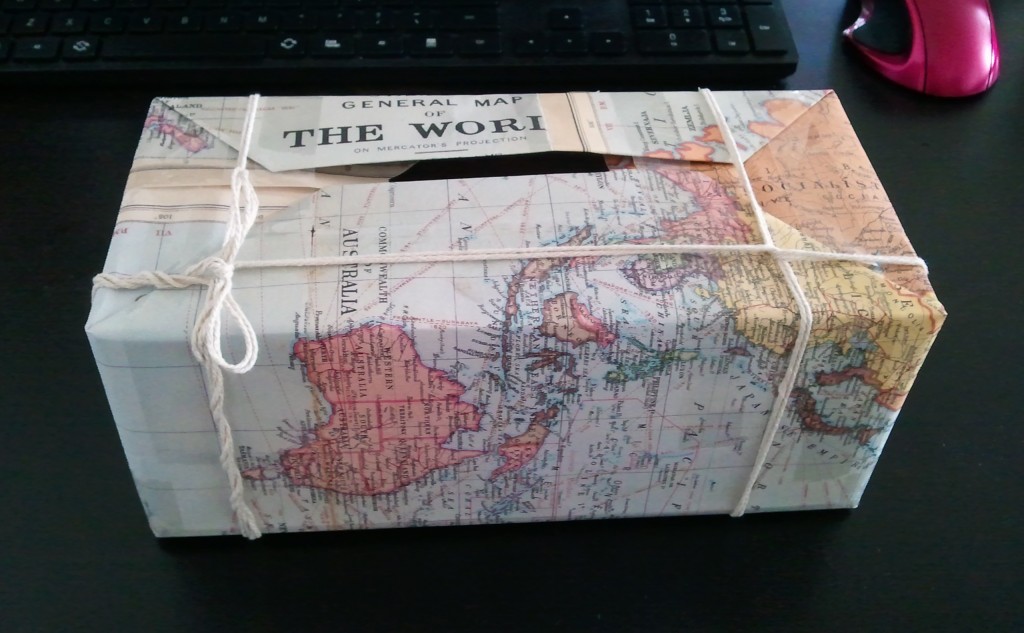
I spent the day cleaning out all of the “I can use it for crafts!” items that I have been collecting for a while and finally decided to take a little time out to get some things done. One of the first things I had to make was a “mystery holiday” bank from an empty tissue box and scraps of paper left over from this gift wrapping ideas post.
Basically, wrap the box with scraps of paper from the bottom up. If your scraps don’t completely cover one side, simply tape down some more paper to cover it up -this will also give it a more “worn down” look.
Before taping or gluing down the paper at the top where the box opening is, fold two of the sides so they form a narrow slit at the opening. This will allow you to put your coins or paper money inside without being able to reach in and get it out (during those more desperate times when we’re in need of some quick cash).
To complete the bank, I added some simple string around it to look like a cute travel package and it’s done!
Since I’ve been feeling the travel itch a lot lately, I’ve decided we’ll put away $5.00 bills only in this box 😀
Why is it a “mystery holiday”?
Once we’ve filled the box, we’ll open it up and see what we have saved up. From there, we’re going to research different destinations that fit the final budget and pack our bags!
I just can’t wait to see where we’ll end up going!
Kirigami
Kirigami is the traditional Japanese name for the art of cutting paper, more specifically, decorative paper cutting.
I’m sure many have tried it at one point or another, perhaps while in elementary school when cutting out those simple snowflakes, or even a string of people holding hands.

Kirigami has become one of the more challenging forms of paper crafts, as some artists create intricate cut outs that may take several hours, or even days to complete.
There are many simple kirigami folding and cutting techniques that are great for beginners, and the finished products are lovely cut outs that can be hung in a window, framed as a wall hanging, used to decorate mirrors or stationery, or even to create beautiful mobiles.
The greatest part about kirigami is the fact that you don’t have to use special papers like traditional chiyogami or washi. You can even use magazines or old bits of paper that happen to be around the home.
Project Featured in Cut Out + Keep!
I’m happy to tell you that one of my eco projects is now featured on Cut Out + Keep and seems to be a fan favourite!
Check it out because the site is great too!


