How to – Simple (and Inexpensive) Back-to-School Set
When little ones start school or go back to school, they always want to be more like the “big kids”. Although children in preschool and kindergarten don’t require notebooks, it’s possible to make an easy DIY personalized notebook just for fun. Throw in a few more things to go along with it and they will instantly feel more important and organized for their “long” days in school.
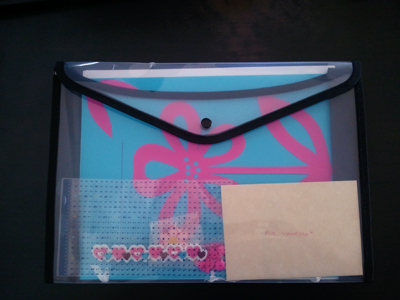
Unfortunately, I didn’t take photos of the other items in this set so I’ll list them for you here:
- DIY notebook
- Pink pencil to match the notebook
- Printed calendar with cute animal characters
- After school schedule sheets
- “First days of school” diary sheets (one lined page and one illustration page per day for one week) .
- Pink kitty cat buttons (for crafts, clothing or bags)
- Two pink flower patches (for clothes, shoes or bags)
- One embroidered row of hearts with adhesive backing (for stationery decoration)
- Handmade greeting card with an owl (for good luck)
Everything was placed in a flexible and expandable plastic case to keep everything dry and to make room for school work.
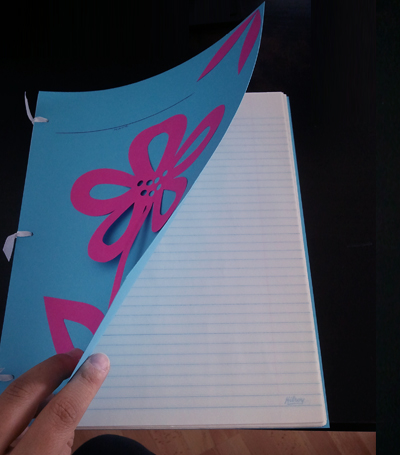
To make your own notebook, all you need is:
- a bunch of three-hole lined paper
- two pieces of cardboard paper (same size or larger than the lined paper)
- three evenly cut pieces of ribbon
- scrap cardboard paper (preferably in a contrasting colour to the other pieces)
- adhesive (double-sided tape, glue, paste…)
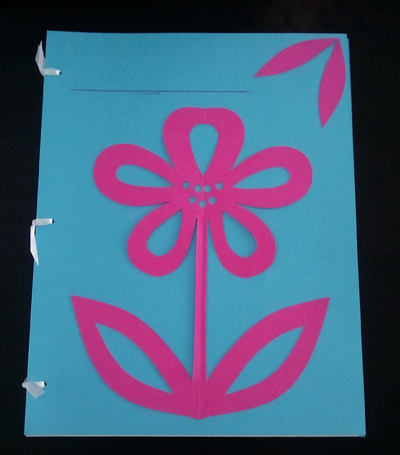
I made a kirigami flower and taped it to the front along with a line at the top for the name.
*You can find the kirigami flower instructions here.
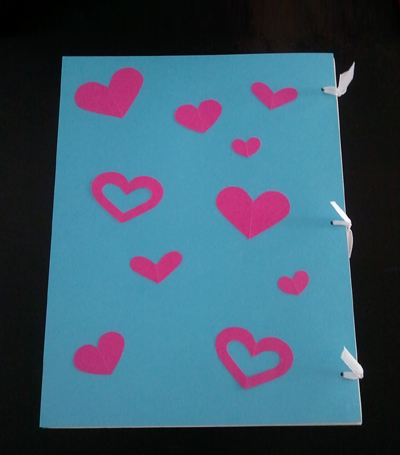
Finally took the rest of my paper scraps to make a bunch of kirigami hearts.
Comment below to let me know what you think. If you made some of your own DIY back-to-school items, please send me a message and I might just feature you on the site!
Support Canada’s Beautiful Environment and Stop Enbridge from Lying to Us
Enbridge has been releasing many different ads promoting their plans to build a tar sands pipeline that could lead to “500 oil tankers a year laden with toxic heavy crude will have to weave through the 4th most dangerous waterway in the world, making sharp, 90° turns through twisting, rocky passages.”
To get public support for their project, Enbridge decided to simply erase 1000 km2 of islands located right in the Douglas Channel to make it seem perfectly safe. In reality, such a gamble could absolutely devastate the natural environment.
I’m sure no one would want something like this to happen right in their backyards, so please show support and stop this madness by signing this petition and spreading the word to others.
Homemade Vegetable Chicken Soup
We had a sudden shift of cool rainy weather come in, making it a wonderful time for some hearty soup.
As usual, I wasn’t quite sure what was going to go into the soup or how it would end up tasting, but I just went along with what we had and added a couple of things from the grocery store to pad it out.
The end result? One of the nicest soups I’ve had in years!
Ingredients:
4-6 chicken thighs (with bone and skin)
1 ½-2 chicken bouillon cubes
4 small potatoes (cubed)
1 large carrot (cubed)
4 large mushrooms (cubed)
1 small chopped onion
4-6 chopped cloves of garlic
1 can red kidney beans (rinsed)
3 tablespoons chopped fresh chives
3 tablespoons chopped fresh parsley
2 teaspoons garlic powder
1 teaspoon dried rosemary
1 teaspoon dried basil
1-2 dried bay leaves
1 pinch of cumin powder
1 pinch of seasoning salt
1 pinch of shichimi (You can find shichimi on Amazon)
salt and pepper to taste
Procedure:
Place 1 L of water in a medium to large pot over high heat.
Add chicken thighs, potatoes and carrots.
Add 1 ½-2 chicken bouillon cubes, followed by salt, pepper, garlic powder, rosemary, cumin, basil, shichimi and bay leaves.
Once the water begins to boil, reduce to medium heat.
On a small pan, lightly fry chopped onions with a tablespoon of extra virgin olive oil over medium heat.
After 2 minutes or so, add garlic to the onions and fry for an additional minute.
Remove from heat and add the onions and garlic to the boiling pot.
Add mushrooms and kidney beans to the pot then boil for a few more minutes.
Add chives and parsley to the boiling pot and allow to cook for 1 minute before removing the soup from the heat.
Enjoy with garlic bread or herb crackers!
*The soup tastes even better the day after!*
How to: Recycle Old Packaging for Ice Cubes
For those of you who may have a lot of product packages around the home and would like to find some use for them, consider turning some into fun ice cube trays.
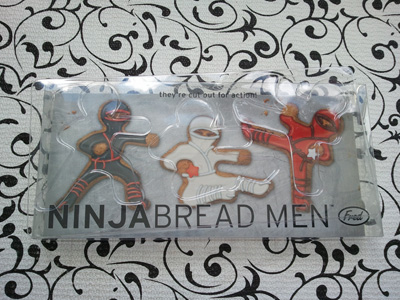
A while ago, I bought myself these adorable ninja-shaped cookie cutters and kept the package for a craft that I still have to think up. In the meantime, I can use the little plastic insert to make ninja-shaped ice cubes!
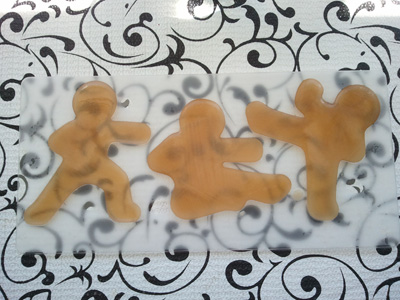
I washed the package insert and filled it with iced tea.
I then gently placed it on a flat surface in the freezer and left it there for about an hour.
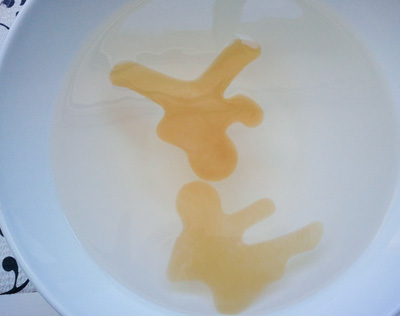
They turned out great!
You can then add them to drinks for have them “fight” while whirling in a bowl of cold water.
Try this out with different packages like plastic egg cartons, electronics packages and more to see what comes out when you add a little water or juice to them!
***If you would like to get your own ninja cutters, you can click here to find them on Amazon***
Quick Craft Tip – Homemade Confetti
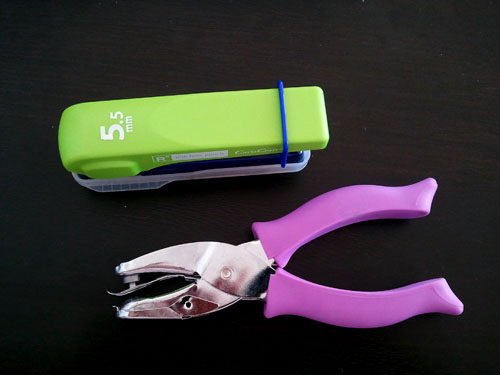
Most crafters will have several different paper punches that they use for a wide variety of crafts and decorations.
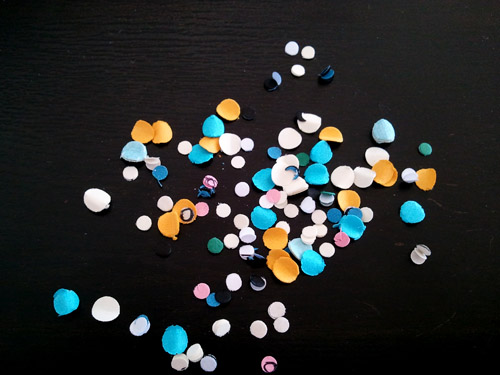
Whenever I fill up a hole punch, I always keep the small bits when cleaning them out since they make wonderful instant confetti. In this case, I combined two different sizes for “confetti depth” which is simply a way to make it a little more interesting to look at.
You can pretty much use this homemade confetti the traditional sense, sprinkled on table tops for parties, or you can use them for many other crafts and decorations. Here are a few more ideas that you can use for homemade confetti:
1 – Glue them down on greeting cards
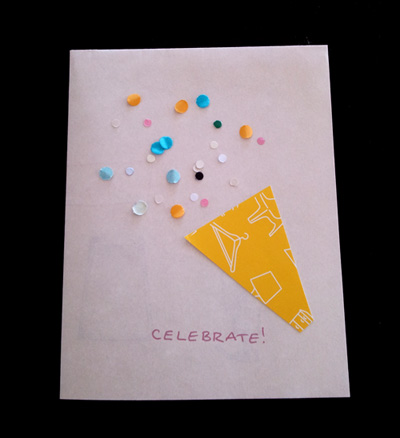
2 – Fill clear glass bowls and vases with water and throw in some confetti -some will sink to the bottom and others will float for fun confetti centerpiece decorations. You can then add flowers (real, faux , paper) or floating candles for a more romantic feel.
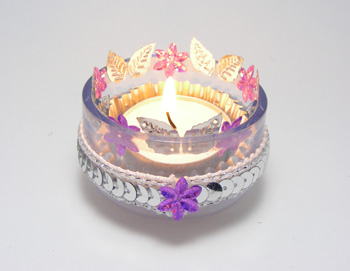
3 – If you have more decorative hole punches, you can glue them on tea light holders…
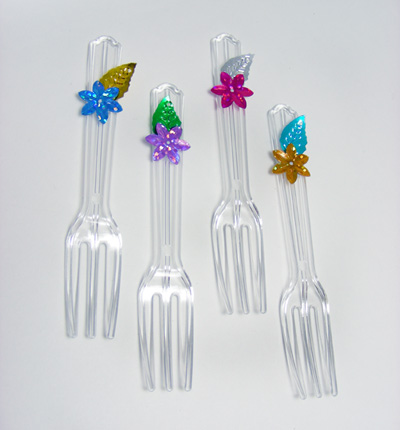
4 – …or glue them on plastic party cutlery.
5 – Add confetti to your existing nail polish to make your very own confetti nail polish for added sparkle -and save money rather than spending extra on “specially made” confetti nail polish.
There are so many uses for homemade confetti, I can list them all day, but I’d like to know what you use confetti for?
Please comment below to share your fun ideas!


