Book Sale!
Hi all *^_^*
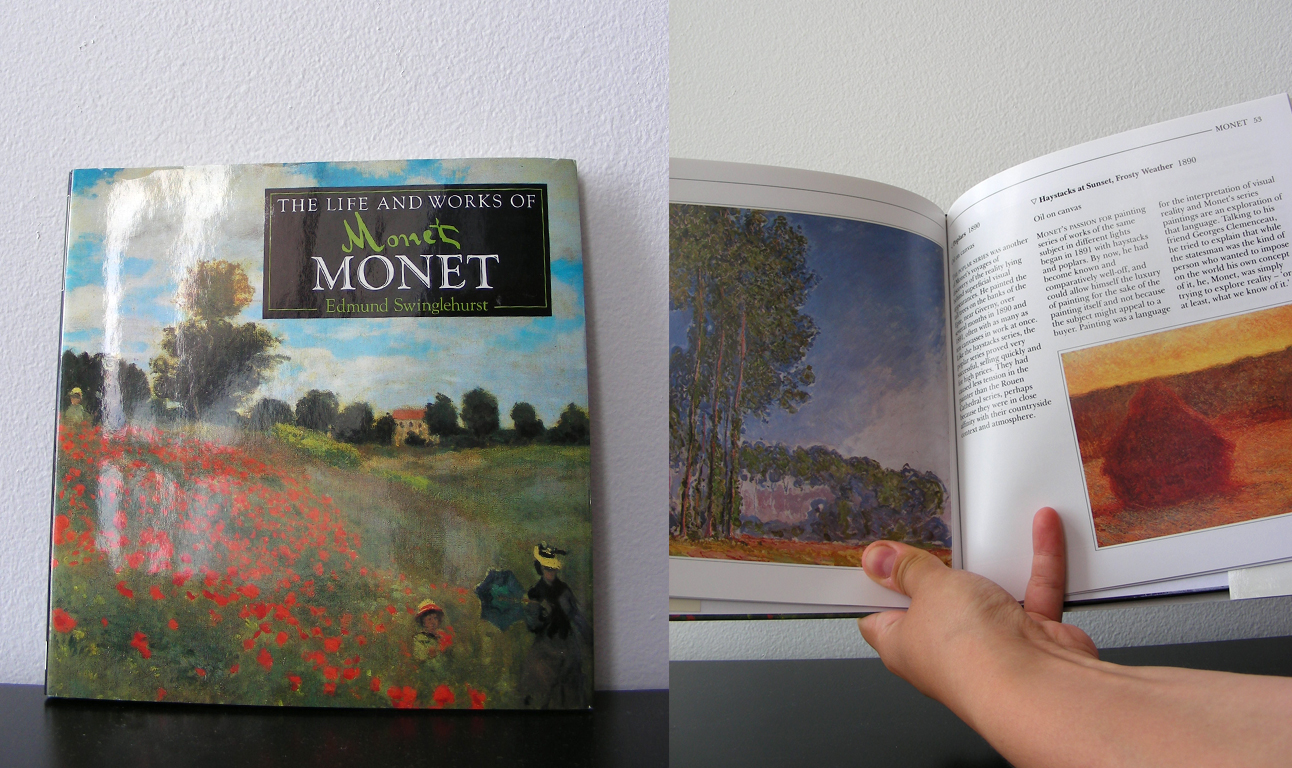
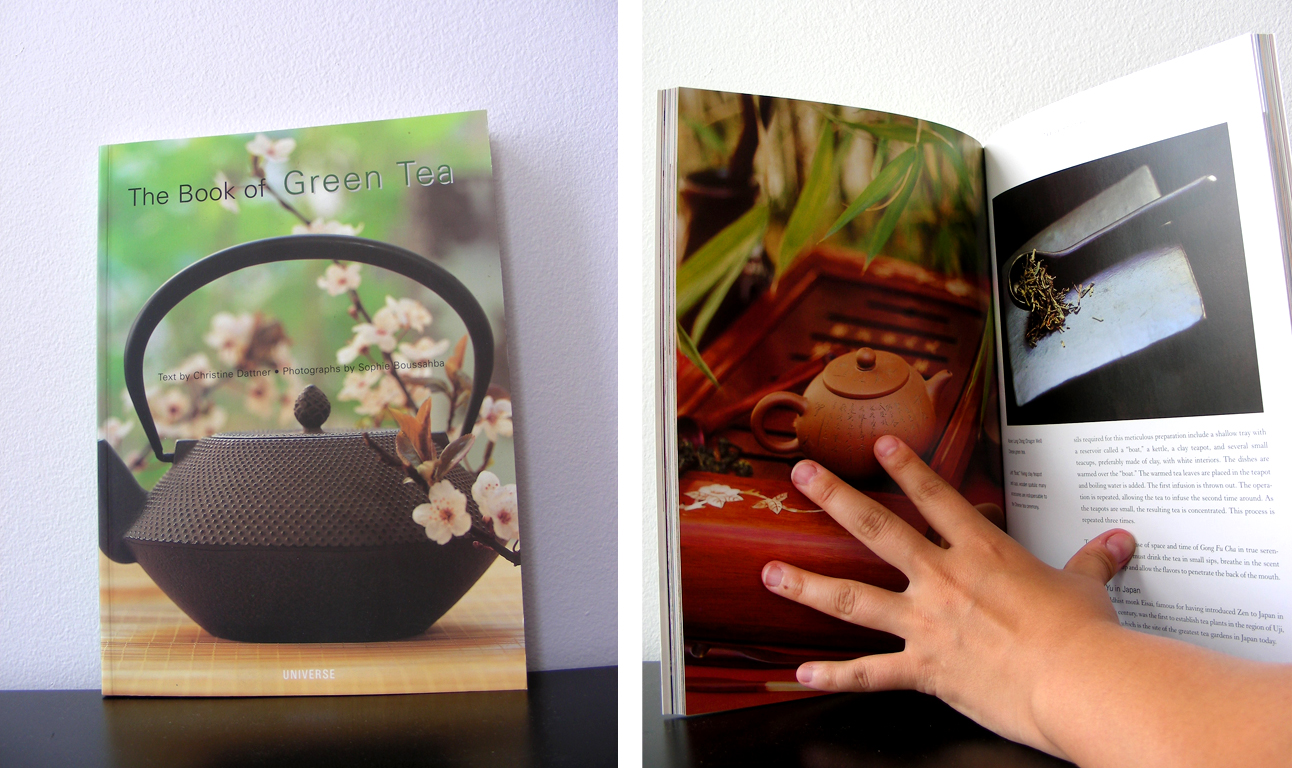
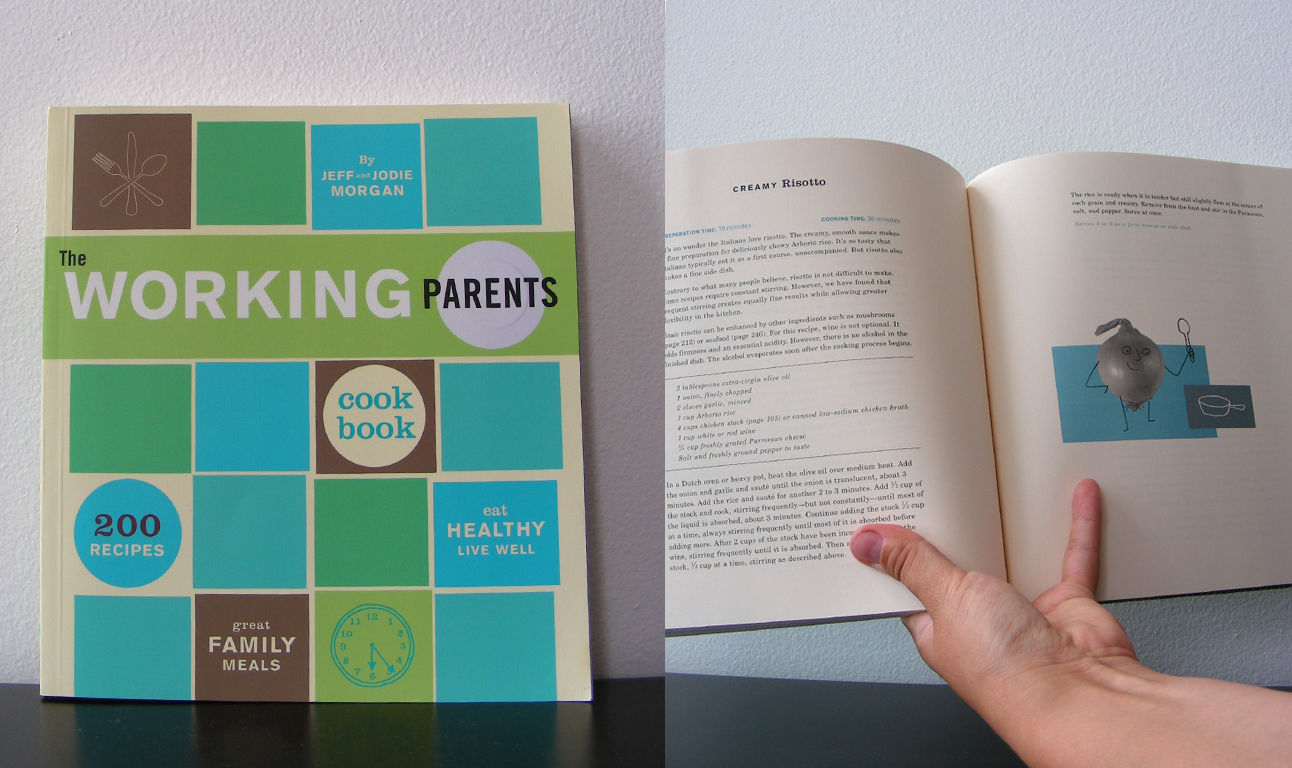
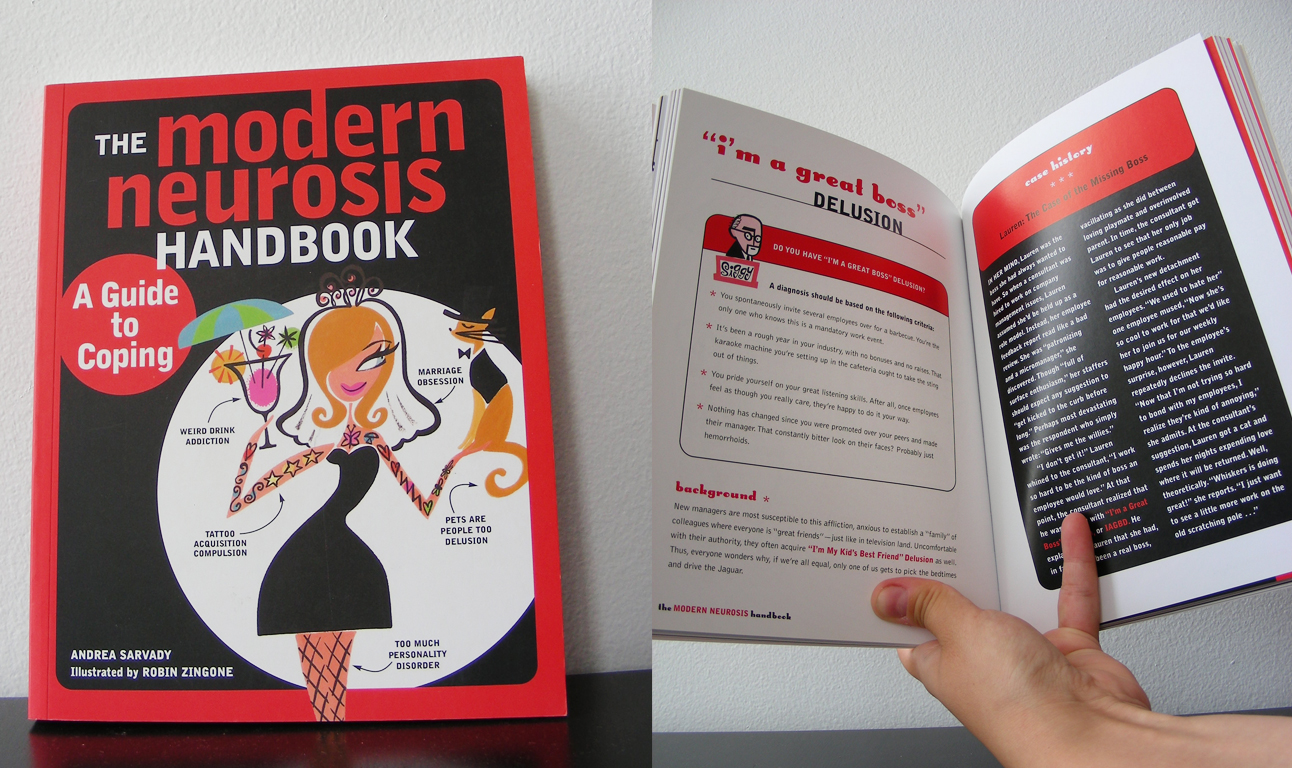
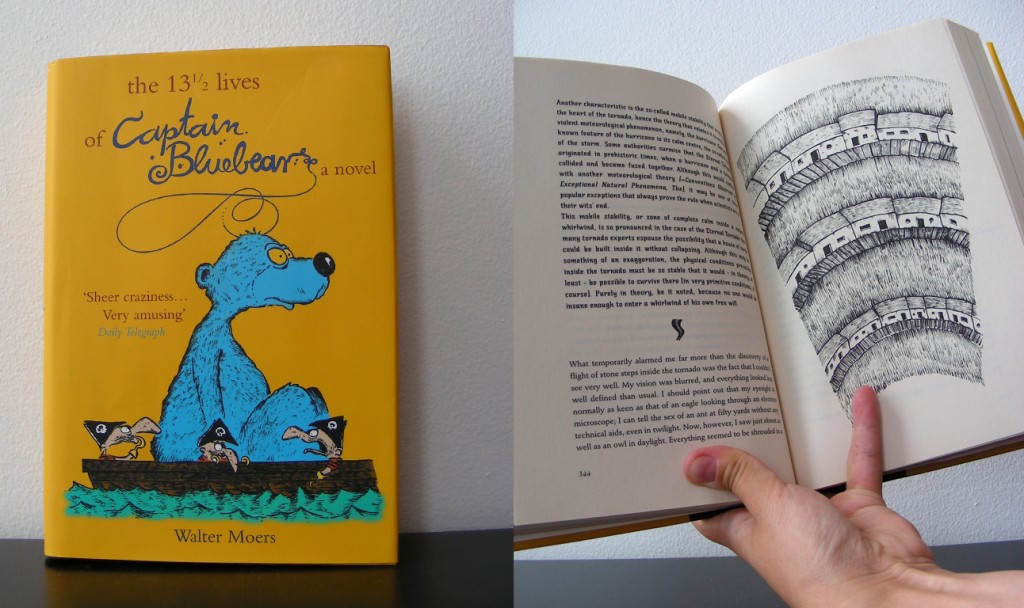
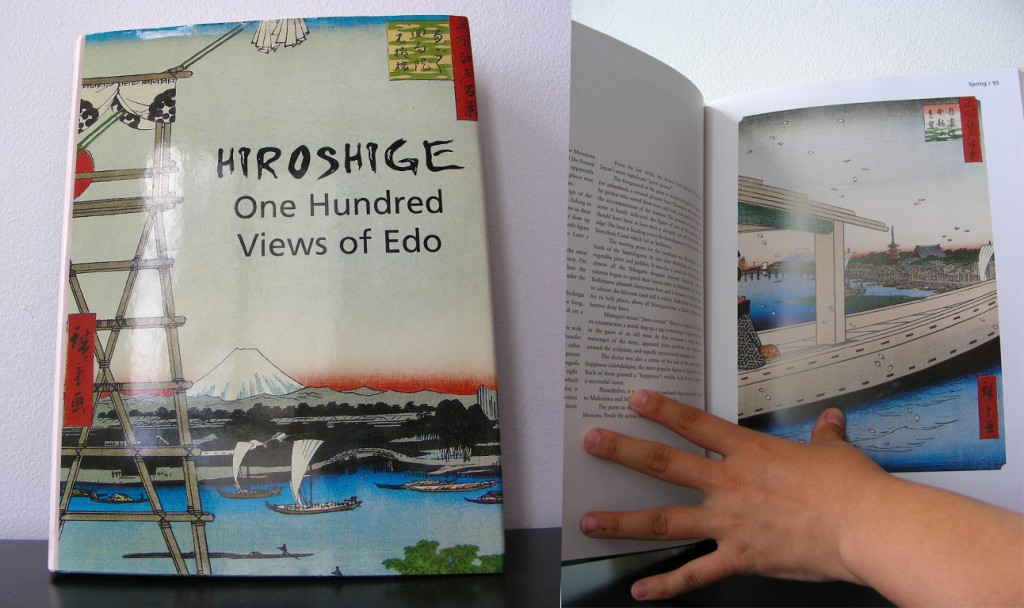
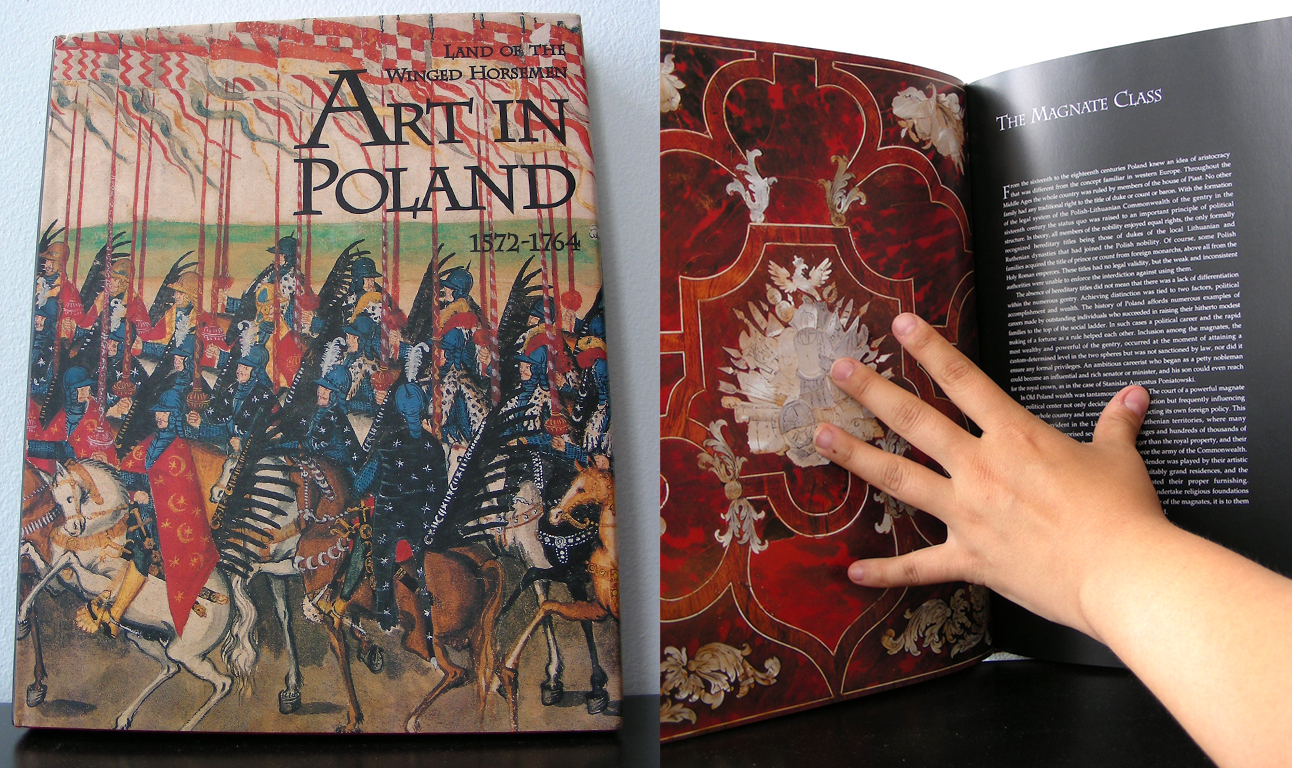
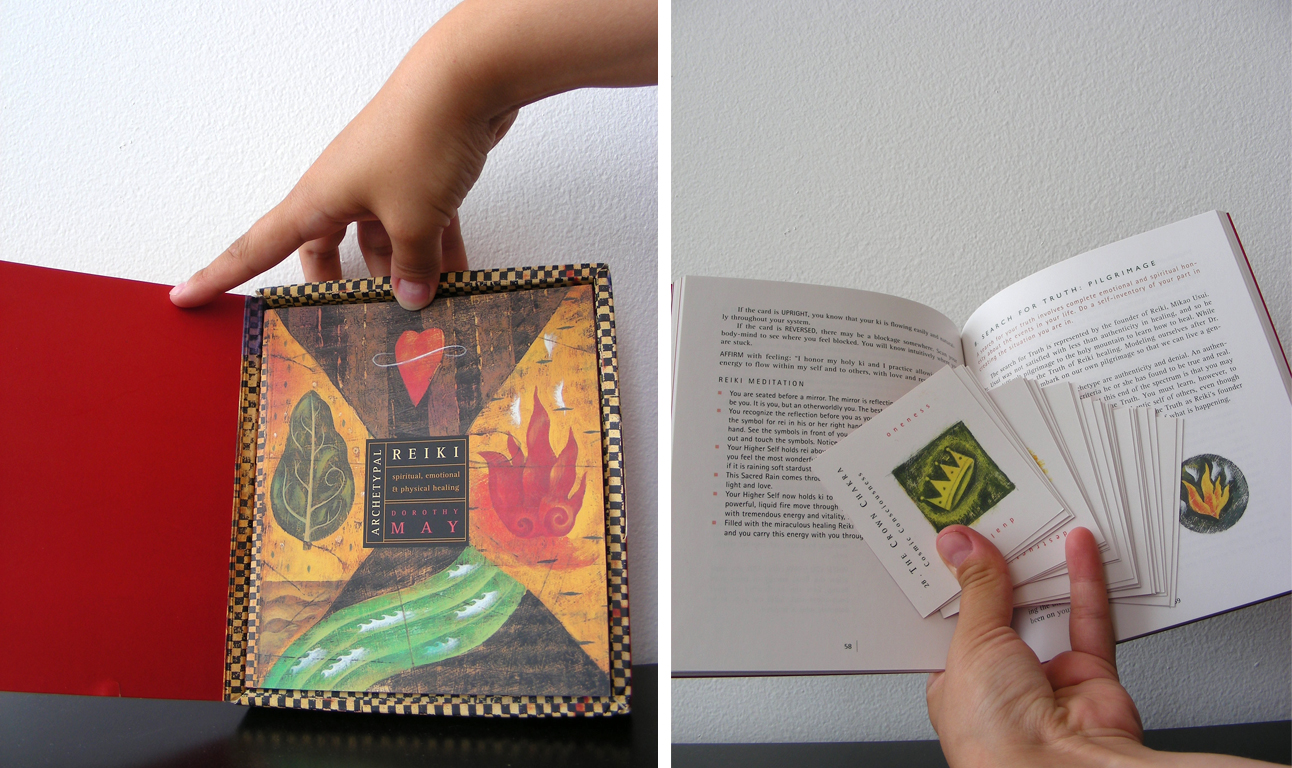
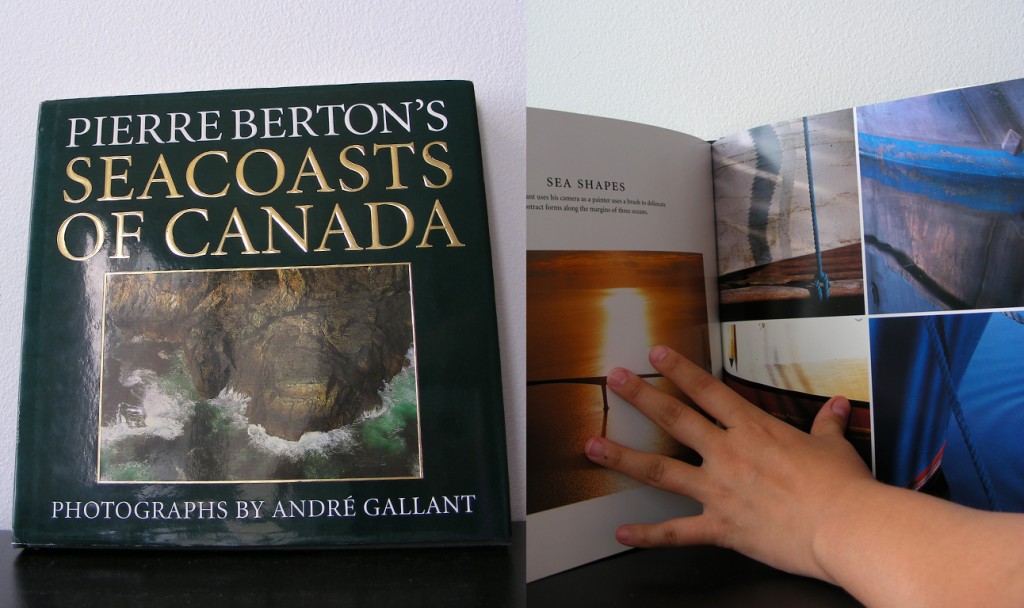
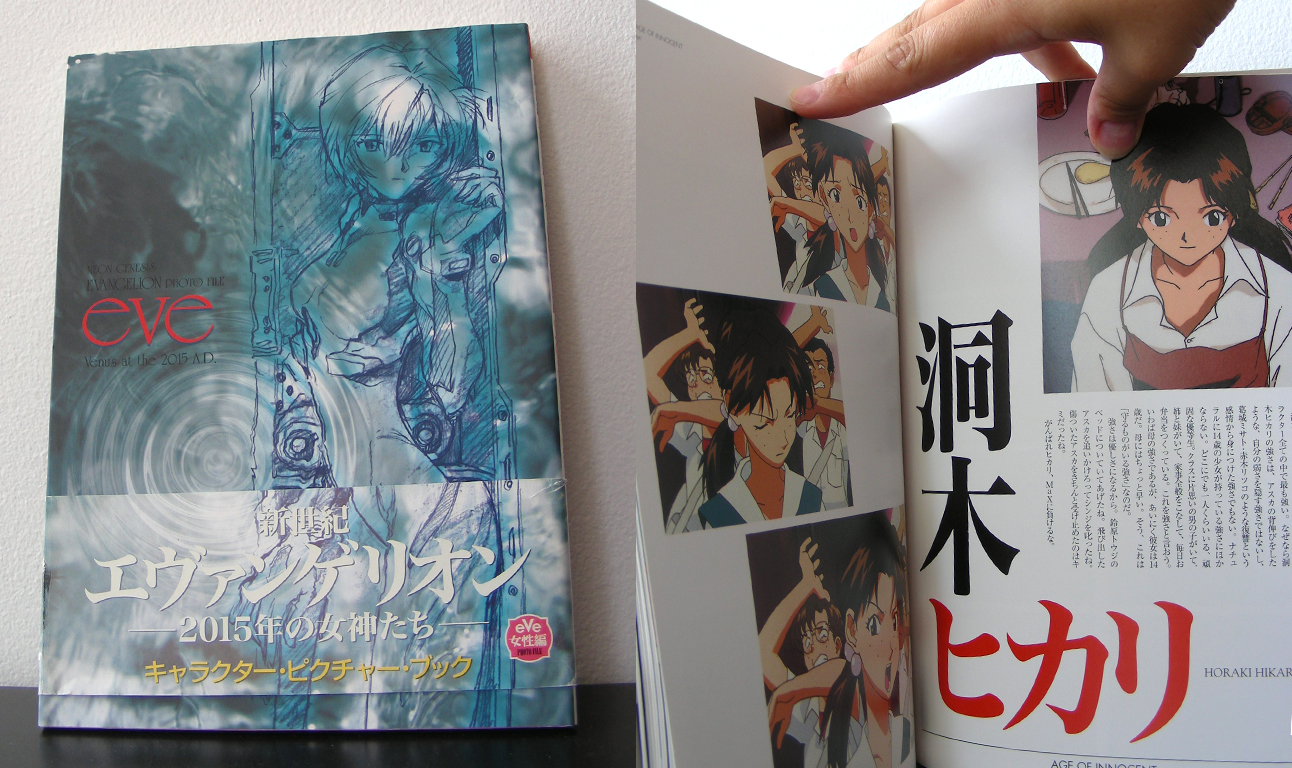
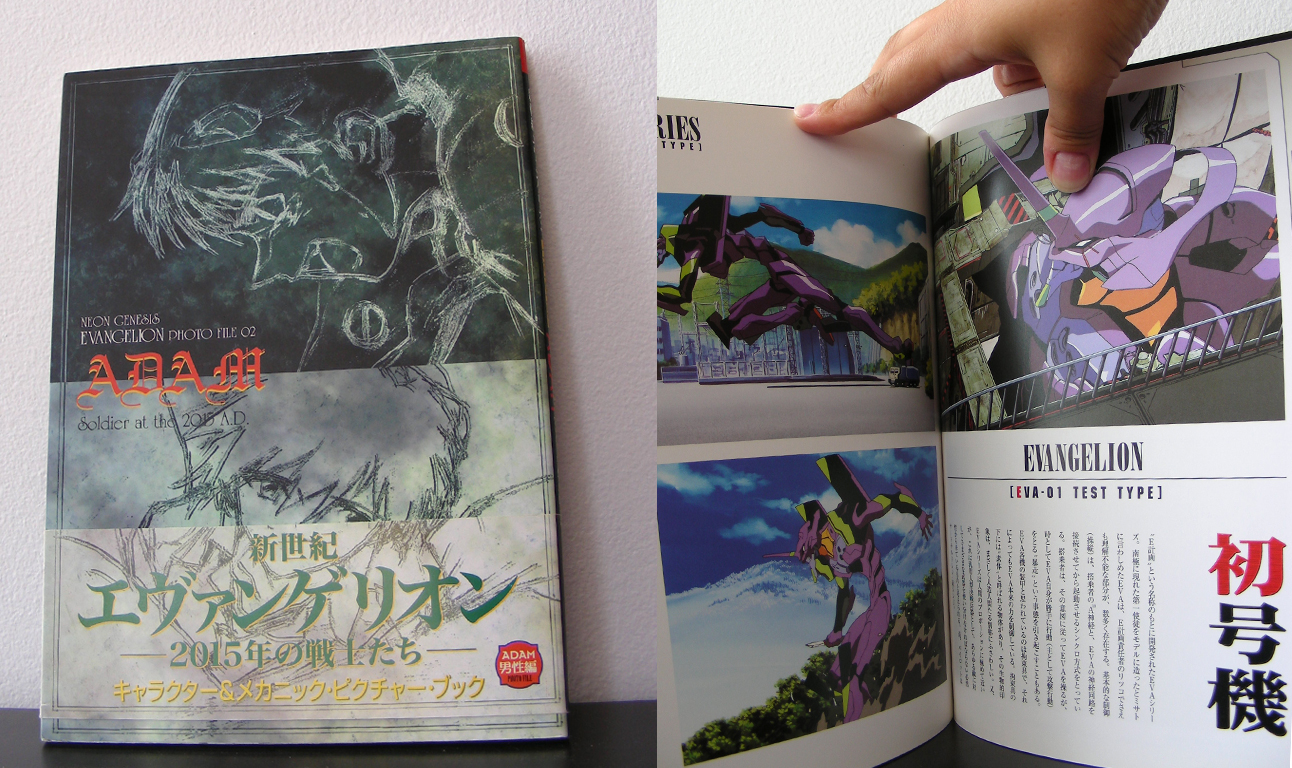
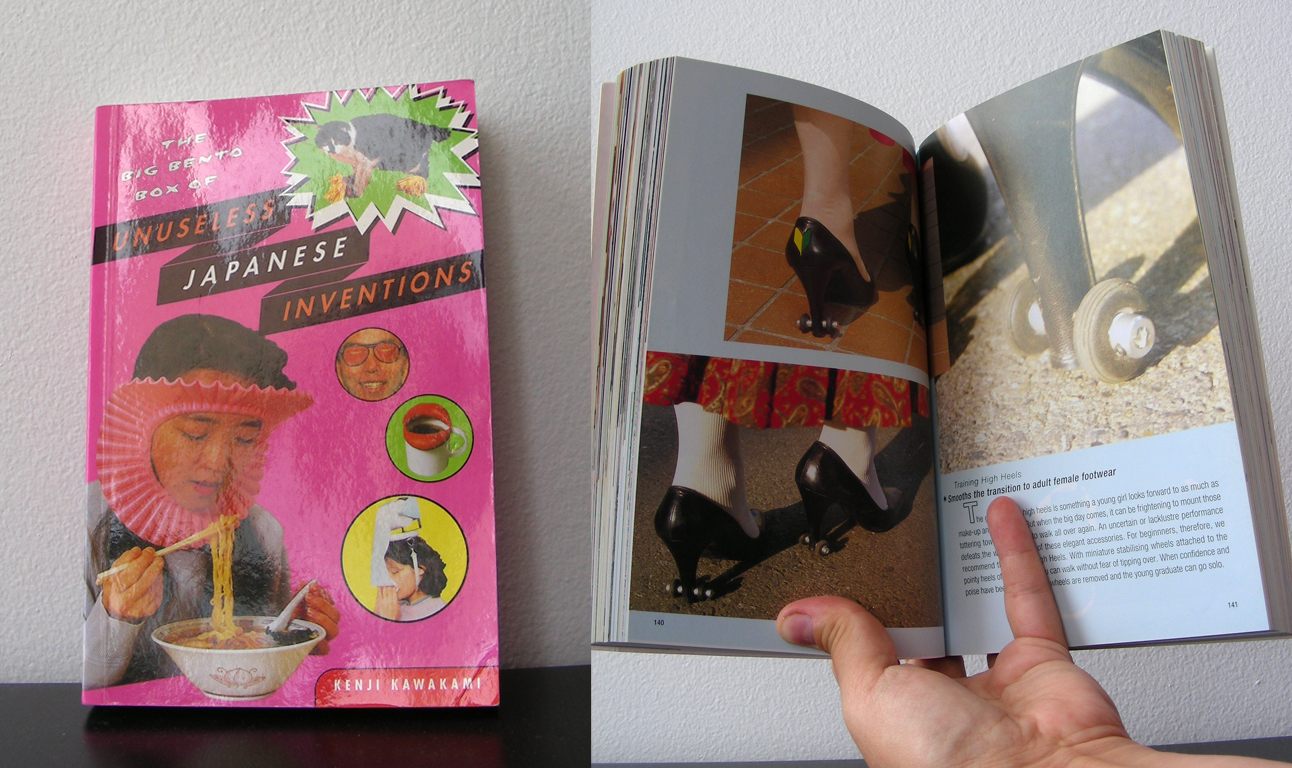
I’m selling some books so please have a look and message me if you are interested in any of them!
I love all of these books and have kept them in excellent condition. Although I would love to keep them, I’m sure they will find equally loving homes elsewhere 🙂
*Shipping will be determined according to delivery area.
How to: Adorable Bunting from Wallpaper Scraps
Here’s a very simple how to craft that pretty much anyone can do. Whether it’s for a party or for fun, this craft is a fun way to recycle scraps of decorative paper and doesn’t have to cost much -it can actually be free if you happen to have the following items just laying around the home:
- Paper scraps
- Thick cardboard
- Ribbons or string
- Sewing thread and needle OR double-sided tape
- Scissors
Start off by drawing and cutting out an acute triangle with the cardboard to make the main template.
*Print or Save this shape for your crafts: bunting
Next, sort through paper scraps and group colours and patterns that work nicely together.
Use the template to draw the bunting shape on the back of the paper and cut them out.
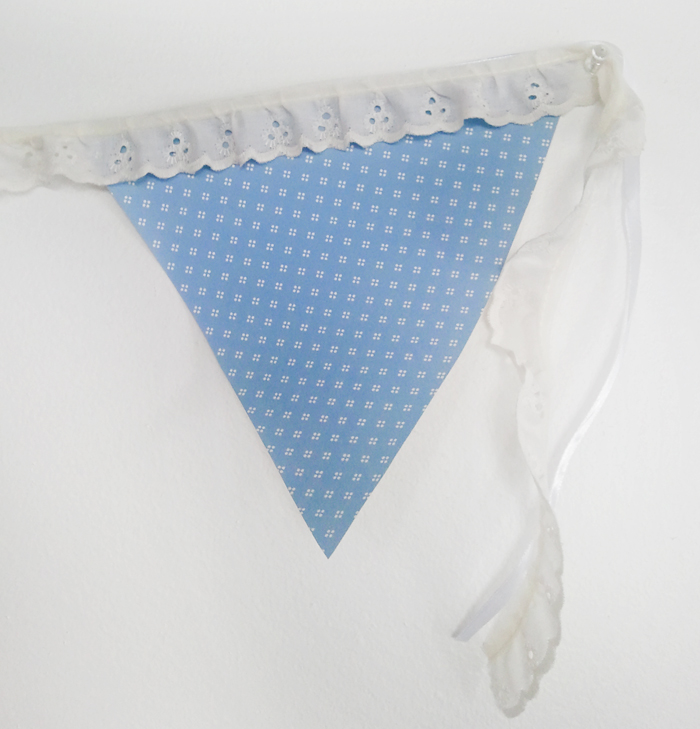
I managed to find some pretty lace for the top of the bunting, so I arranged and spaced the pieces until I was happy, then sewed the pieces onto the lace.
In the end, this is how it turned out:
Sadly, I was too busy at the party to even get a few photos to show you how they looked around the room 🙁
Perhaps I’ll have to make another event to get some good photos 😉
Engagement Party Fun!
My best friend has her engagement party today and I’m helping out as much as I can. I made a few decorations that she’ll hopefully like (I’ll post “how to’s” for them later) *^_^*
I also managed to get a fun gift add-on from a talented artists I found through Fiverr (here’s his link: http://fiverr.com/eadgery). He can draw virtually anything you like in a Disney style and I absolutely love it! He’s more than just the standard $5.00 when choosing add-ons for the work, but I think it’s totally worth it!
Here’s how it turned out:
I added a little Paris stamp in the top left corner with the date of their actual engagement in Paris (how romantic!). I figure this is a fun little keepsake for that special moment in their lives -I really hope they like it.
More photos and projects to come in the days ahead, so please stay tuned *^_^*
How to: Tissue Box “Mystery Holiday” Bank
I spent the day cleaning out all of the “I can use it for crafts!” items that I have been collecting for a while and finally decided to take a little time out to get some things done. One of the first things I had to make was a “mystery holiday” bank from an empty tissue box and scraps of paper left over from this gift wrapping ideas post.
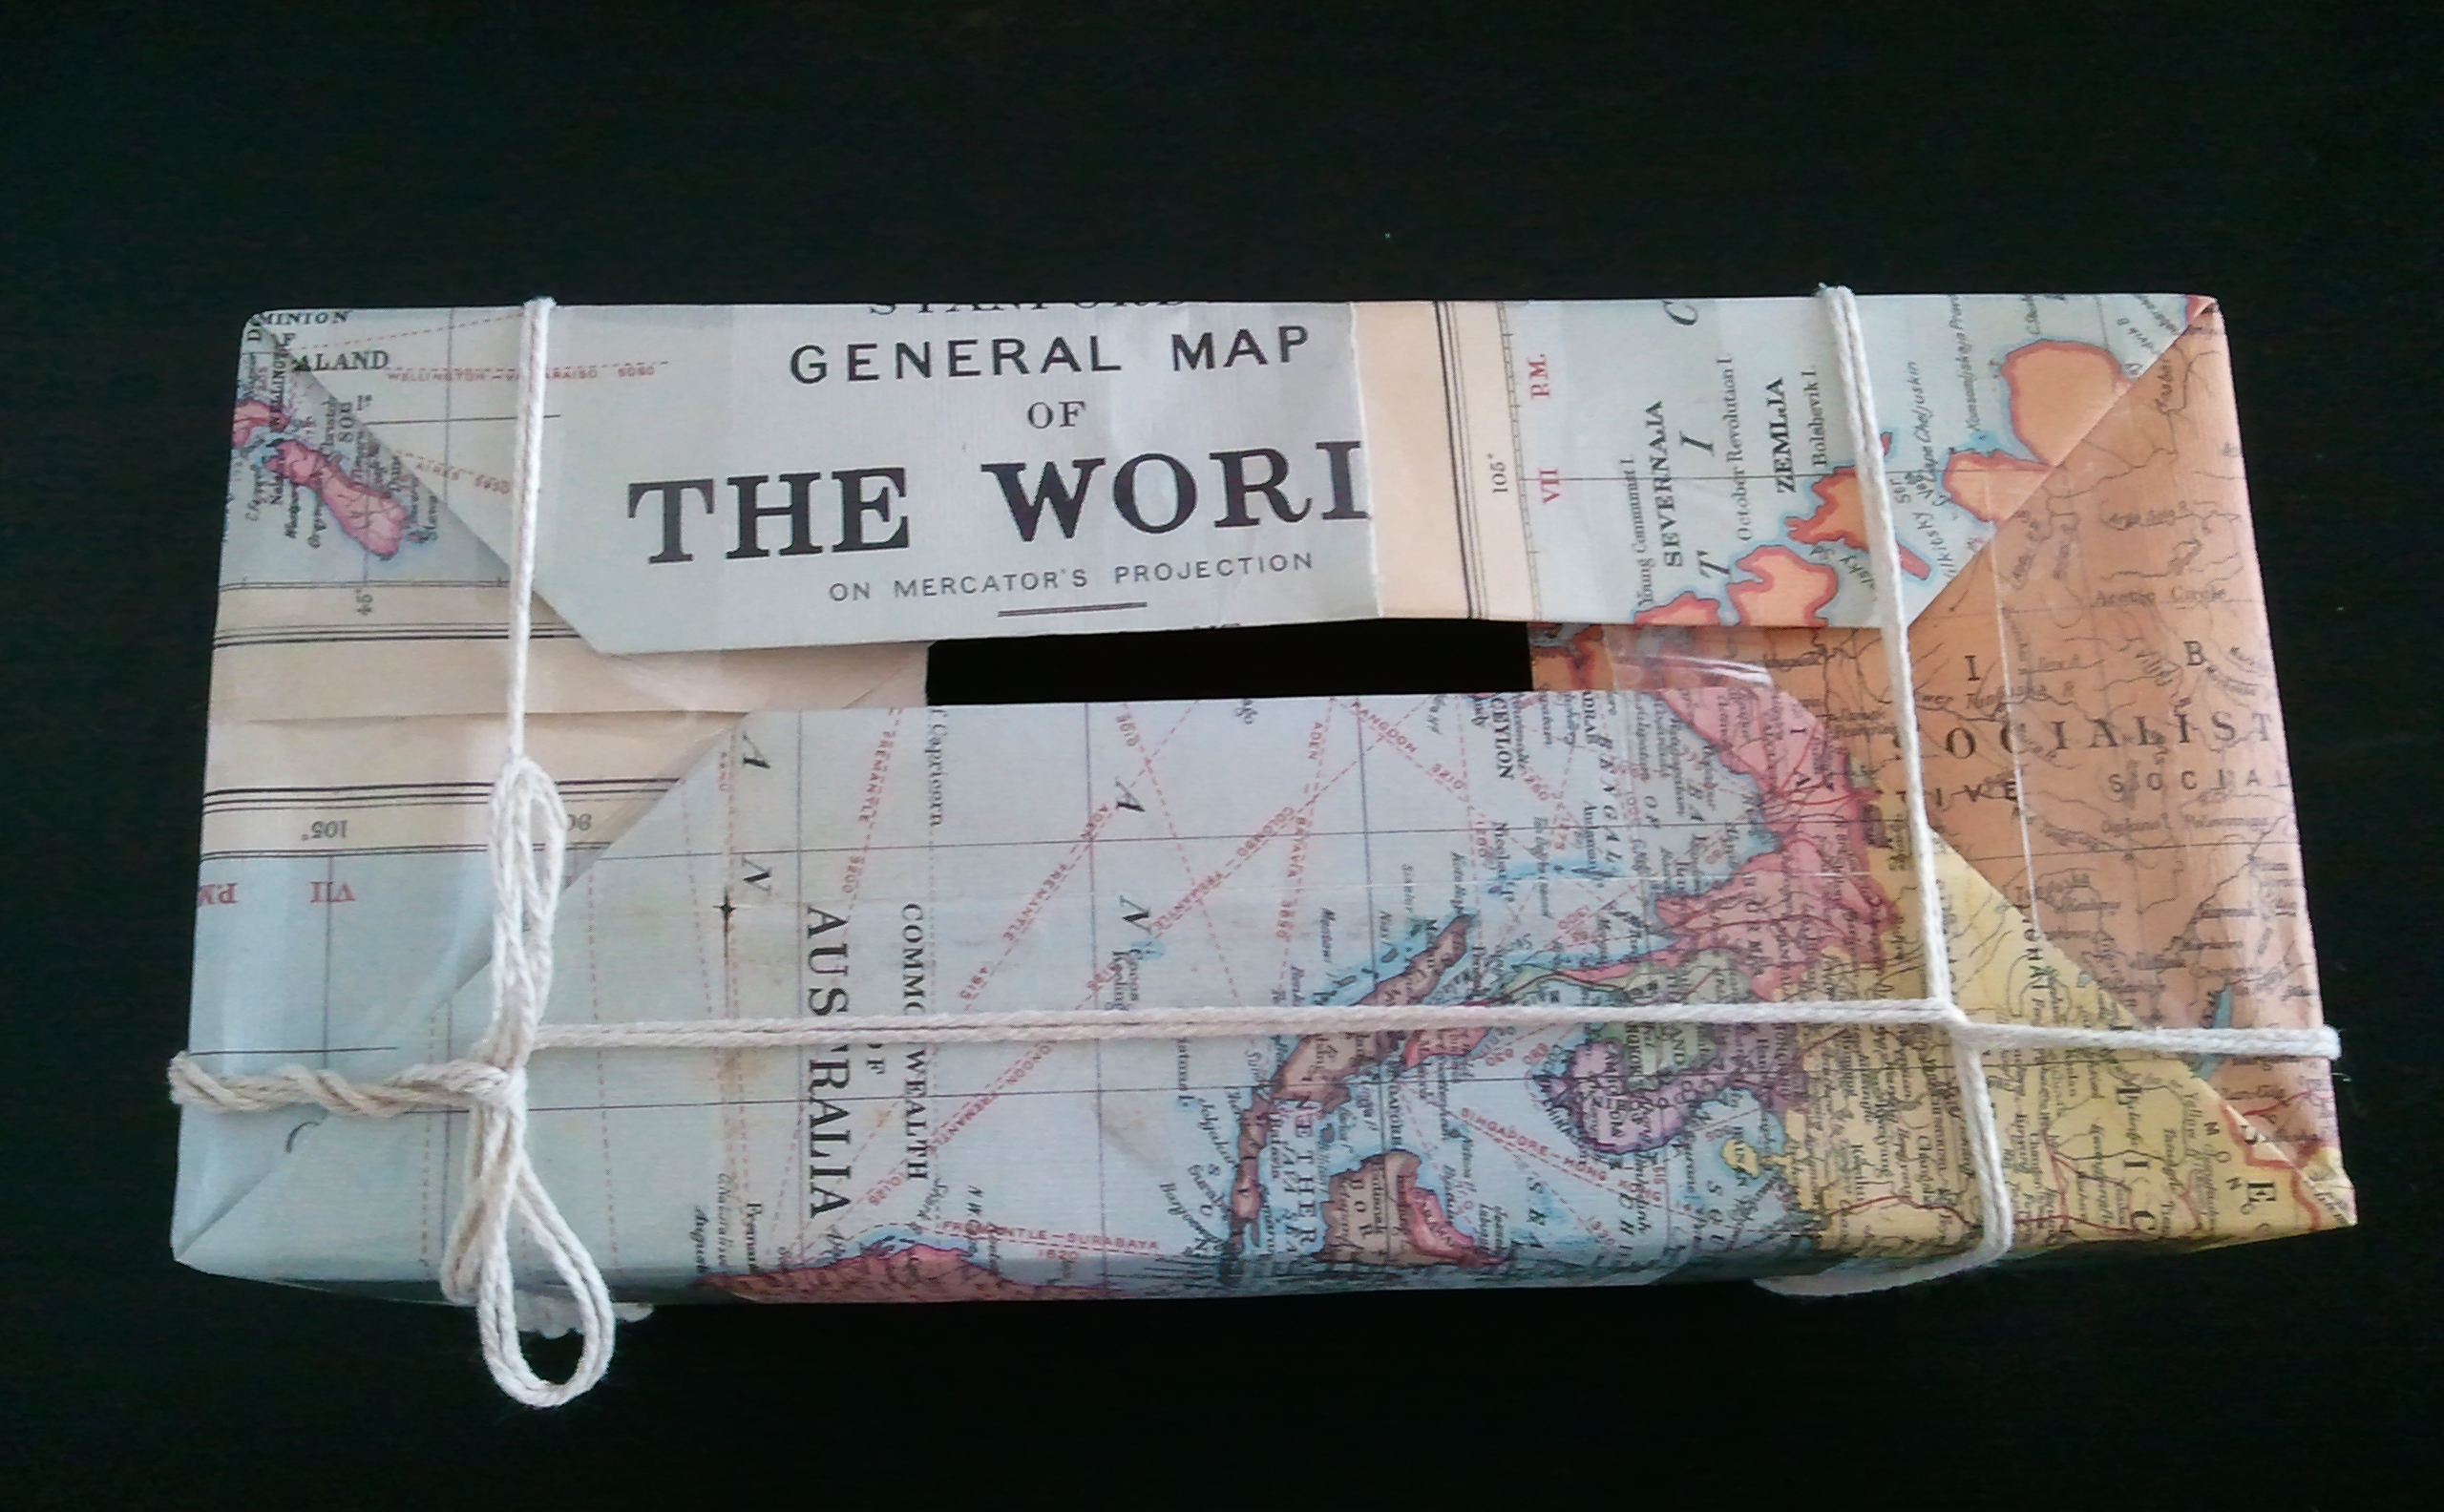
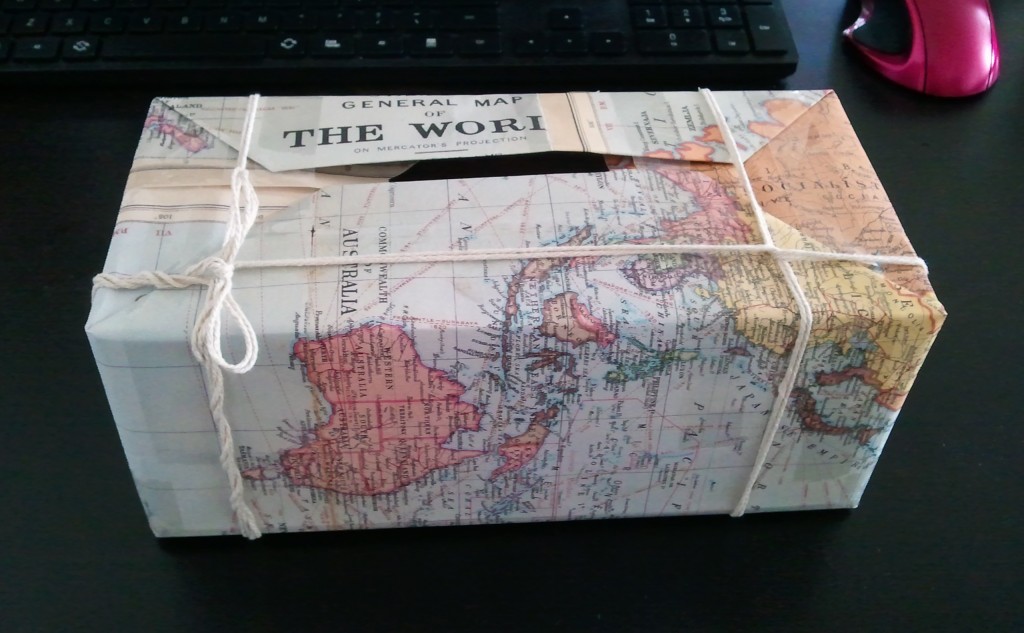
Basically, wrap the box with scraps of paper from the bottom up. If your scraps don’t completely cover one side, simply tape down some more paper to cover it up -this will also give it a more “worn down” look.
Before taping or gluing down the paper at the top where the box opening is, fold two of the sides so they form a narrow slit at the opening. This will allow you to put your coins or paper money inside without being able to reach in and get it out (during those more desperate times when we’re in need of some quick cash).
To complete the bank, I added some simple string around it to look like a cute travel package and it’s done!
Since I’ve been feeling the travel itch a lot lately, I’ve decided we’ll put away $5.00 bills only in this box 😀
Why is it a “mystery holiday”?
Once we’ve filled the box, we’ll open it up and see what we have saved up. From there, we’re going to research different destinations that fit the final budget and pack our bags!
I just can’t wait to see where we’ll end up going!
DIY Eco-Friendly Craft Projects for Families
By Scott Humphrey
When creating with kids, don’t worry about stocking the craft cabinet with art supplies purchased from the craft store. You don’t need to spend much money to provide kids with a well-rounded sensory experience. Instead of buying new paper at the store, save junk mail and used computer paper for kids to use in their art projects. Tin or aluminum cans should be recycled for hundreds of crafty activities. With some repurposed items, a few key supplies like glitter and rubber stamps and a healthy dose of creativity, you and your kids will be able to create imaginative and practical items.
Do you often find yourself recycling or discarding aluminum cans? Instead of throwing them out, reuse them to make practical herb or flower pots. Kids will be excited to grow their own flowers or plants, and they will love personalizing the can with colorful paper covered with designs imprinted by custom stickers.
Supplies
To create a unique miniature flower pot, you’ll need the following materials:
- An empty aluminium or tin can
- Nails or a screwdriver and a hammer
- Scraps of decorative paper or fabric
- Decoupage glue, such as Mod Podge
- A paintbrush or sponge-tipped applicator
- Rubber or self-inking stamps
- Paint, coloured pencils, crayons or markers
- Glitter (optional)
- Potting soil
- Herb or flower seeds
Instructions
- Thoroughly wash and dry the can or cans you intend to use. If there are any rough edges around the opening of the can, sand them to a smooth finish with a metal file. Create holes in the bottom of the can by pounding a nail or a screwdriver into the surface with a hammer.
- To enhance the earth-friendly appeal of this project, use recycled paper. You can use brown paper from grocery or lunch bags or wrapping or tissue paper saved from your last celebration. Instead of paper, you can even use scraps of fabric cut from clothing you’re planning on donating.
- Cut scraps of paper or fabric to fit around the can. You can measure and cut a rectangle to fit around the can perfectly or tear the paper into small pieces and create a collage. Decorate the paper however you wish. You can create colourful designs on the paper with rubber stamps or draw designs with markers, paint or crayons.
- To stick the paper or fabric to the can, spread a substantial layer of decoupage glue over the entire can. Smooth the paper or fabric over the can, and then coat it with another layer of decoupage glue. Continue to add scraps, layering them with glue, until you have achieved the look you want. For added flair, sprinkle glitter on the wet glue. Let the can dry for at least 24 hours.
- Once the glue has dried, fill the can with potting soil. Plant a few seeds in the soil and place the can in a sunny location. Water as needed and watch your new plant flourish. As a final touch, write the name of the plant on the outside of the can with paint.
- Personalized tin can pots make sweet arrangements, especially when a variety of sizes are combined. Combine 28-ounce tomato cans, 15-ounce cans of beans and cans of tuna to create interest. These look adorable lined up on a windowsill soaking up the spring sunlight or as a refreshing centrepiece for a dinner party.


