Hanami in Japan
Hello everyone!
My apologies for the delay in posts, but I’ve been sick in bed and slowly recovering.
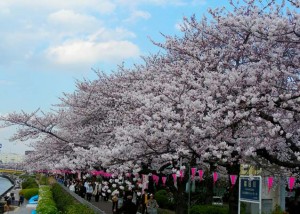
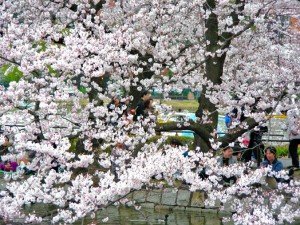
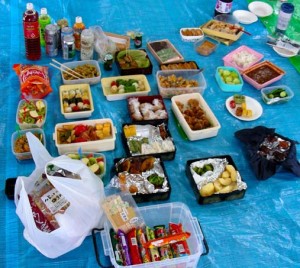
For your enjoyment, I’ve posted a few pictures from previous hanami(cherry blossom viewing) picnic celebrations in Tokyo. Please click on the images for a larger view.
I absolutely love hanami season in Japan. The warm weather, blue skies, bright sun, and stunning cherry blossoms overflowing from the trees. A truly beautiful time in Japan.
I love sakura (cherry blossom) so much that my profile picture, shop logo and one of my tattoos are of sakura!
The other good thing about the hanami picnics -delicious food and drinks!
I’m counting down the days for the season to arrive, but for the moment, we have early plum blossoms to bring a little colour.
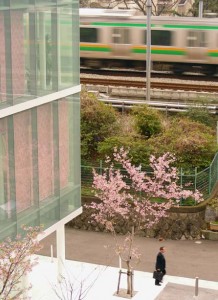
My current view…..I was lucky to snap a photo to describe Tokyo for you: blossoms, a train, a salaryman (japanese business man) and a modern building. That’s half of Tokyo for you right there!
Soon I’ll post my hanami picnic sets so you can enjoy a hanami picnic with a loved one.
Sakura Season is just around the corner
My favorite season in Japan is spring. It’s the start of the cherry blossom season and a time for picnics and fun!
To spread my joy of the season, I’m creating a beautiful set that will be shown within the next week!
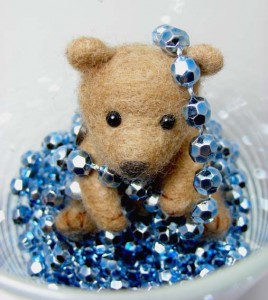
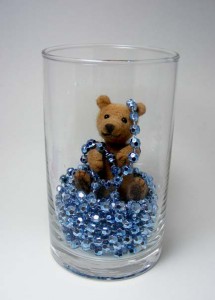
Need a centrepiece? Use a teddy!
I love throwing different kinds of parties, but I especially love to try out different decorative pieces to visually entertain my guests.
While going all out with shimmer and shine or totally cutesy are very common themes (among others of course), I decided to mix the two and see what kind of response I would get.
Please tell me what you think of my centrepiece using a metallic string of beads, wooly teddy bear (made by one of my friends) and a simple glass vase:
Simple, inexpensive and quick for any party or last minute get together.
If you want a little more fun, surround the piece with tealights to bounce light off the shimmering beads.
Handbag Revamp – Part Two
This is the newest addition to my handbag revamp project. If you missed part one, please check it out and let me know what you think.
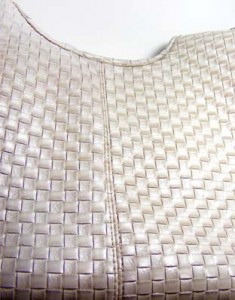
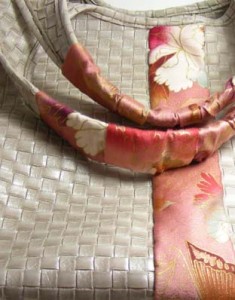
Since I’ve changed the handles, I would like to make some other changes to create a seamless look.
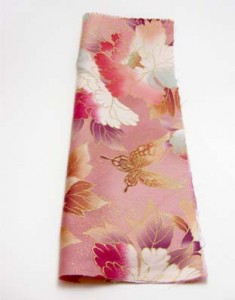
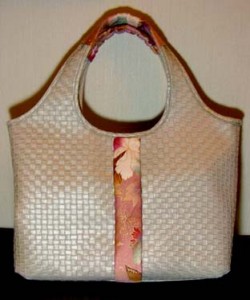
I thought I could add a strip to cover the front seam (going right down the middle of the bag) with the same fabric as the handles.
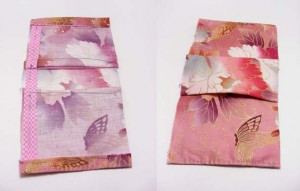
First, I cut a piece the length of the seam plus 4cm (they will finish the ends later).
To create a seamless look (ie. no visible stitching), I started out by folding in in half lengthwise.
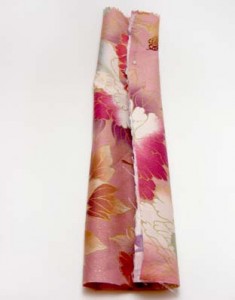
Then folding in one side to the middle…
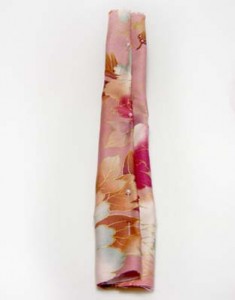
and then folding in the other side to the middle, pinning it down, and finally, sewing it together (making sure not to stitch through the front side).
I turned it over to hide that seam and sewed it to the bag with a simple stitch along both sides and folding in the ends to hide the rough edges.
Another piece to my handbag project complete!
Handbag Revamp – Part One
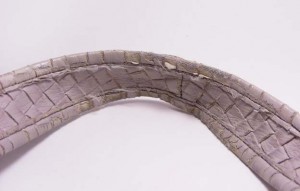
I’ve decided to try and revamp my handbag a bit since it’s looking far too worn out for my liking.
I’ll post all the changes I’ll make throughout the next week or so and would love to hear your feedback.
First thing must be the handles. They are completely fraying and falling apart -how embarassing to have!
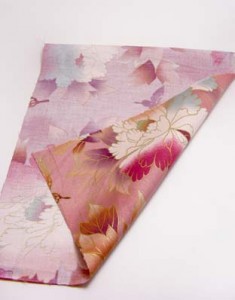
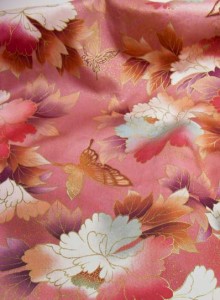
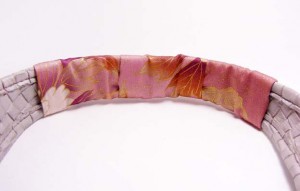
I found some lovely japanese fabric that I thought would add a splash of colour and shine.
I cut two rectangles to a width that I thought would cover the handles well -with a little extra to add a pleat in the middle for an extra decorative touch. I’ve also used some scrap starched ribbon to reinforce the edges a bit.
Once it was done, I was pretty happy with it -MUCH better than the originals!
For the next post, I’ll show you some other additions that I’ll add to the handbag to tie the new handles together for a complete look.


