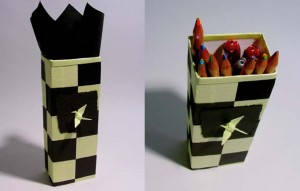
Kirigami Pop-Up Butterflies
Kirigami is the japanese art of paper cutting.
Many people might know this art from childhood while cutting out paper hearts, snowflakes, or even a string of people holding hands. It’s pretty much the same, the only difference is in the folding.
The difficulty ranges from one fold and a few cuts to multiple folds and hours of paper cutting. Even beginners can make beautiful detailed creations, as long as they have patience and time.
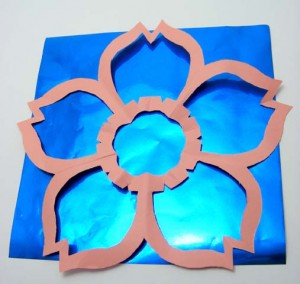
I have previously shown how to make a kirigami flower:
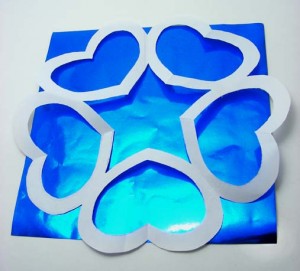
and circle of hearts,
but this time I would love to show you how to make a pop-up string of butterflies.
For any kirigami creation, there are a four standard items needed. Paper, a pencil, scissors or exacto knife and a small stapler (the staples are to help keep paper aligned and reinforce certain areas).
The first step is to find a piece of paper that you like. Any colour or light pattern will do, but just remember to choose a paper that’s strong enough for delicate cuts.
The easiest kirigami fold is to simply fold your piece in half. The more common paper shapes are square and rectangle, but any will do as long as you have enough room to draw your image.
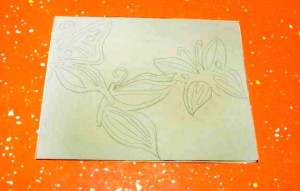
Next, draw out your image with a pencil. The most important thing to remember at this point is to include parts of the folded edge in the main image drawing. This will ensure that your entire image stays in one piece.
Another important point to remember is that anything you draw on one side will be the mirror image of the other side, so drawing half a flower from the folded edge will turn into a full flower once completed.
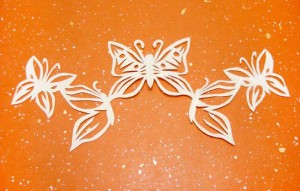
I have chosen a string of butterflies.
*Note that all the butterflies have overlapping parts to ensure they all stay together. Also, I’ve only drawn half a butterfly on the left, to become a fully opened one once it’s done.
(Please excuse the “dirty” look of the picture since I had to adjust the colours a bit to make the pencil drawing more visible).
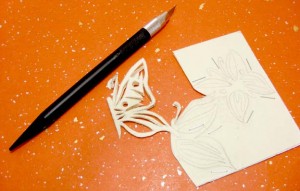
The next step is to staple throughout the drawing in order to reinforce certain delicate areas and make it easier to cut out.
I prefer using a scalpel type knives for small spaces and tight curves.
Once you’ve finished cutting your image out, use it to decorate any number of things. Secure it to book or card covers, frame them, or hang them up.
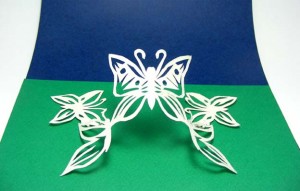
click to enlarge
I’ve also twisted it a little at the ends to create a pop up cut out.
Muffin cup flowers
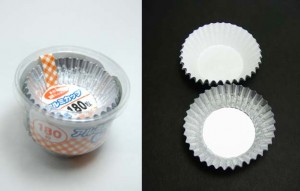
A fun and simple way to make decorative flowers. All you need is a pack of muffin cups.
I purchased an inexpenisve pack of foil muffin cups from the ¥100 shop (Japanese version of a dollar store).
Between each foil cup was a thin white paper one, and when I took them apart, I loved the combination of matte white with shiny metal.
I found a new way to make a fun muffin cup flower that can decorate pretty much anything you’d like.
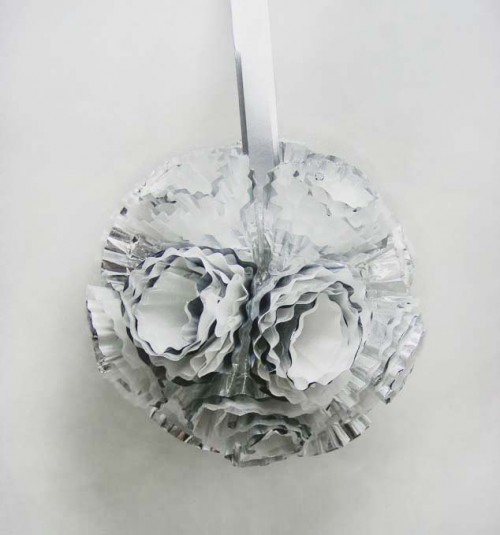
Make mini ones to glue onto cards or notebooks, or combine a few flowers with ribbon to make a floral hanging ball!
First, separate the cups and folded them in half to make a semi circle. Take each semi circle and roll it into a cone shape and secured with a small piece of tape.
*Make seven cones of each colour.
Once all the cones are completed, secure one white one into a silver one.
I used a loop of tape, but any adhesive will do.
Next, fold seven sets of white and silver semi circles.
Layer one white over a silver and roll it into a coil.
Now you should have seven cones and seven coils. Place and secure one coil into each cone.
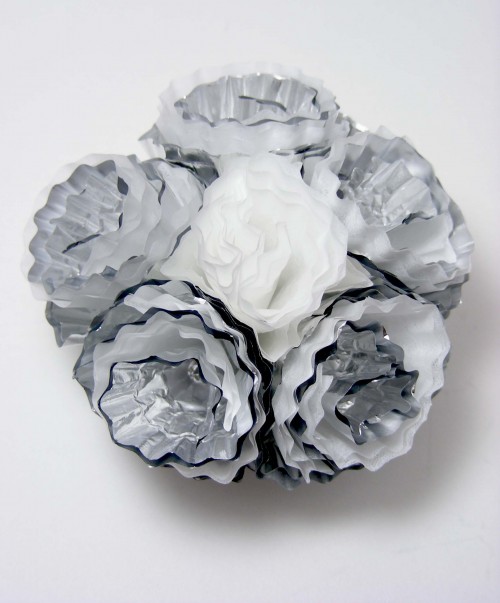
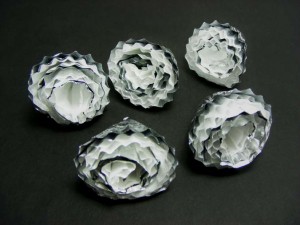
Once that’s done, you have seven mini flowers. If you would like to stop at this step, cover the out layer with a muffin cup and add a stem (pencil, wire, twig, anything) -and you can have a stemmed bouquet.
If you would like to complete the bigger flower, secure one to another to form a circle, flip it over and it’s done!
Make three large flowers and combine them to form a ball. Add a ribbon and it’s a hanging decoration.
Kirigami Sakura
As mentioned a couple of days ago, Kirigami is the Japanese art of paper cutting. I absolutely love creating pretty things from simple materials like scrap paper and would like to share a project that you can try at home.
Here are instructions to make a simple sakura (Japanese cherry blossom):
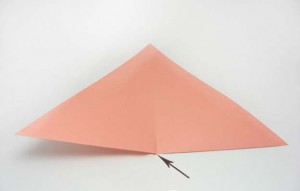
1 – Begin with a square piece of paper and fold diagonally to create a triangle.
Now, fold one bottom corner to the other and crease approximately 2cm to create a point of reference in the middle.
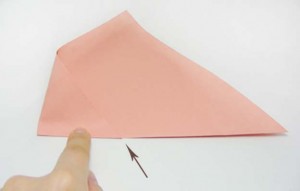
2 – Next, fold the bottom corners to the middle and crease approximately 2 cm.
* You should now have three evenly spaced creased along the bottom of the triangle.
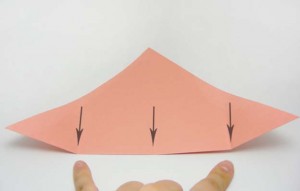
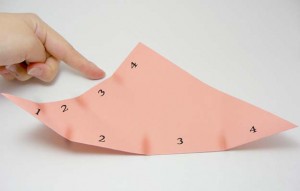
3 – Take the left corner and fold it up to the top point (crease 2 cm) and unfold.
Now, take the same corner and fold it to the newly created middle crease.
Repeat the last step, using the top point of the triangle and folding it to the new middle crease.
* You should now see four even sections along the bottom and left-hand side
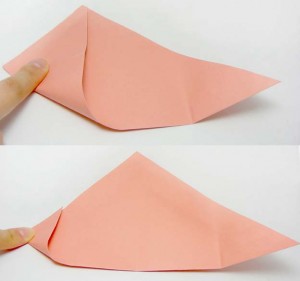
4 – Using the creases on the left-hand side, take the left bottom corner and fold it up to the top crease
(the fold should not surpass the bottom middle crease).
This time, press down along the entire fold to keep it in place.
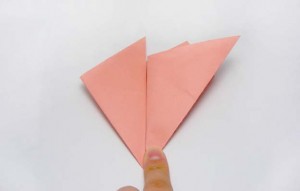
5 – Next, take the right bottom corner and fold it to the left-hand side. Make sure it’s folded along the edge, also, not surpassing the middle crease (this should give you a clean point at the bottom).
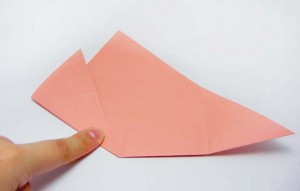
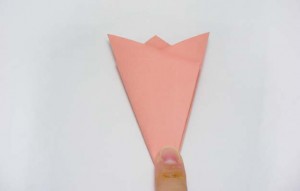
6 – Taking the same corner from the previous step, fold it in half, taking the corner back to the right-hand side. Make sure the edges are parallel.
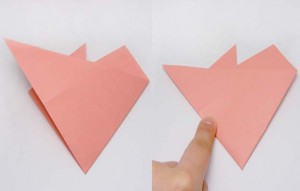
7 – Now, take the left side, fold over to the right, making sure to keep the edges parallel.
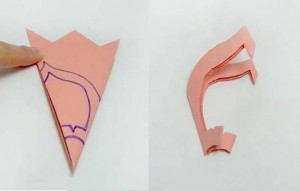
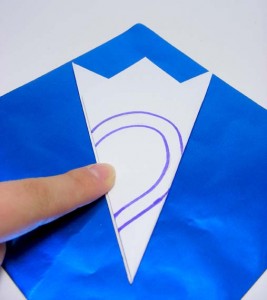
8 – Turn it over and draw a petal design. I chose a pointed petal design to create a sakura.
*Make sure to leave the left and right edges attached at some points in order to keep the entire image intact!
9 – Once the drawing is complete, cut it out and unfold it. You should have a lovely flower to decorate anything you like.
Try different styles to create a wide range of lovely designs.
This one I tried with a semi heart shape:
Once I cut it out, I thought it might look cheesy….
but to my surprise, it turned out different from what I imagined. The star in the middle adds a special touch.
Kirigami
Kirigami is the traditional Japanese name for the art of cutting paper, more specifically, decorative paper cutting.
I’m sure many have tried it at one point or another, perhaps while in elementary school when cutting out those simple snowflakes, or even a string of people holding hands.

Kirigami has become one of the more challenging forms of paper crafts, as some artists create intricate cut outs that may take several hours, or even days to complete.
There are many simple kirigami folding and cutting techniques that are great for beginners, and the finished products are lovely cut outs that can be hung in a window, framed as a wall hanging, used to decorate mirrors or stationery, or even to create beautiful mobiles.
The greatest part about kirigami is the fact that you don’t have to use special papers like traditional chiyogami or washi. You can even use magazines or old bits of paper that happen to be around the home.
Project Featured in Cut Out + Keep!
I’m happy to tell you that one of my eco projects is now featured on Cut Out + Keep and seems to be a fan favourite!
Check it out because the site is great too!


