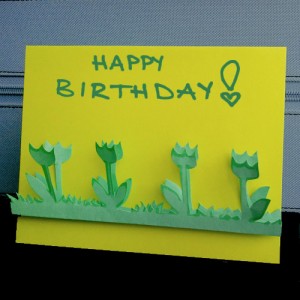
Kirigami How-to #3 – Layered Kirigami Flowers for Greeting Cards
Here’s a great kirigami card that’s simple to make for those last-minute occasions. It’s also a great way for children to make fun cards for their friends.
I made this quick layered kirigami flower decoration on a plain card that I had leftover from previous projects. Naturally, you can take more time to make detailed polished flowers, but I sometimes like the more “handmade” look.
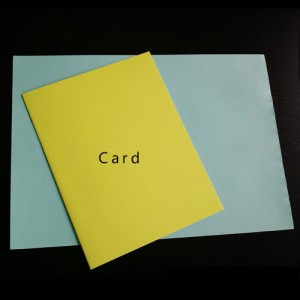
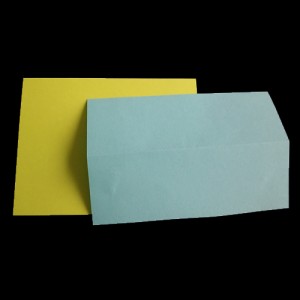
Start by choosing a complementary colour of paper (patterned paper works as well).
Fold the paper in half, making sure to have it no longer than the width of the card.
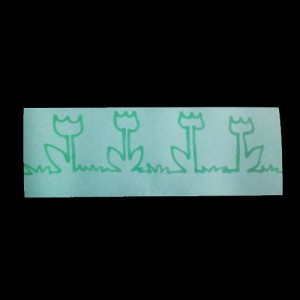
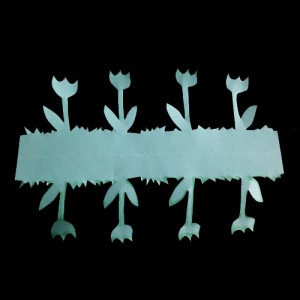
With the fold at the bottom, draw out a row of flowers, or if you prefer simple grass, a row of rabbits squirrels… but just make sure to include the fold in the kirigami patterns. I drew a row of tulips with marker to show you the lines, but try to use light pencil so it isn’t visible in the end.
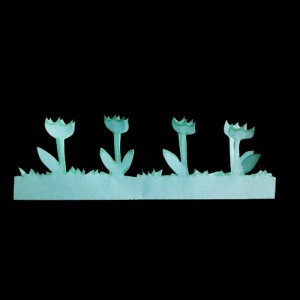
Cut out the kirigami pattern that was chosen.
Open it up and fix any flaws that it may have -or leave it rough like I did.
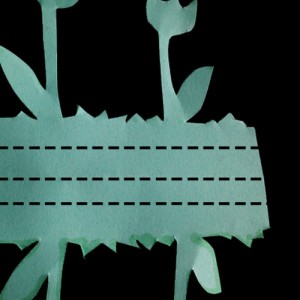
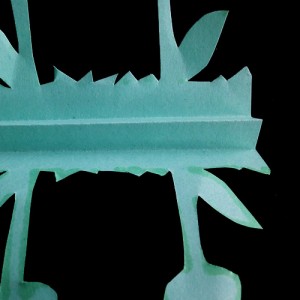
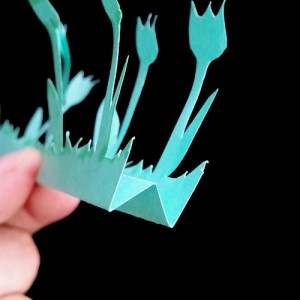
Now, in order to create a fun layered look, you will have to make an accordion fold. *Make sure it’s uneven, with one fold being narrower than the other. This will ensure it lays out nicely on the card*
If you do make them even, they will sit one behind the other rather than one row higher than the other (perfectly showing both layers).
To change it, just make another fold approximately 1-2mm narrower than the original fold. It won’t show flaws and still give you the intended layered look.
Now place it on the card however you like and simply secure with some adhesive. You can either collage a message or write it with colourful marker/metallic pens etc…
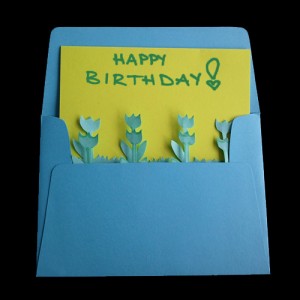
Place it in an envelope and seal it off with this Kirigami Butterfly Pattern


