Kirigami How-to #2 – Yellow 3D Kirigami Butterfly
Here’s the second kirigami tutorial for Spring Kirigami Patterns Week!
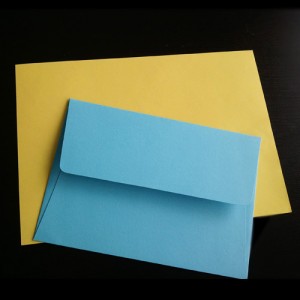
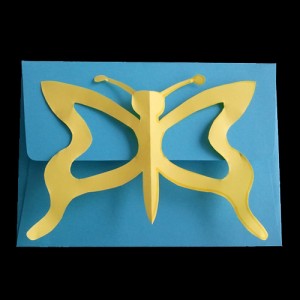
I found a plain envelope and wanted to dress it up with a spring kirigami butterfly, so I found a nice complementary colour to go with it:
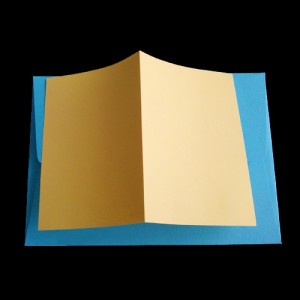
Now fold the page that’s to become a butterfly. You can have a large sheet of paper or a smaller one, depends on how large you would like the butterfly to be.
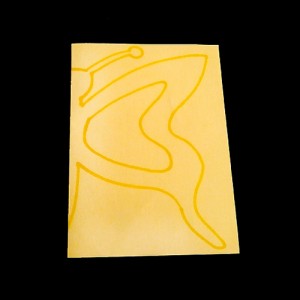
Next, it’s important to draw out a simple butterfly outline….keeping in mind to include the centre fold in it as well!
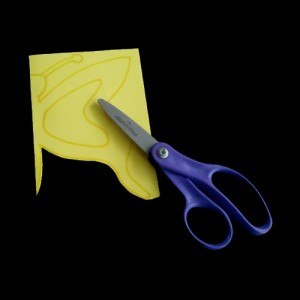
Now it’s time to cut out the outline and any other extras you include for more detail:
Once it’s cut out, unfold the kirigami butterfly and double check all of the cuts are neat and tidy, or to add more details if desired.
Now place it on the back of the envelope as a fun surprise for whoever receives it. You can either seal the envelope with the kirigami or simply secure it to the top flap so it won’t get cut through when opened.
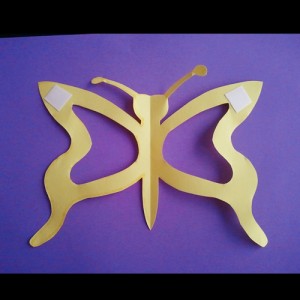
Another option is to do the same as the previous 3D kirigami flower and arrange it on another sheet for a fun pop up looking decoration:
Hang it where you like for a nice touch of spring!


