
How to Use a Gum Wrapper for Cards or Decorations
I’ve always loved gum wrappers because they tend to have pretty designs and interesting textures that make them perfect for different craft projects. You can make any number of origami designs or even try something even easier.
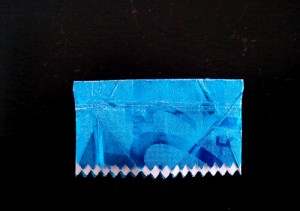
Simple Waves
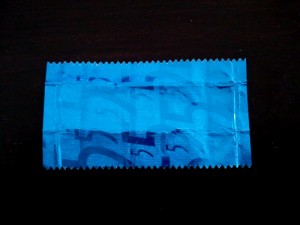
Start off by flattening out the paper.
Fold one side up, but not quite to the very top. This will leave a bit of the white paper showing for contrast.
Get some plain card stock or a standard piece of paper folded in half.
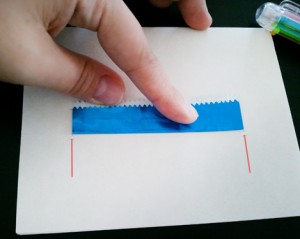
Measure out the width of the gum wrapper (as marked by the red lines). This will create a slit for the wrapper to sit in.
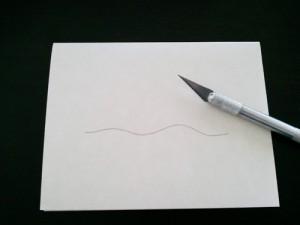
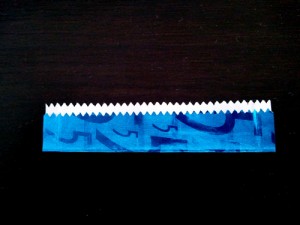
Draw a wavy line from one point to another and cut it out with a scalpel knife.
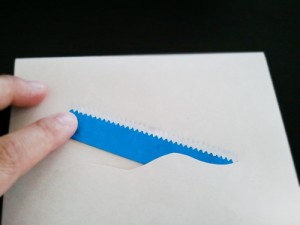
Slip the wrapper in the slit and secure it with a little glue or double-sided tape.
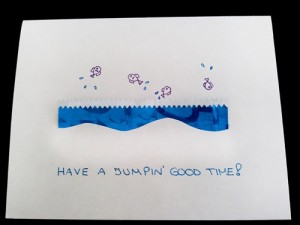
Add some special details like jumping fish or a beach scene and you’re done!
Skirt
Start off with the wave fold and turn it on its side. Fold it in half width wise.
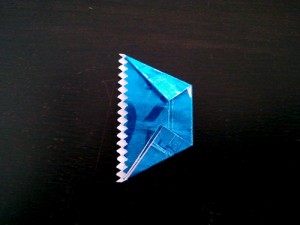
Fold in two corners on a diagonal, making one side narrower than the other.
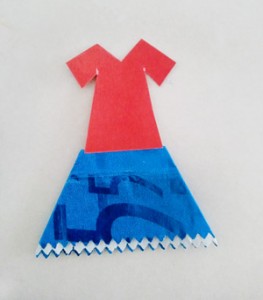
Flip it over and there you have a simple skirt. This is a great idea for inexpensive paper doll clothes.
Mountain
From the base fold used for the skirt, take the opposite corners and fold them in to the middle. This time, make sure one end is much wider than the other.
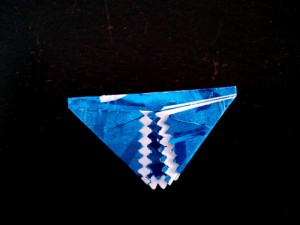
Secure the back with tape or glue and flip it over.
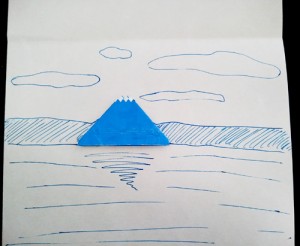
Now you have finished a simple snow-capped mountain! Perfect for paper scenes in frames or on cards!
![]()
