
Holiday Decorations for Under $5 – Hanging Yarn Wreaths


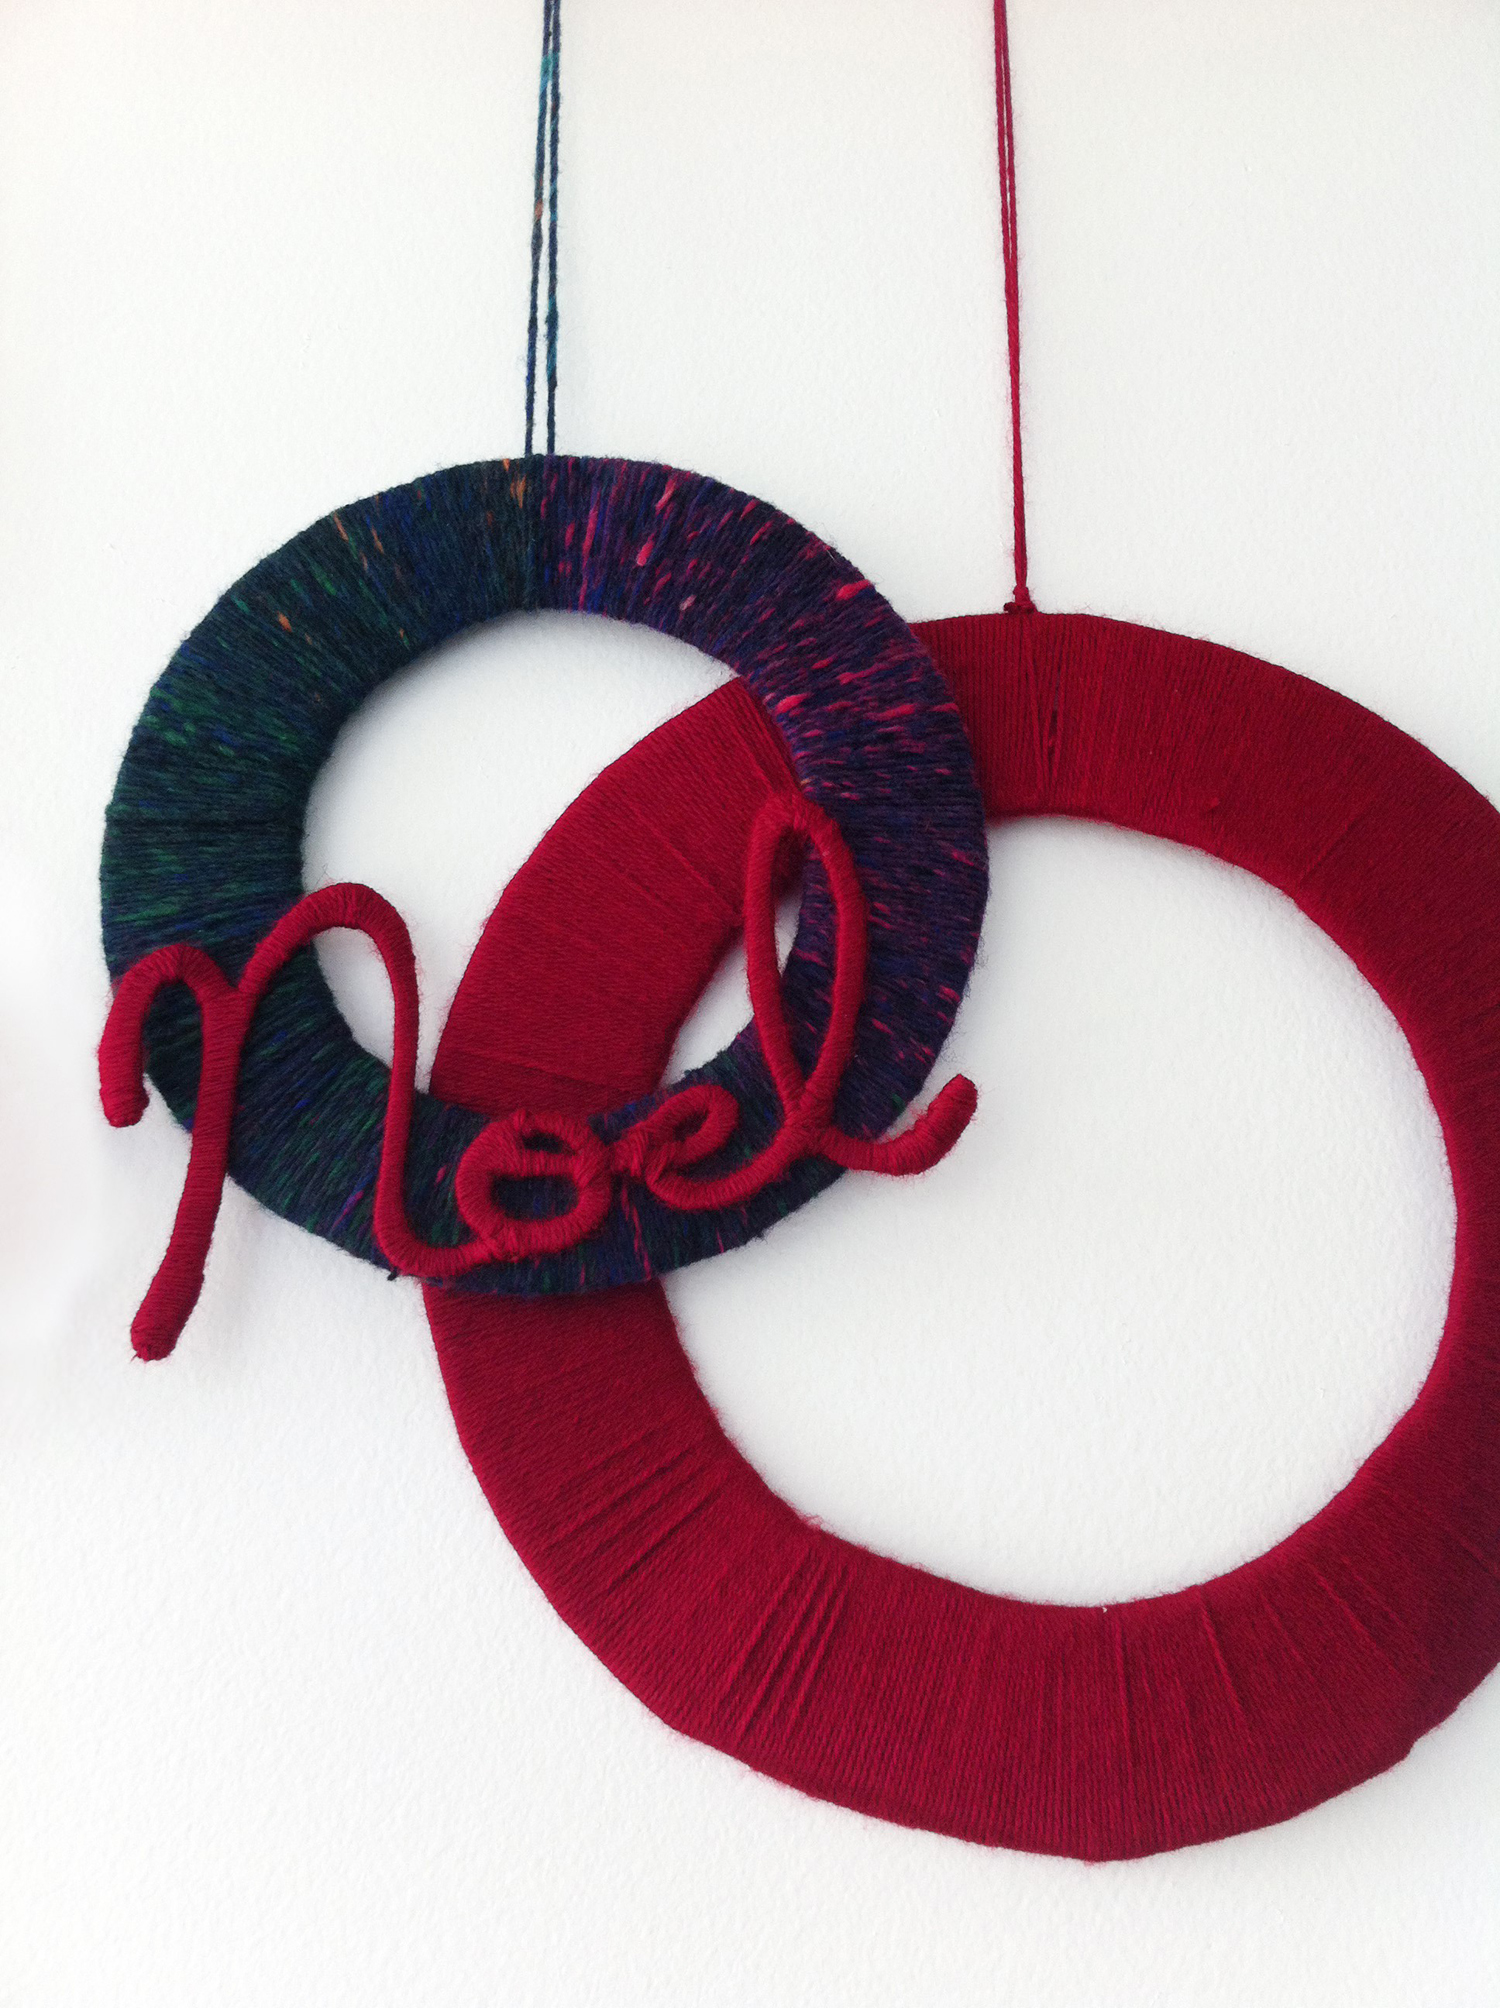
My Christmas budget is quite small this year, so I decided to get creative for home decorations. I looked around the house to see what kind of materials I had on hand and managed to gather a few empty cardboard boxes and old yarn. This is what I ended up making:
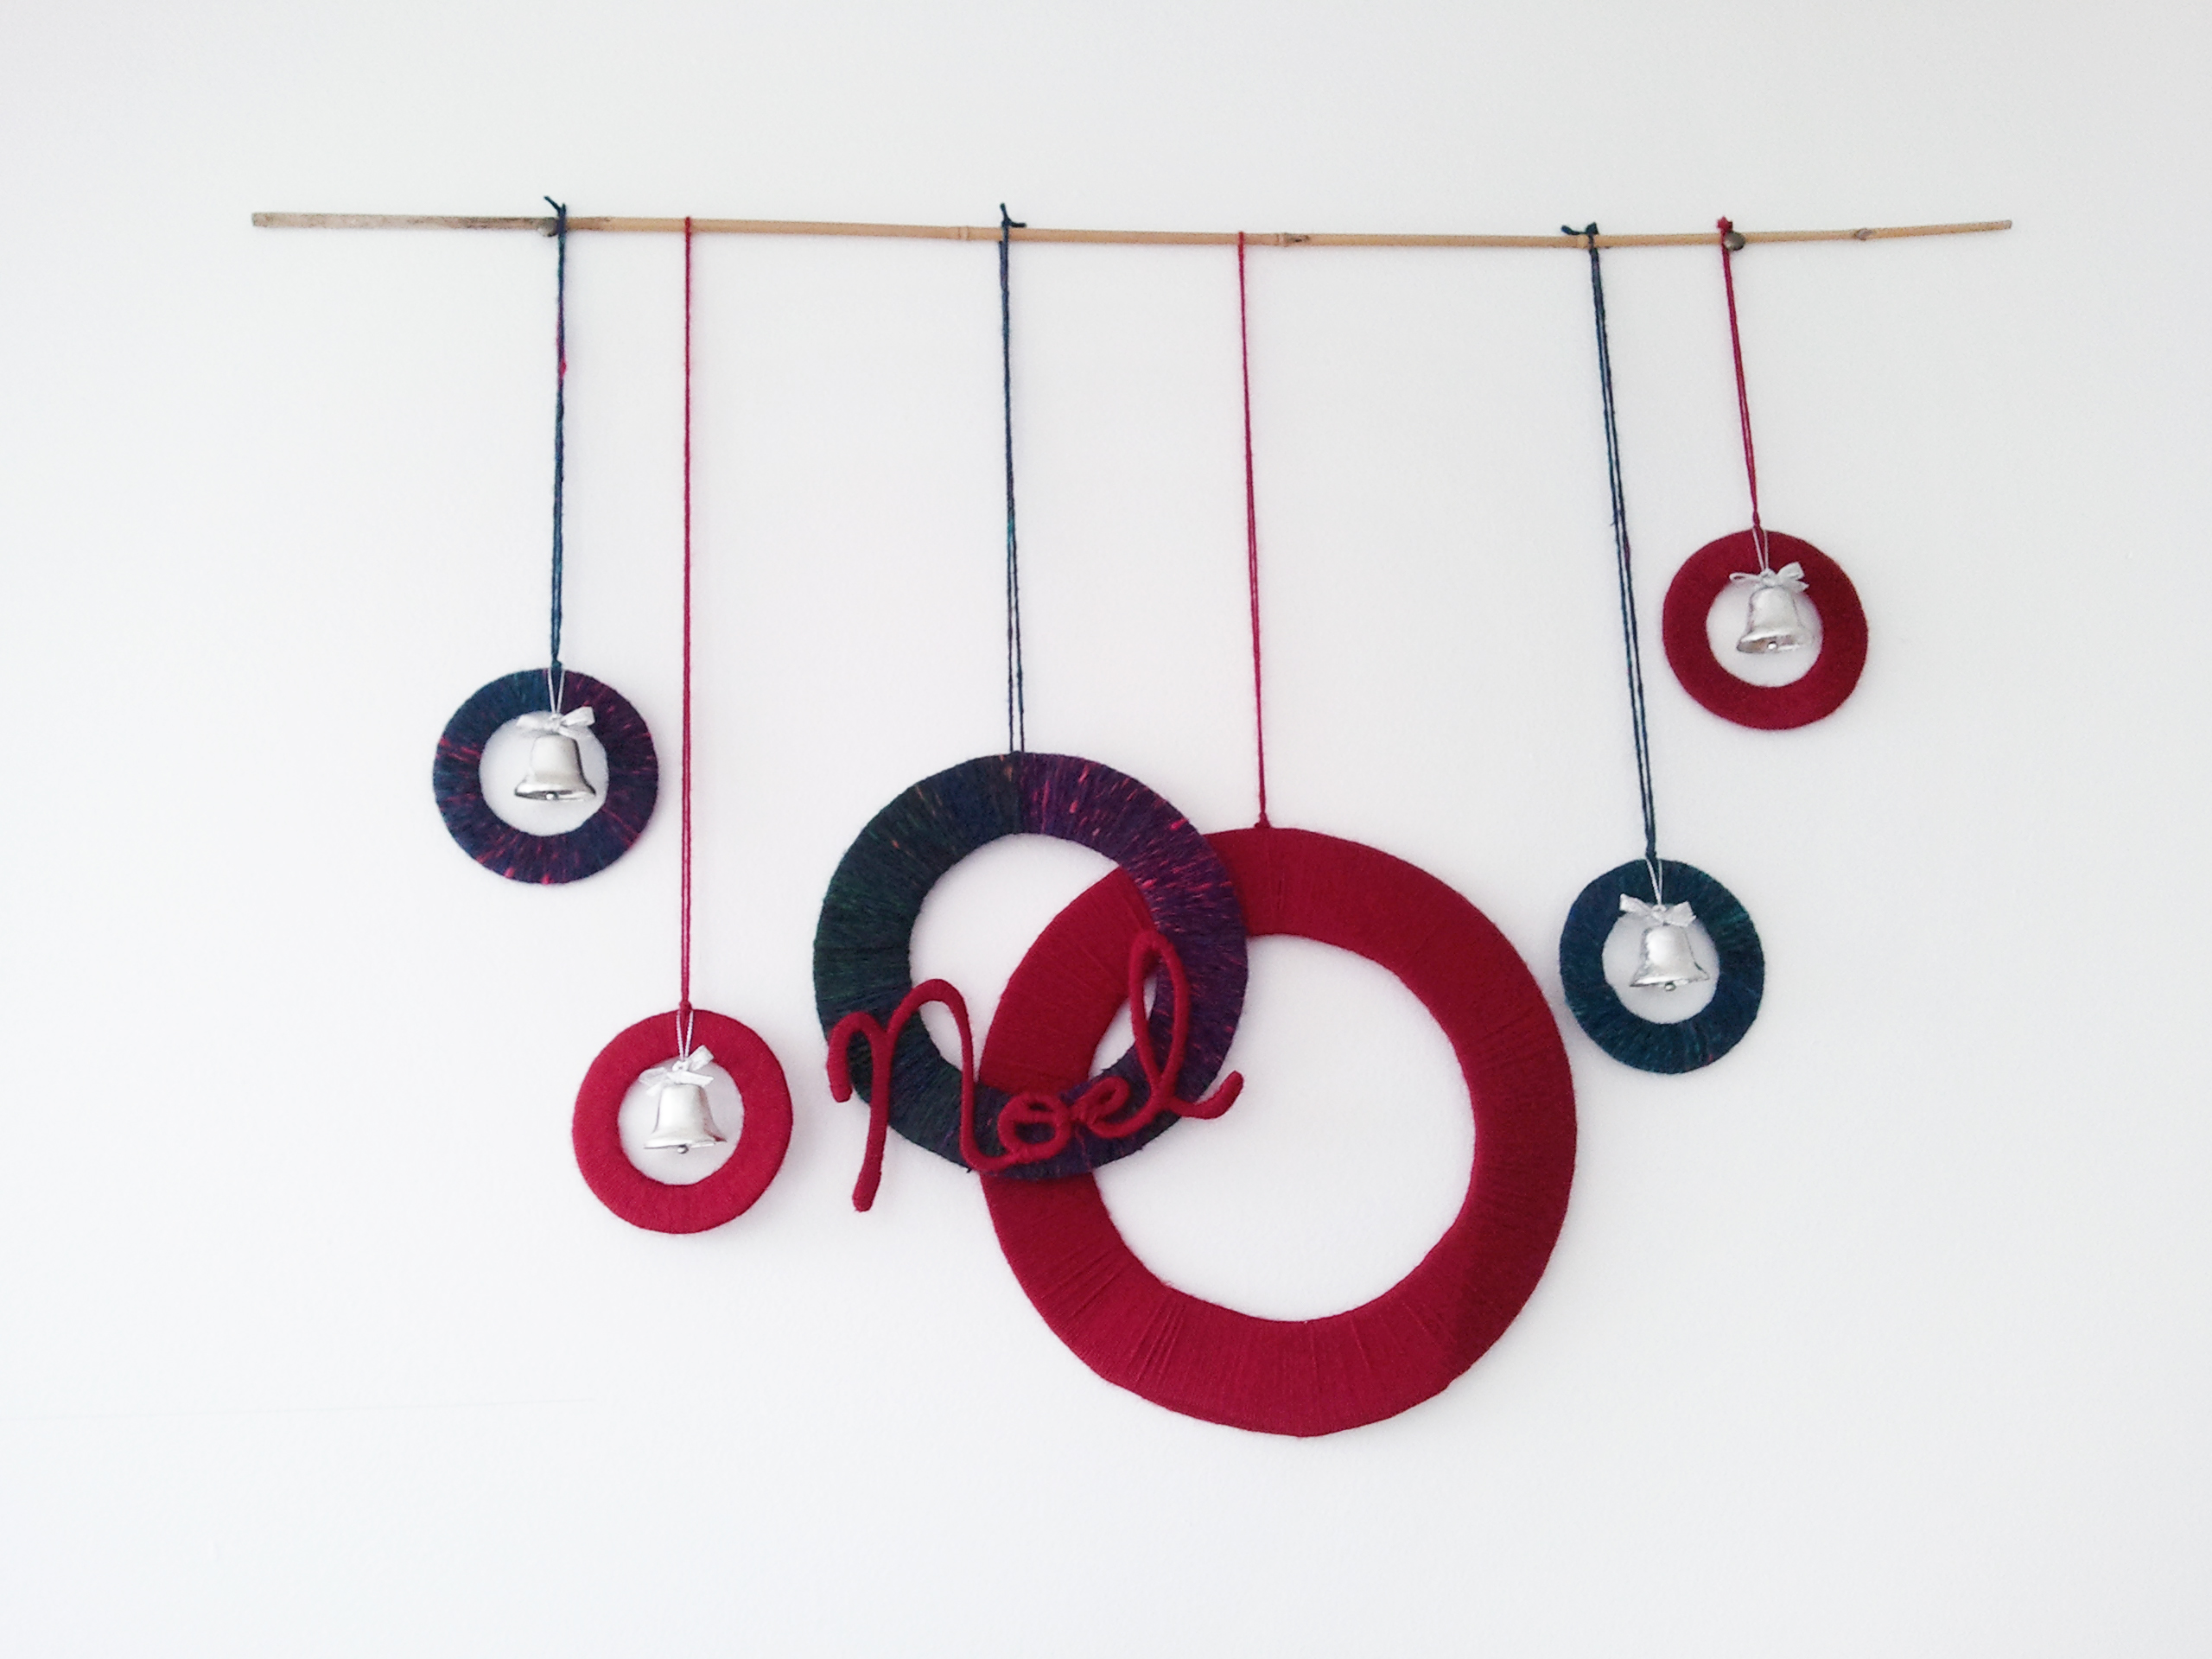 All I did was secure a thin bamboo stick with some thumb tacks and placed the wreaths on it. This makes them easy to move around until I’m happy with the way it looks.
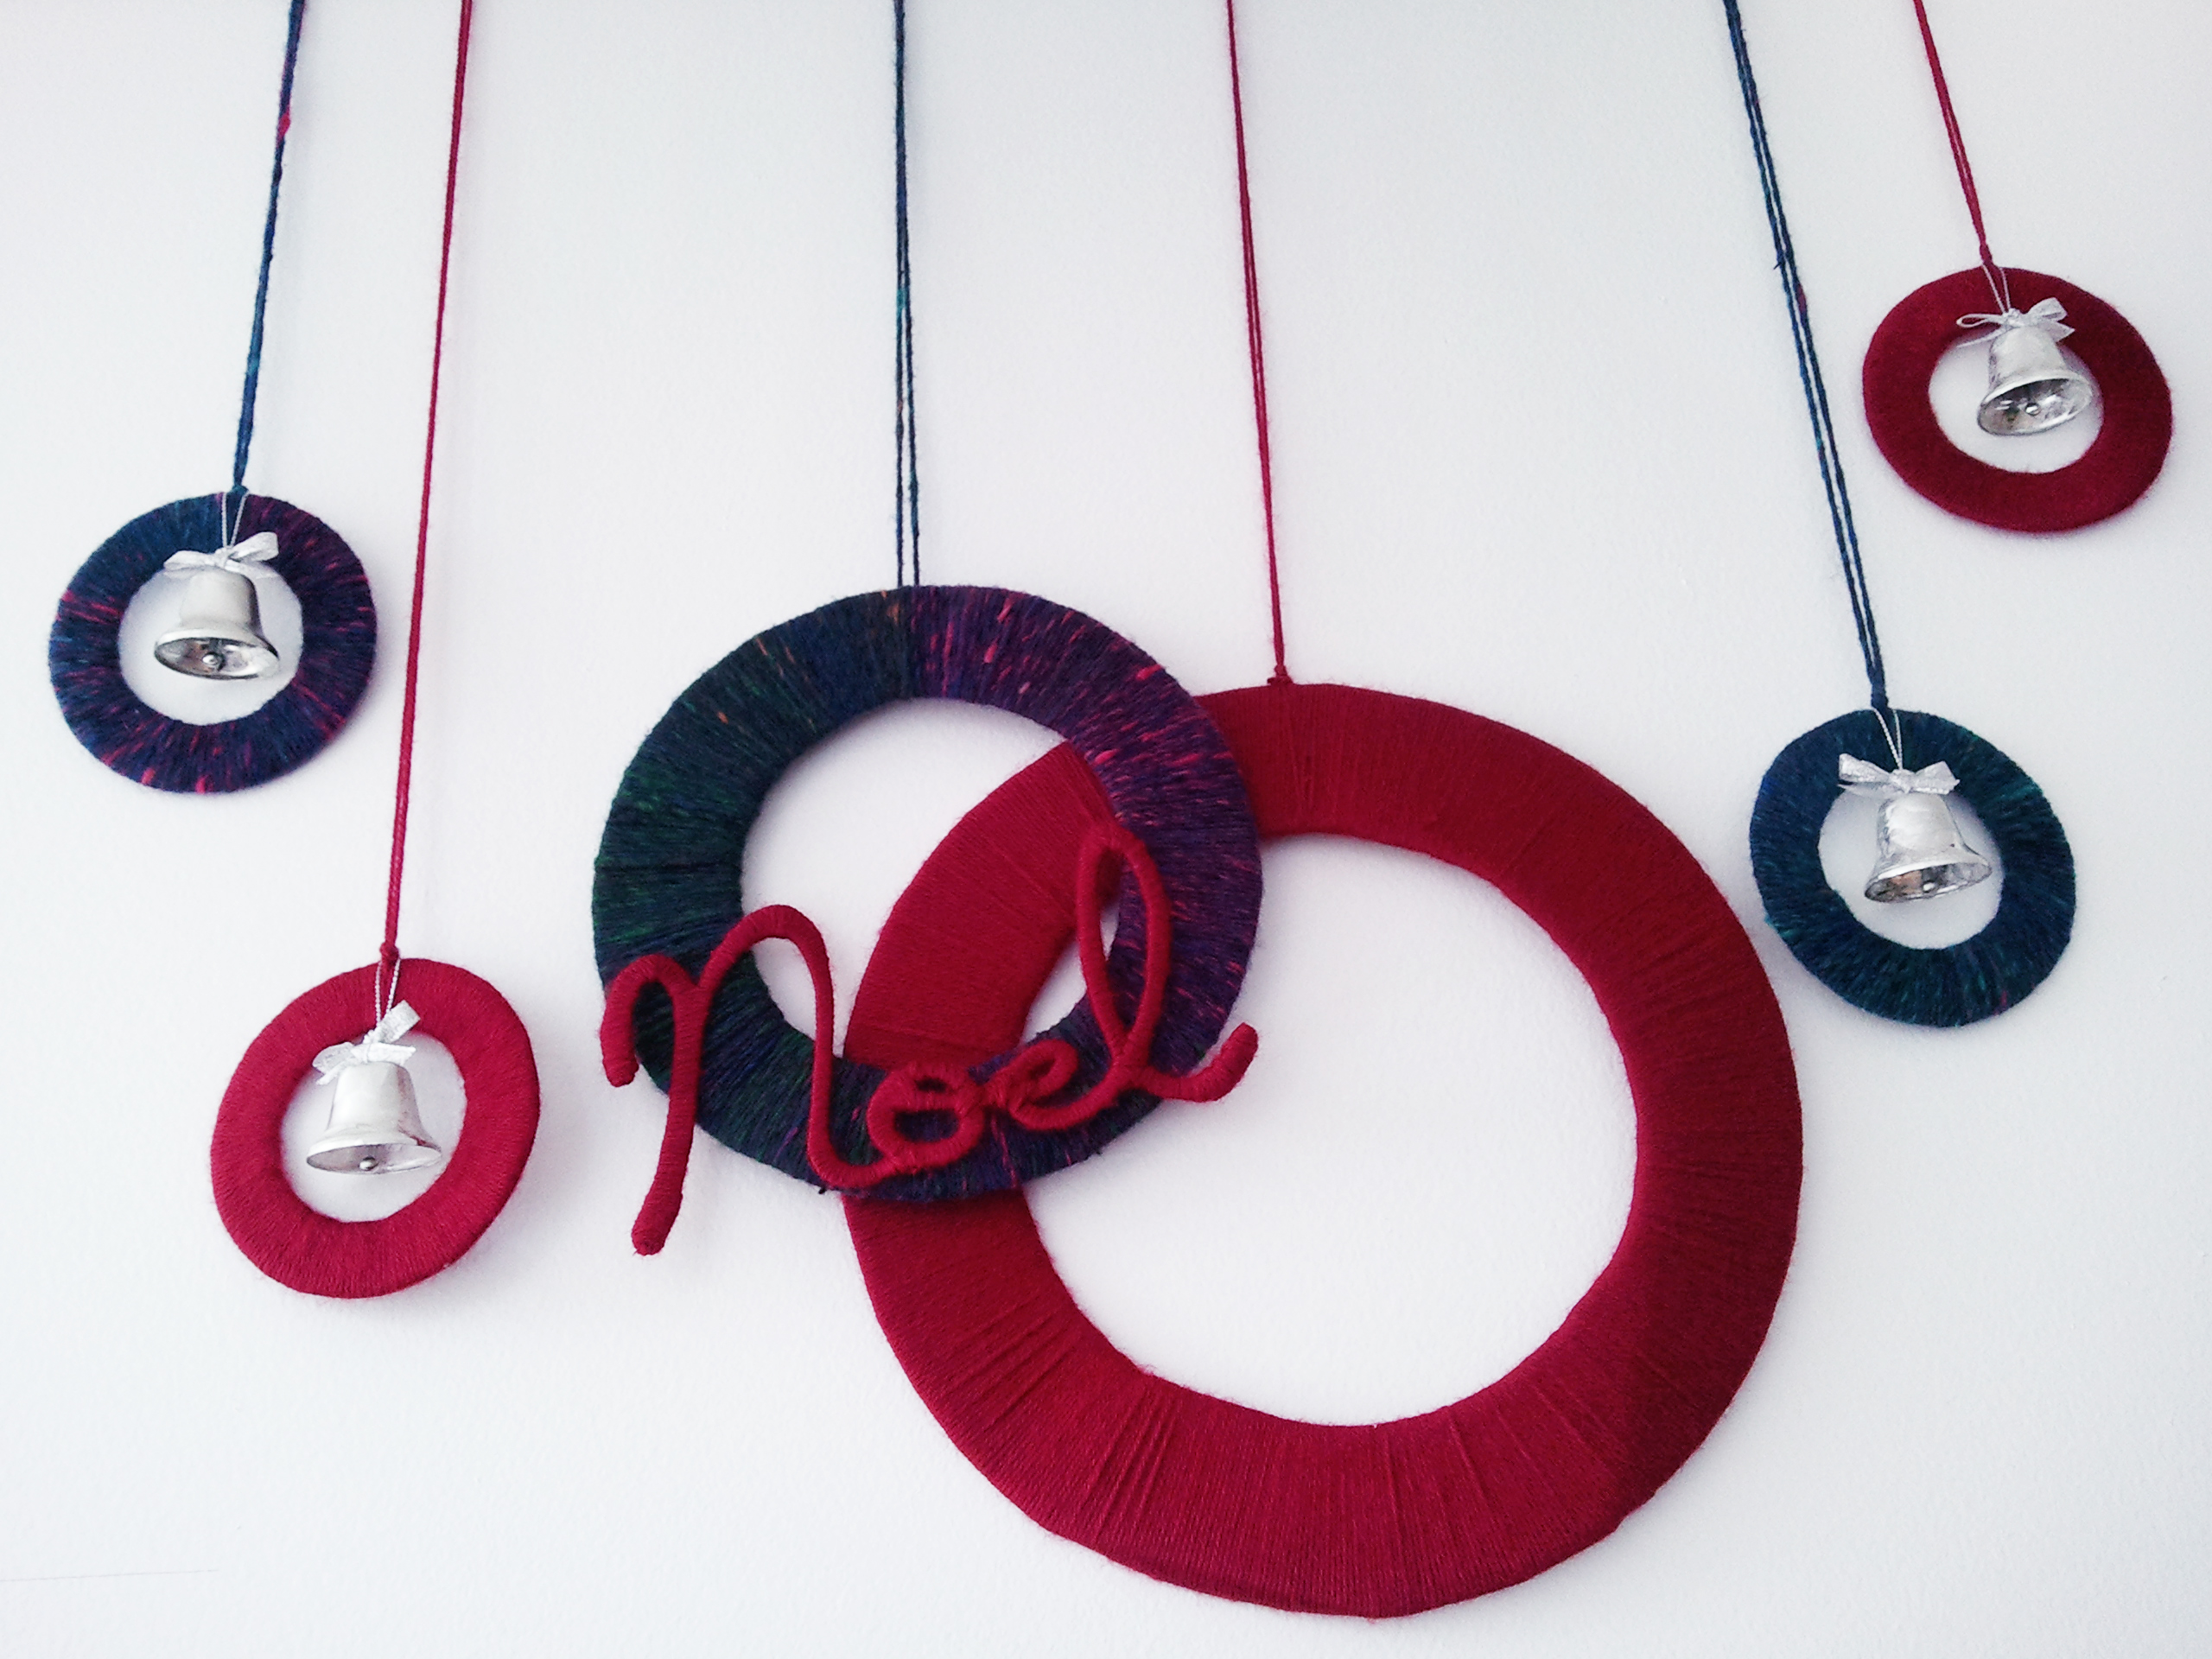
Each hanging wreath was cut out of an empty cardboard box and then covered with yarn. All I did was secure the end of the yarn with a knot and wrapped the wreath until it was tightly covered.
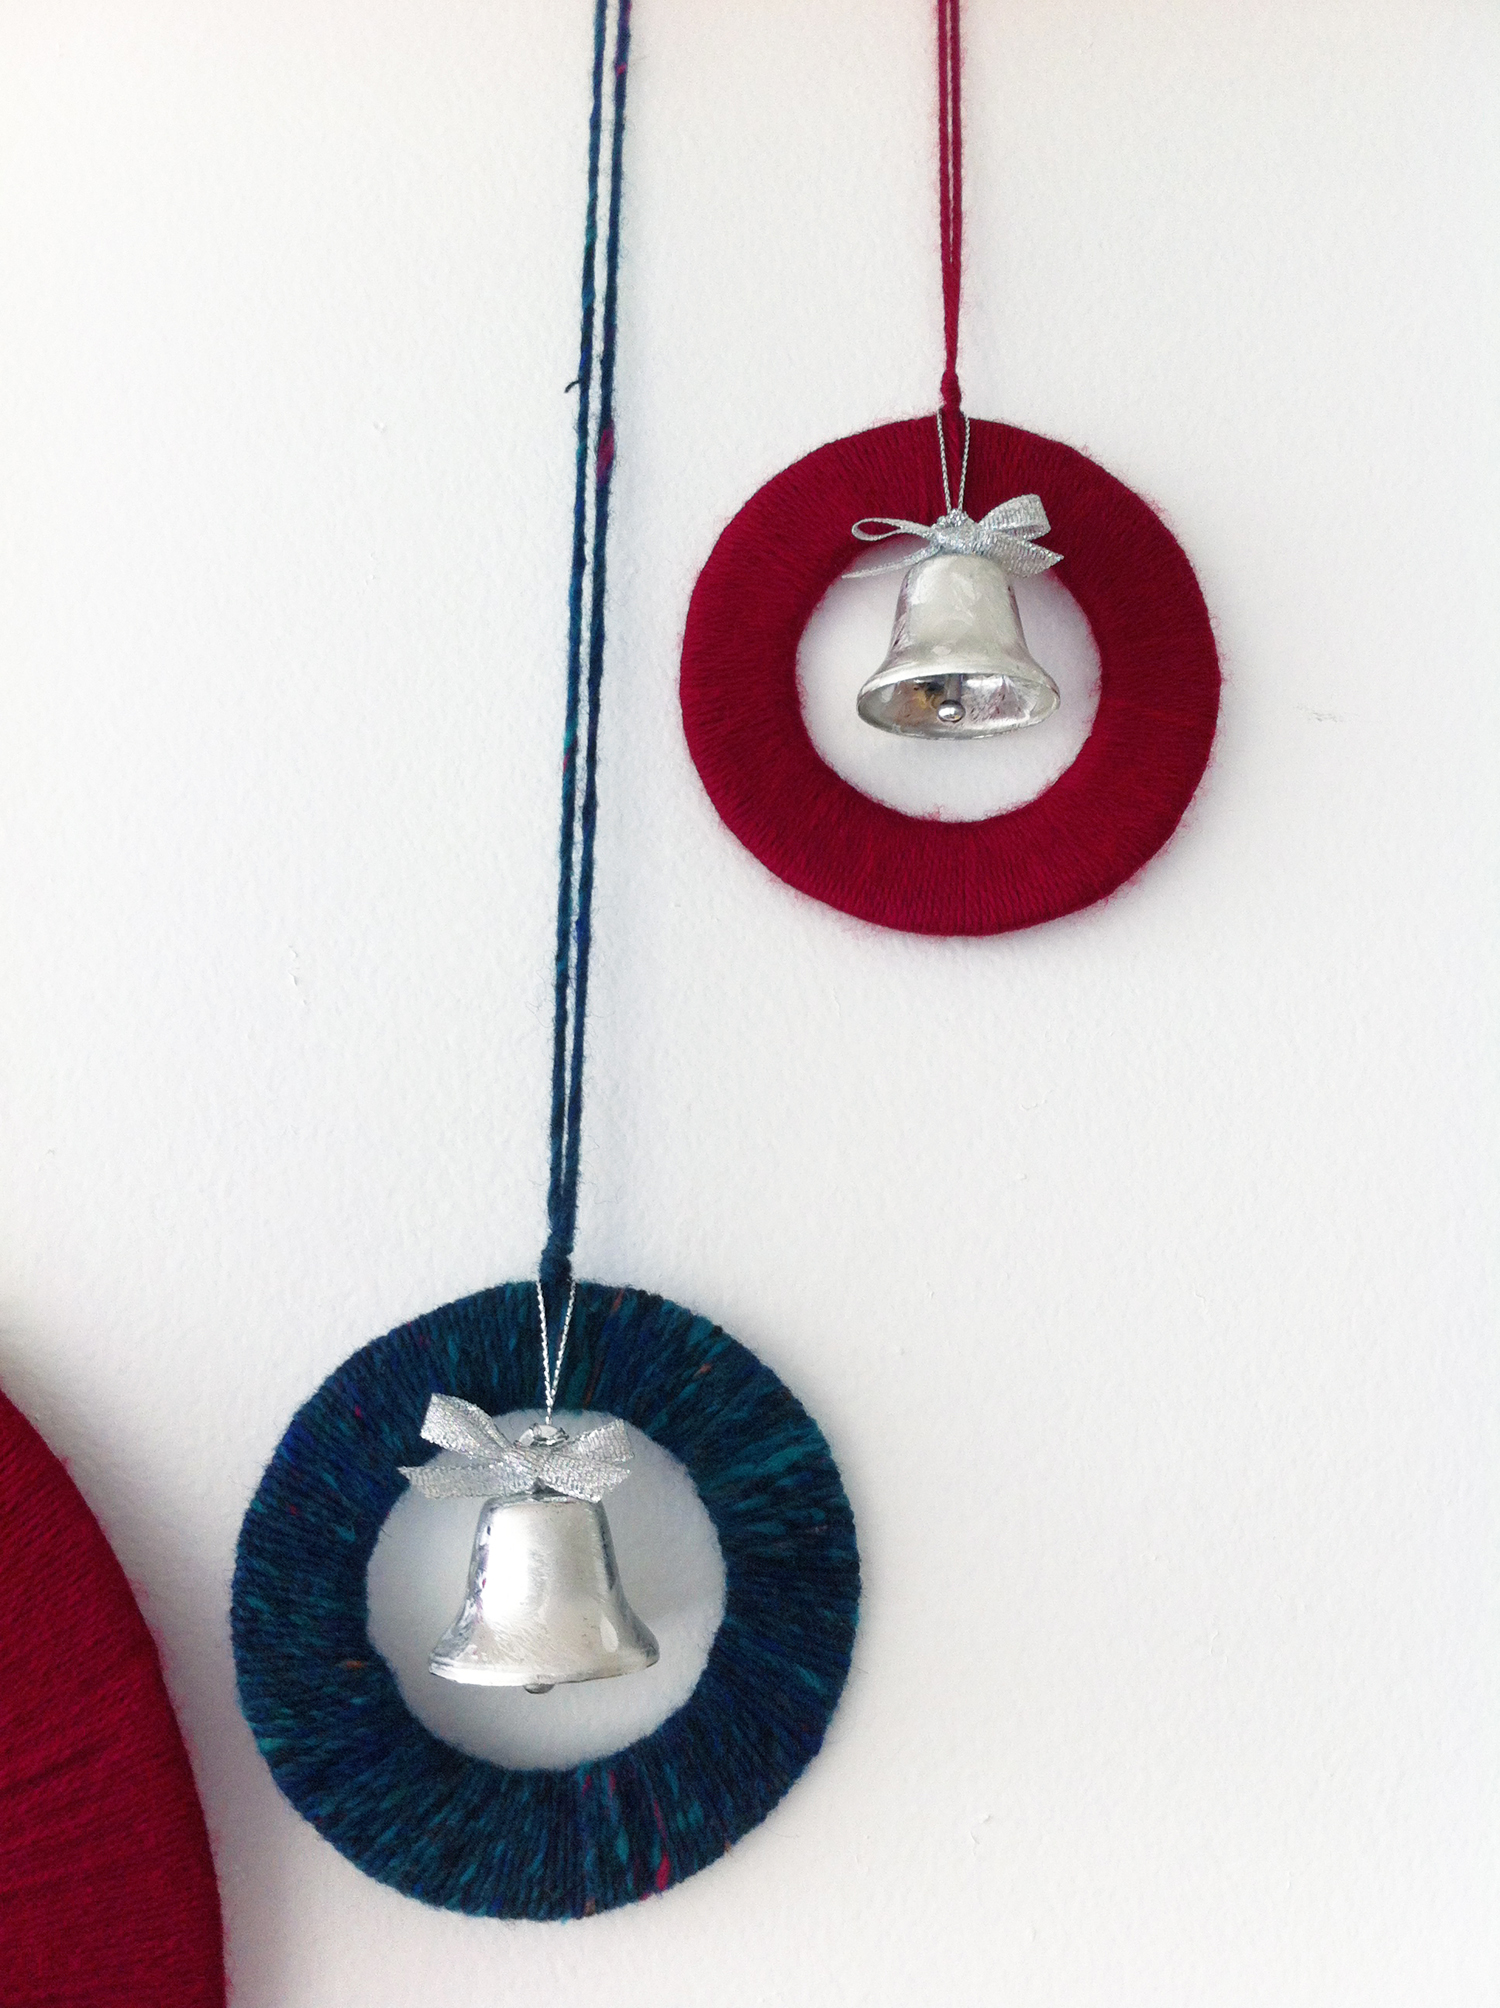
These lovely little bells are from my old Christmas decoration stash, so I decided to use them in this arrangement instead. I only looped them on the top of the wreath so that I have the option to take them off or swap decorations without fuss.
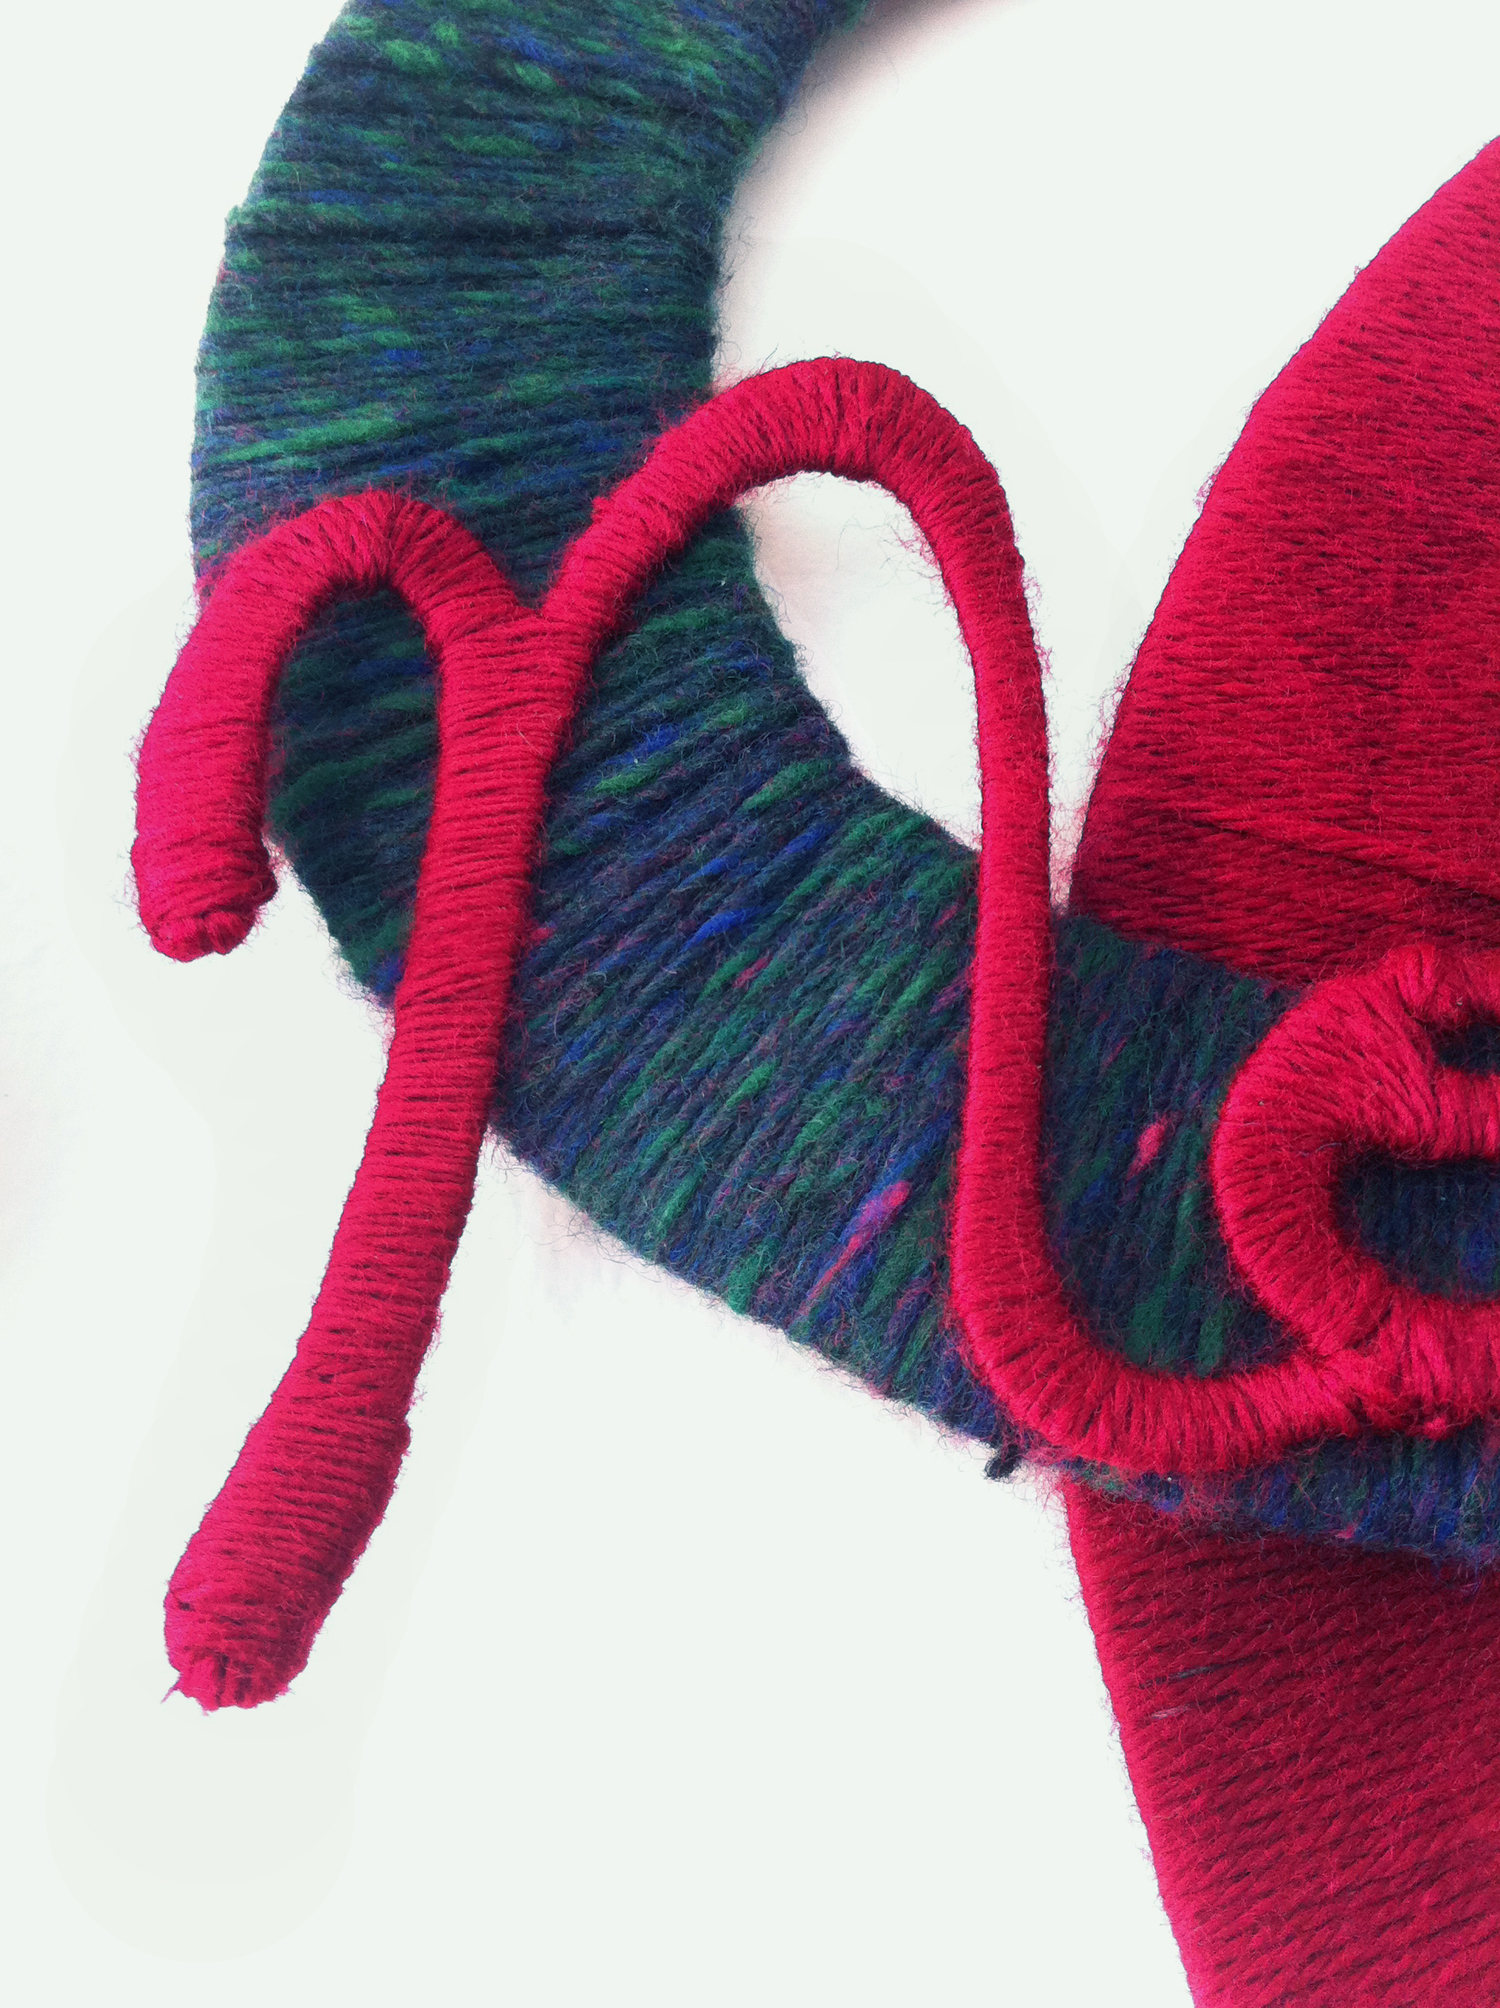
Here is a closeup of the lettering. The word ‘Noel’ is also cut out from an empty tissue box, then wrapped up with yarn. They may look a bit imperfect, but it’s my handwriting, so I think it looks more authentic *^_^*
 If you have any fun holiday decorations that you would like to share, please send me a message or comment below! You can also get more ideas from my Pinterest page!
![]()
Simple Gift Box Decorations – Sophisticated “Goodie Bags”

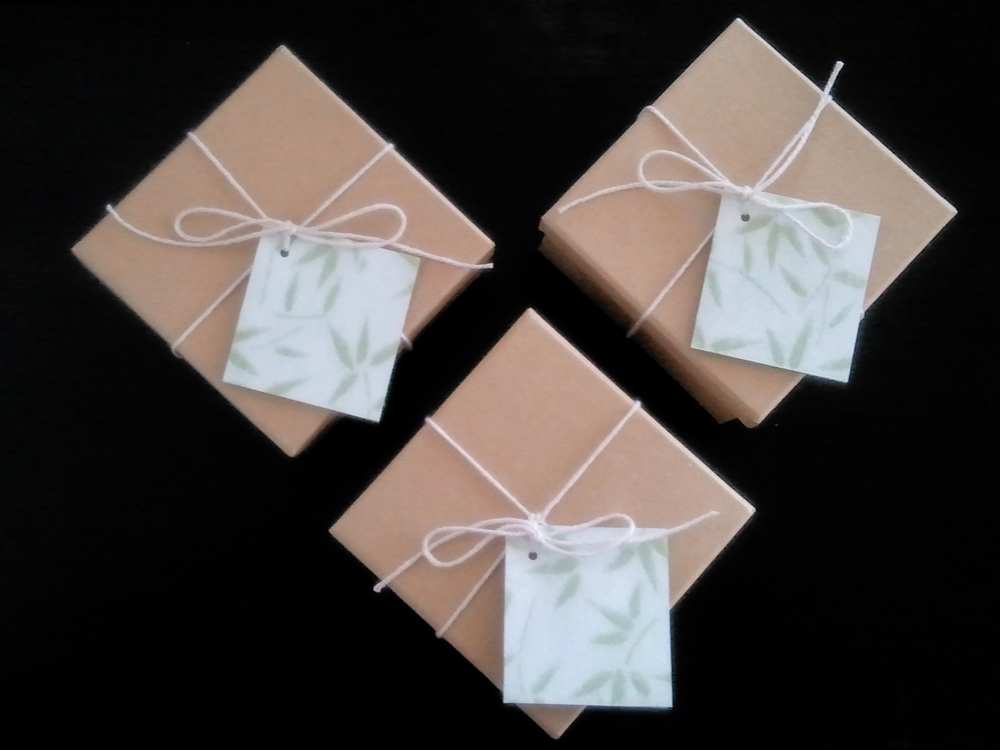
Here are a few small boxes that I decorated as “goodie bags” for my Birthday (yes, I still enjoy giving goodie bags and I think I always will).
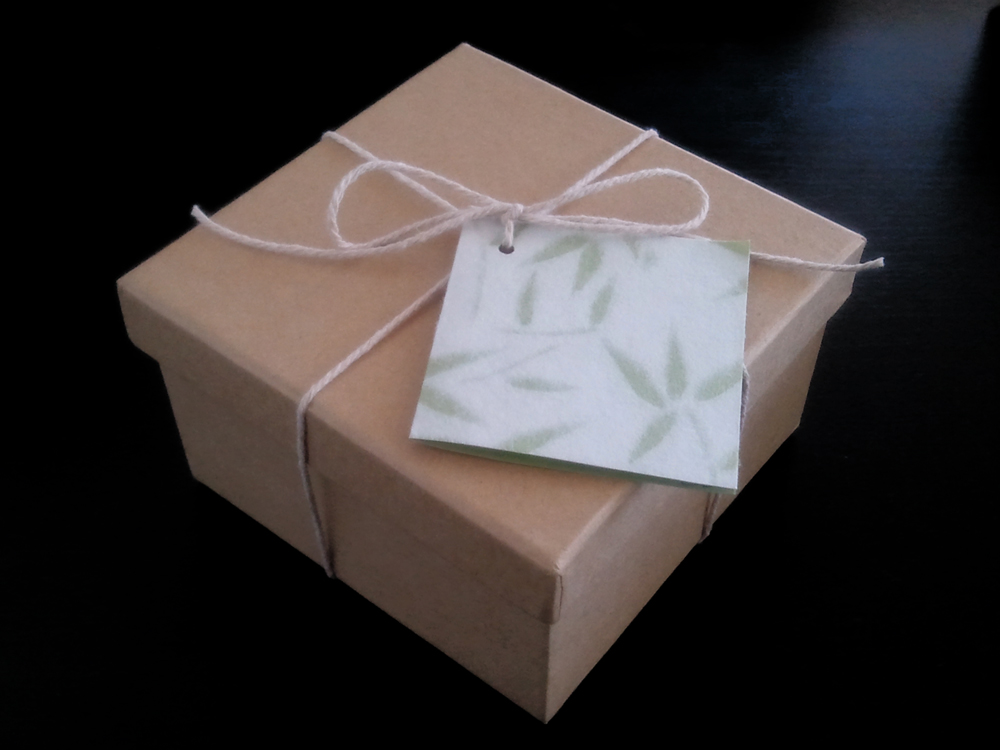
The plain kraft paper boxes are approximately 10cm x 10cm x 5.5cm and only cost $1 each.
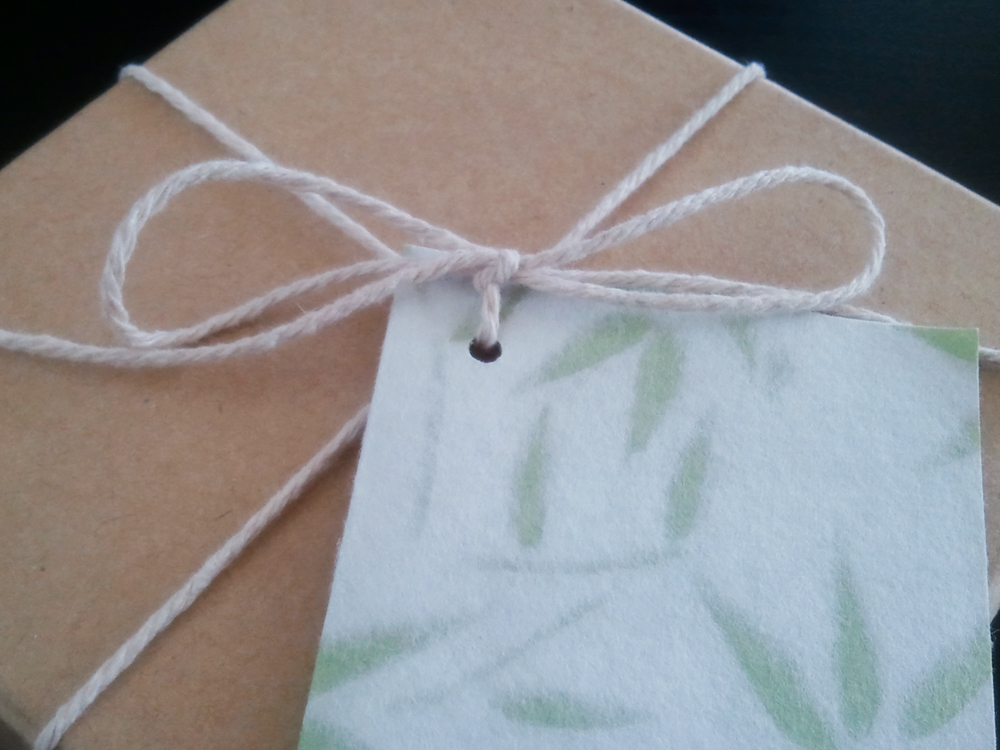
I tied them up with plain string and added a mini card made from Japanese paper.
I adore these boxes because they were cheap, helped me use up craft string that I already had at home and scraps of my favourite type of paper. Afterwards, the boxes can be reused in the same way or decorated with a collage, paints or even gold leaf.
They are simple and have a soft nature theme, which is exactly what I love.
![]()
How to Make Simple Origami Bunting

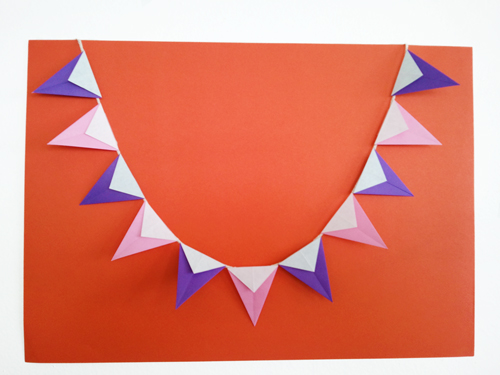
Use mini bunting for greeting cards, invitations or place cards.
Bunting has become one of the prime decorations for pretty much any occasion these days. You can buy a wide variety of sizes, styles and colours but the cost can quickly add up over the course of a year. To save a little cash, recycle materials from home and work on a fun creative craft, why not try origami bunting instead?
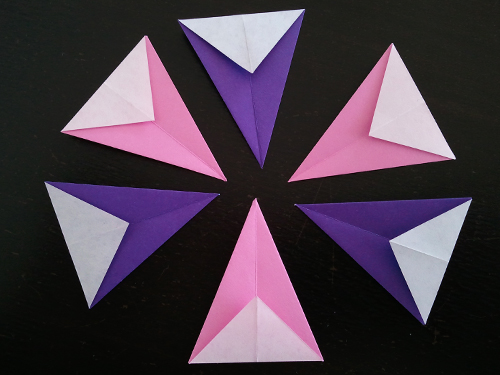
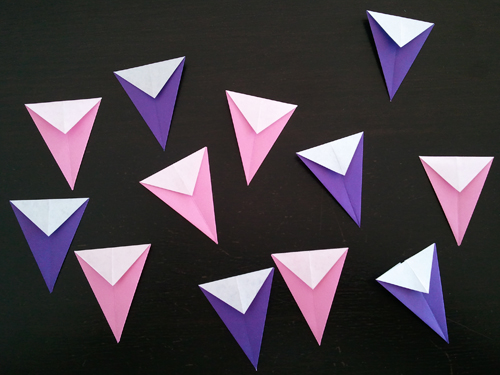
These mini origami bunting pieces measure approximately 3.5cm x 4cm. They’re great for any small decorations or craft project.
It’s easy to make them, so grab some square pieces of paper and have fun with them!
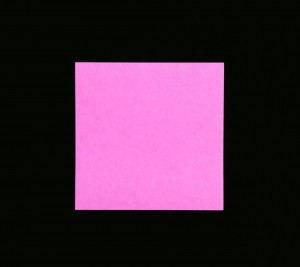
Start with an even square.
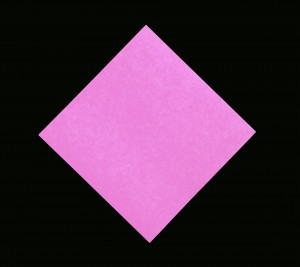
Turn it on the side.

Fold it in half to make a triangle. Make sure to crease it well.
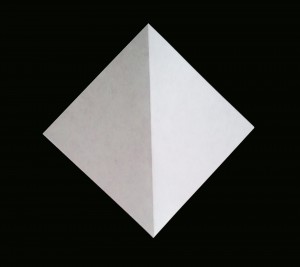
Open it up again.
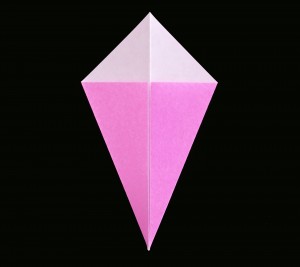
Fold in the two bottom ends to the middle crease.
Flip it over.
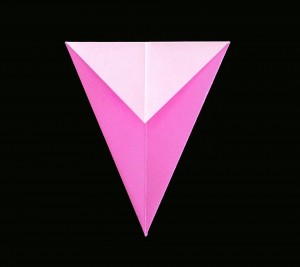
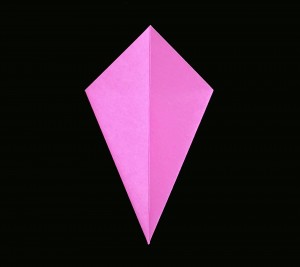
Fold down the top point.
Video Pick – How to Rilakkuma Bento

I was thinking of buying a new bento box for myself the other day but I haven’t found one that I love just yet. I have a few small ones that I like making up every now and then, but mine are usually standard bento filled with regular Japanese food. Today, I came across this great video showing you how to make adorable Rilakkuma for lunch!
Looks easy enough to do. I’ll have to try it out some day!
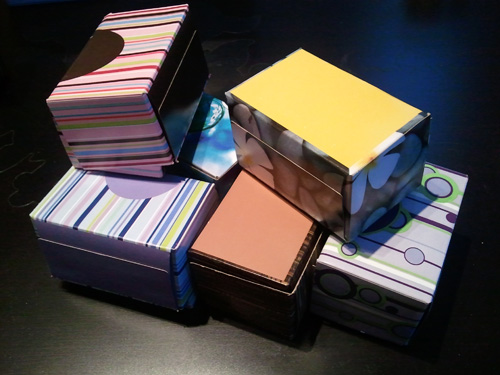
How to Make Mini Gift Boxes from Tissue Boxes

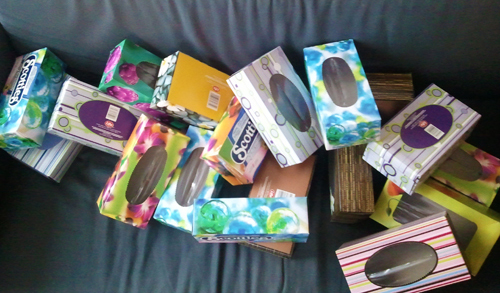
I, as most crafters, don’t like to throw most things away since they can “come in handy one day”. As you can see, tissue boxes are one of those things that I chose to keep for….something.
First, take a box and cut out the top.
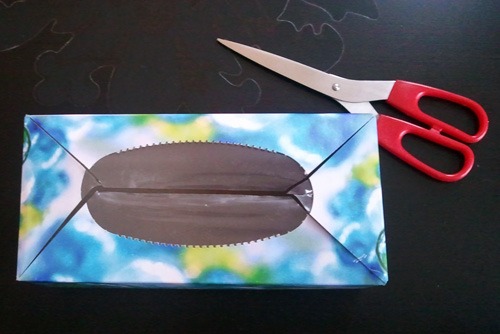
Measure the height of the box and mark the same length in the middle of the box (you’ll have to measure with the ruler and possibly do a little math to get the middle). Cut down until you get to the bottom of the box.
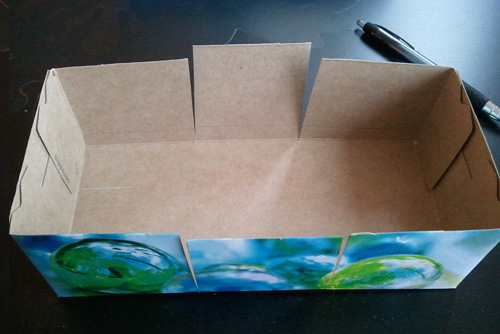
Fold in the two flaps.
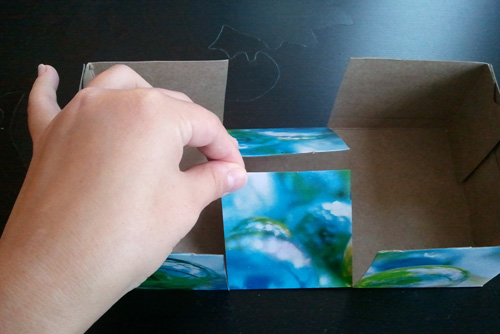
Tuck the flaps into one side of the box.
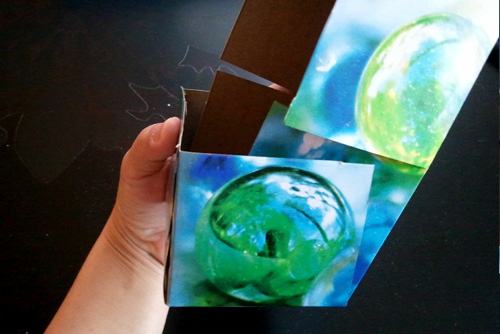
Tuck in the opposite side in as well.
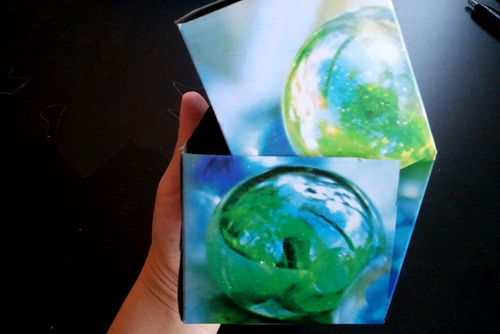
Secure with a ribbon or wrap with wrapping paper.
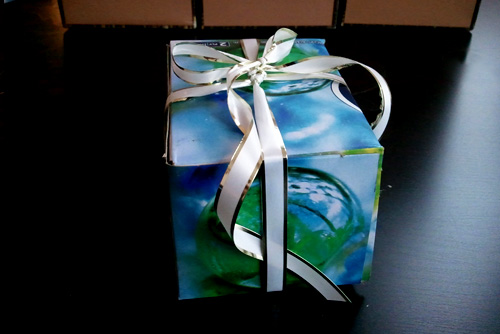
Here is a sample of a finished gift box. It measures approximately 10.5cm x 7.75cm x 6.5cm.
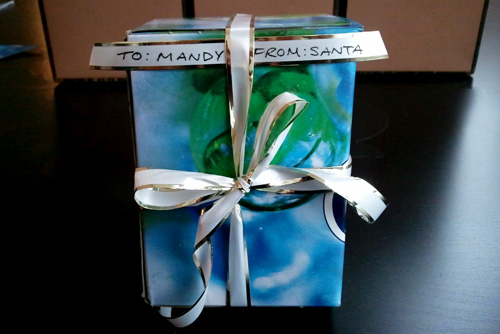
I made a few for smaller gifts. They were perfect to send in a smaller than usual parcel overseas.
What do you think about the boxes? Have you made anything else from tissue boxes? Comment below to give others a great idea for reusing tissue boxes.


