
Top 10 Crafting Books to Check Out – Part 2


Here is the rest of my craft book list that I think all creative people can enjoy:
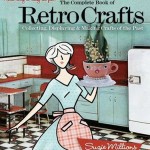 The Complete Book of Retro Crafts
: Collecting, Displaying and Making Crafts of the Past by Suzie Millions
Go retro with this book. Perfect for hipsters, baby boomers and those who love anything vintage and retro. You’ll surely love the projects that would bring back the glory days. Not only that, but this book also includes pictures and historical notes that would make you know more and understand the nitty-gritty of retro and crafts.
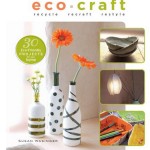 Eco Craft
: Recycle Recraft Restyle by Susan Wasinger
With all the problems and change brought about by global warming, wouldn’t it be great to create crafts while making sure that the planet benefits from your projects? Eco Craft is the perfect book for your goal. Not only would you enjoy making all the projects listed in the book, you’ll also be able to minimize waste and help save the environment.
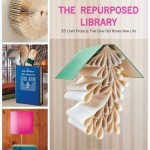 The Repurposed Library
: 33 Craft Projects That Give Old Books New Life by Lisa Occhipinti
We all love books, but there will come a time when you have to give some of your books away to free up some space for your new collections. With The Repurposed Library, you don’t have to throw or give away books. Transform your books into mobiles, wreath, vases, shelves and even a tablet/Kindle “keeper” for those who want to feel like they’re reading the book in its true form. You can even make these old books into decorative pieces for your home.
 You Are Awesome
: 21 Crafts to Make You Happy by Abbey Hendrickson
Doing something fun can make you feel happy and satisfied. You Are Awesome is a book of crafts that would make you feel happy without having to do anything drastic. Abbey Hendrickson is a popular blogger that would guide you with the step-by-step instructions of each and every craft in the book. Have fun and be happy.
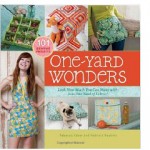 One Yard Wonders
: 101 Sewing Fabric Projects; Look How Much You Can Make with Just One Yard of Fabric! by Patricia Hoskins and Rebecca Yaker
With One-Yard Wonders, you’ll surely discover the wonders of sewing. Even if you are a newbie in the world of crafts and sewing, or an experienced seamstress, you’ll surely find the projects in this book easy and fun to do. As the book promises, you’ll be able to turn a yard of cloth into anything: accessories, jewelry, pouches, bags, baby items and even banners for all occasions.
Top 10 Crafting Books to Check Out – Part 1
Are you looking for a new hobby or just want to try out doing some crafts? Crafting can be fun and enjoyable, especially if you like the idea of creating something new from scraps or old material. Here are some of the best crafting books to check out (or give to your crafter friends).
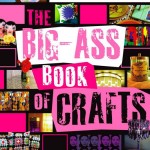 The Big-Ass Book of Crafts
/The Big-Ass Book of Crafts 2 by Mark Montano (and Auxy Espinosa)
This book is packed with everything craft-related, from stationery, paper products, sweaters, body products, ornaments and other ideas for your home and for your friends. What makes this book more interesting is the way that Mark Montano wrote it: with witty titles and funny (yet helpful) instructions. You (or your friend) will surely love this big-ass craft book.
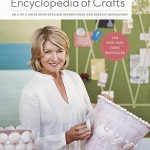 Martha Stewart’s Encyclopedia of Crafts
 by Martha Stewart
In this book, Martha Stewart compiles her endless crafts projects in one book. All the crafts that you want to try, with detailed instructions and visual guides can be found in this book. The Encyclopedia of Crafts is just one of Martha Stewart’s several books that you can check out. Perfect for beginners and expert crafters.
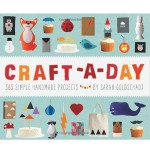
Craft-a-Day: 365 Simple Handmade Projects by Sarah Goldschadt
Are you looking for a new and fun 365 project to start this year? Try to make one project a day with the help of this book. Craft-a-Day is packed with projects that would keep you busy every single day of the year. The book is also divided into weekly themes that would make your craft-making easier and more fun.
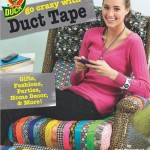 Go Crazy with Duct Tape
 by Patti Wallenfang
Who thought that duct tape can be used to make jewelry, bags and accessories? With this book, you can create almost anything and everything with duct tape. Duck Duct Tape is available in different colors and prints, perfect to customize your accessories and things. The book also provides detailed instructions to help you along the way.
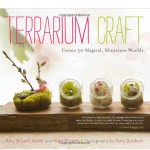 Terrarium Craft
: Create 50 Magical, Miniature Worlds by Amy Bryant Aiello, Kate Bryant and Kate Baldwin
Terrariums are perfect to add a dash of nature to your home. You can also give these away for your friends and family. This book will help you in creating these whimsical and magical crafts. It is a perfect project for both crafters and gardeners. Mix and match different plants and stones to create your own style.
*Stay tuned for the next post to see what other five titles can bring you lots of great ideas for different types of crafts!*
How to Make Mini Gift Boxes from Tissue Boxes

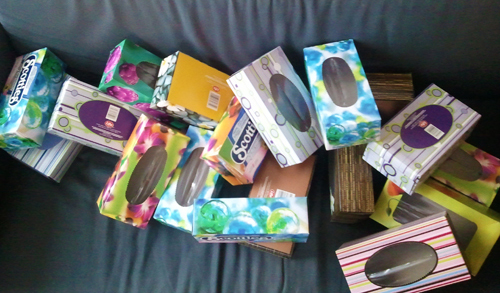
I, as most crafters, don’t like to throw most things away since they can “come in handy one day”. As you can see, tissue boxes are one of those things that I chose to keep for….something.
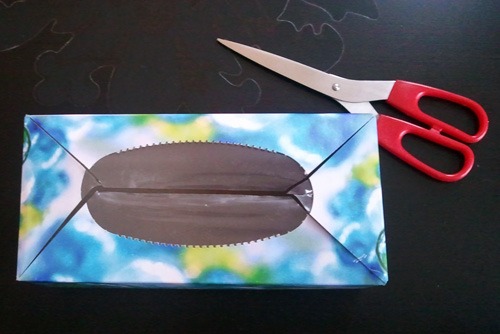
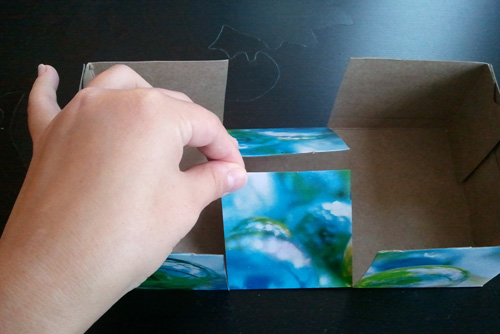
First, take a box and cut out the top.
Measure the height of the box and mark the same length in the middle of the box (you’ll have to measure with the ruler and possibly do a little math to get the middle). Cut down until you get to the bottom of the box.
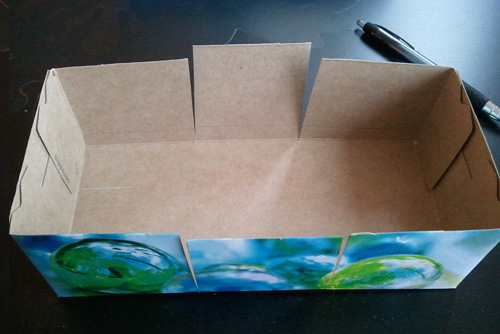
Fold in the two flaps.
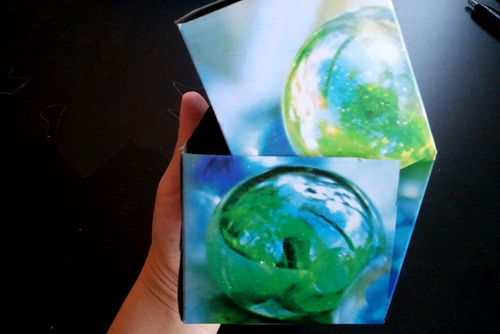
Tuck the flaps into one side of the box.
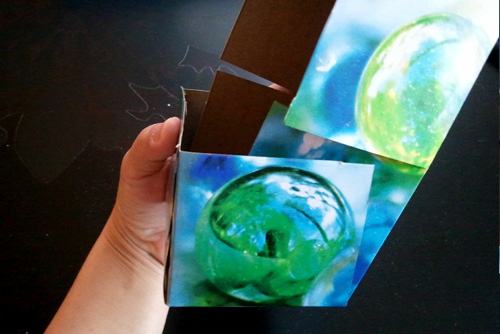
Tuck in the opposite side in as well.
Secure with a ribbon or wrap with wrapping paper.
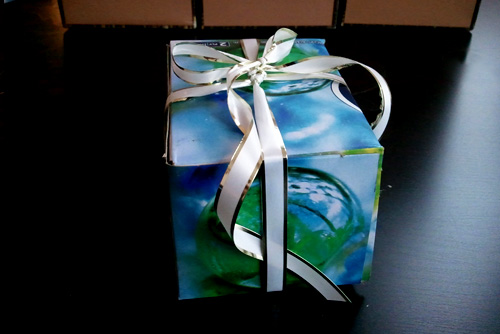
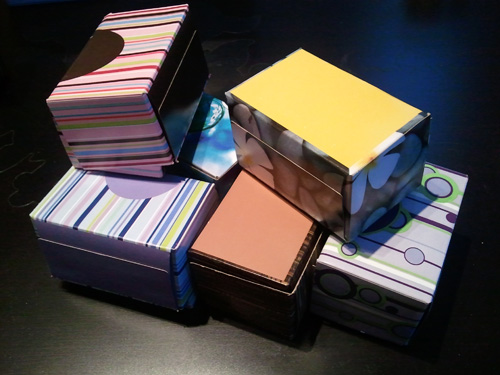
Here is a sample of a finished gift box. It measures approximately 10.5cm x 7.75cm x 6.5cm.
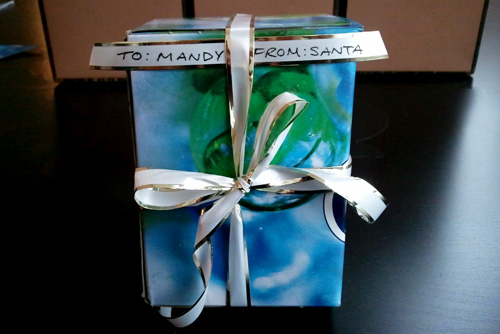
I made a few for smaller gifts. They were perfect to send in a smaller than usual parcel overseas.
What do you think about the boxes? Have you made anything else from tissue boxes? Comment below to give others a great idea for reusing tissue boxes.
Muffin cup flowers


A fun and simple way to make decorative flowers. All you need is a pack of muffin cups.
I purchased an inexpenisve pack of foil muffin cups from the ¥100 shop (Japanese version of a dollar store).

Between each foil cup was a thin white paper one, and when I took them apart, I loved the combination of matte white with shiny metal.
I found a new way to make a fun muffin cup flower that can decorate pretty much anything you’d like.
Make mini ones to glue onto cards or notebooks, or combine a few flowers with ribbon to make a floral hanging ball!
First, separate the cups and folded them in half to make a semi circle. Take each semi circle and roll it into a cone shape and secured with a small piece of tape.
*Make seven cones of each colour.
Once all the cones are completed, secure one white one into a silver one.
I used a loop of tape, but any adhesive will do.
Next, fold seven sets of white and silver semi circles.
Layer one white over a silver and roll it into a coil.
Now you should have seven cones and seven coils. Place and secure one coil into each cone.

Once that’s done, you have seven mini flowers. If you would like to stop at this step, cover the out layer with a muffin cup and add a stem (pencil, wire, twig, anything) -and you can have a stemmed bouquet.
If you would like to complete the bigger flower, secure one to another to form a circle, flip it over and it’s done!

Make three large flowers and combine them to form a ball. Add a ribbon and it’s a hanging decoration.
Kirigami Sakura

As mentioned a couple of days ago, Kirigami is the Japanese art of paper cutting. I absolutely love creating pretty things from simple materials like scrap paper and would like to share a project that you can try at home.
Here are instructions to make a simple sakura (Japanese cherry blossom):

1 – Begin with a square piece of paper and fold diagonally to create a triangle.
Now, fold one bottom corner to the other and crease approximately 2cm to create a point of reference in the middle.

2 – Next, fold the bottom corners to the middle and crease approximately 2 cm.

* You should now have three evenly spaced creased along the bottom of the triangle.

3 – Take the left corner and fold it up to the top point (crease 2 cm) and unfold.
Now, take the same corner and fold it to the newly created middle crease.
Repeat the last step, using the top point of the triangle and folding it to the new middle crease.

* You should now see four even sections along the bottom and left-hand side

4 – Using the creases on the left-hand side, take the left bottom corner and fold it up to the top crease
(the fold should not surpass the bottom middle crease).
This time, press down along the entire fold to keep it in place.

5 – Next, take the right bottom corner and fold it to the left-hand side. Make sure it’s folded along the edge, also, not surpassing the middle crease (this should give you a clean point at the bottom).

6 – Taking the same corner from the previous step, fold it in half, taking the corner back to the right-hand side. Make sure the edges are parallel.

7 – Now, take the left side, fold over to the right, making sure to keep the edges parallel.

8 – Turn it over and draw a petal design. I chose a pointed petal design to create a sakura.
*Make sure to leave the left and right edges attached at some points in order to keep the entire image intact!

9 – Once the drawing is complete, cut it out and unfold it. You should have a lovely flower to decorate anything you like.
Try different styles to create a wide range of lovely designs.
This one I tried with a semi heart shape:

Once I cut it out, I thought it might look cheesy….

but to my surprise, it turned out different from what I imagined. The star in the middle adds a special touch.


